Upcoming Sew Along Schedules

Welp, it’s September already, so let’s get this party going! It’s time for the 2019 Mini Maker Station and Undercover Maker Mat Sew Alongs! More specifics on each will follow soon, but I wanted to get the initial schedule out there so you can start planning. Both of the FREE patterns are available here.

You don’t have to do anything to join in either or both Sew Alongs. There’s no sign up or obligations, you simply sew along with others and have fun! This is a perfect opportunity to make something for yourself that you’ve been putting off or to whip up some holiday gifts! Sew Alongs always give me the motivation I need to get something done and I love being inspired by everyone else along the way.

The SALs will be casual and while I will loosely follow a schedule to share tips and help those who need structure,  you are free to join in at any time and work at your own pace. We will share photos on social media with SAL hashtags as we go and there will be fun prizes and giveaways, too.

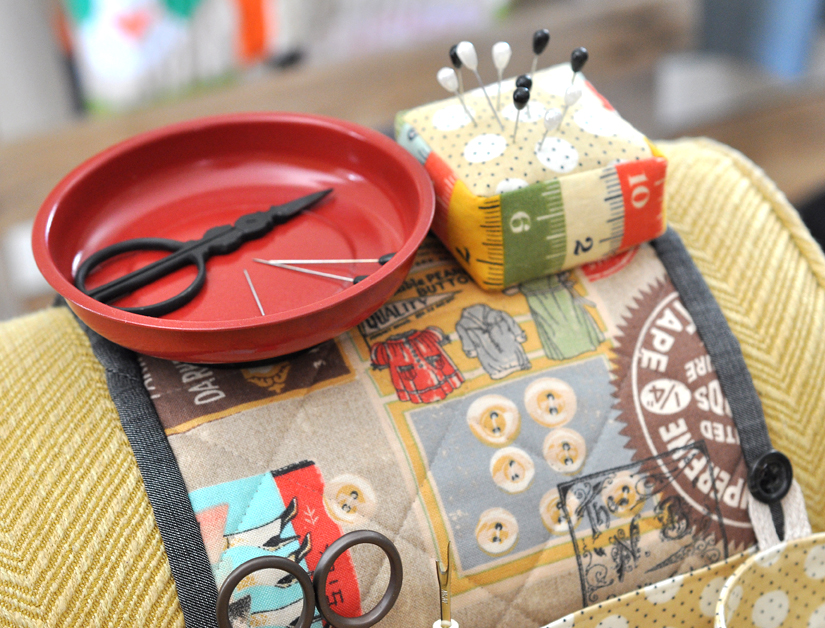
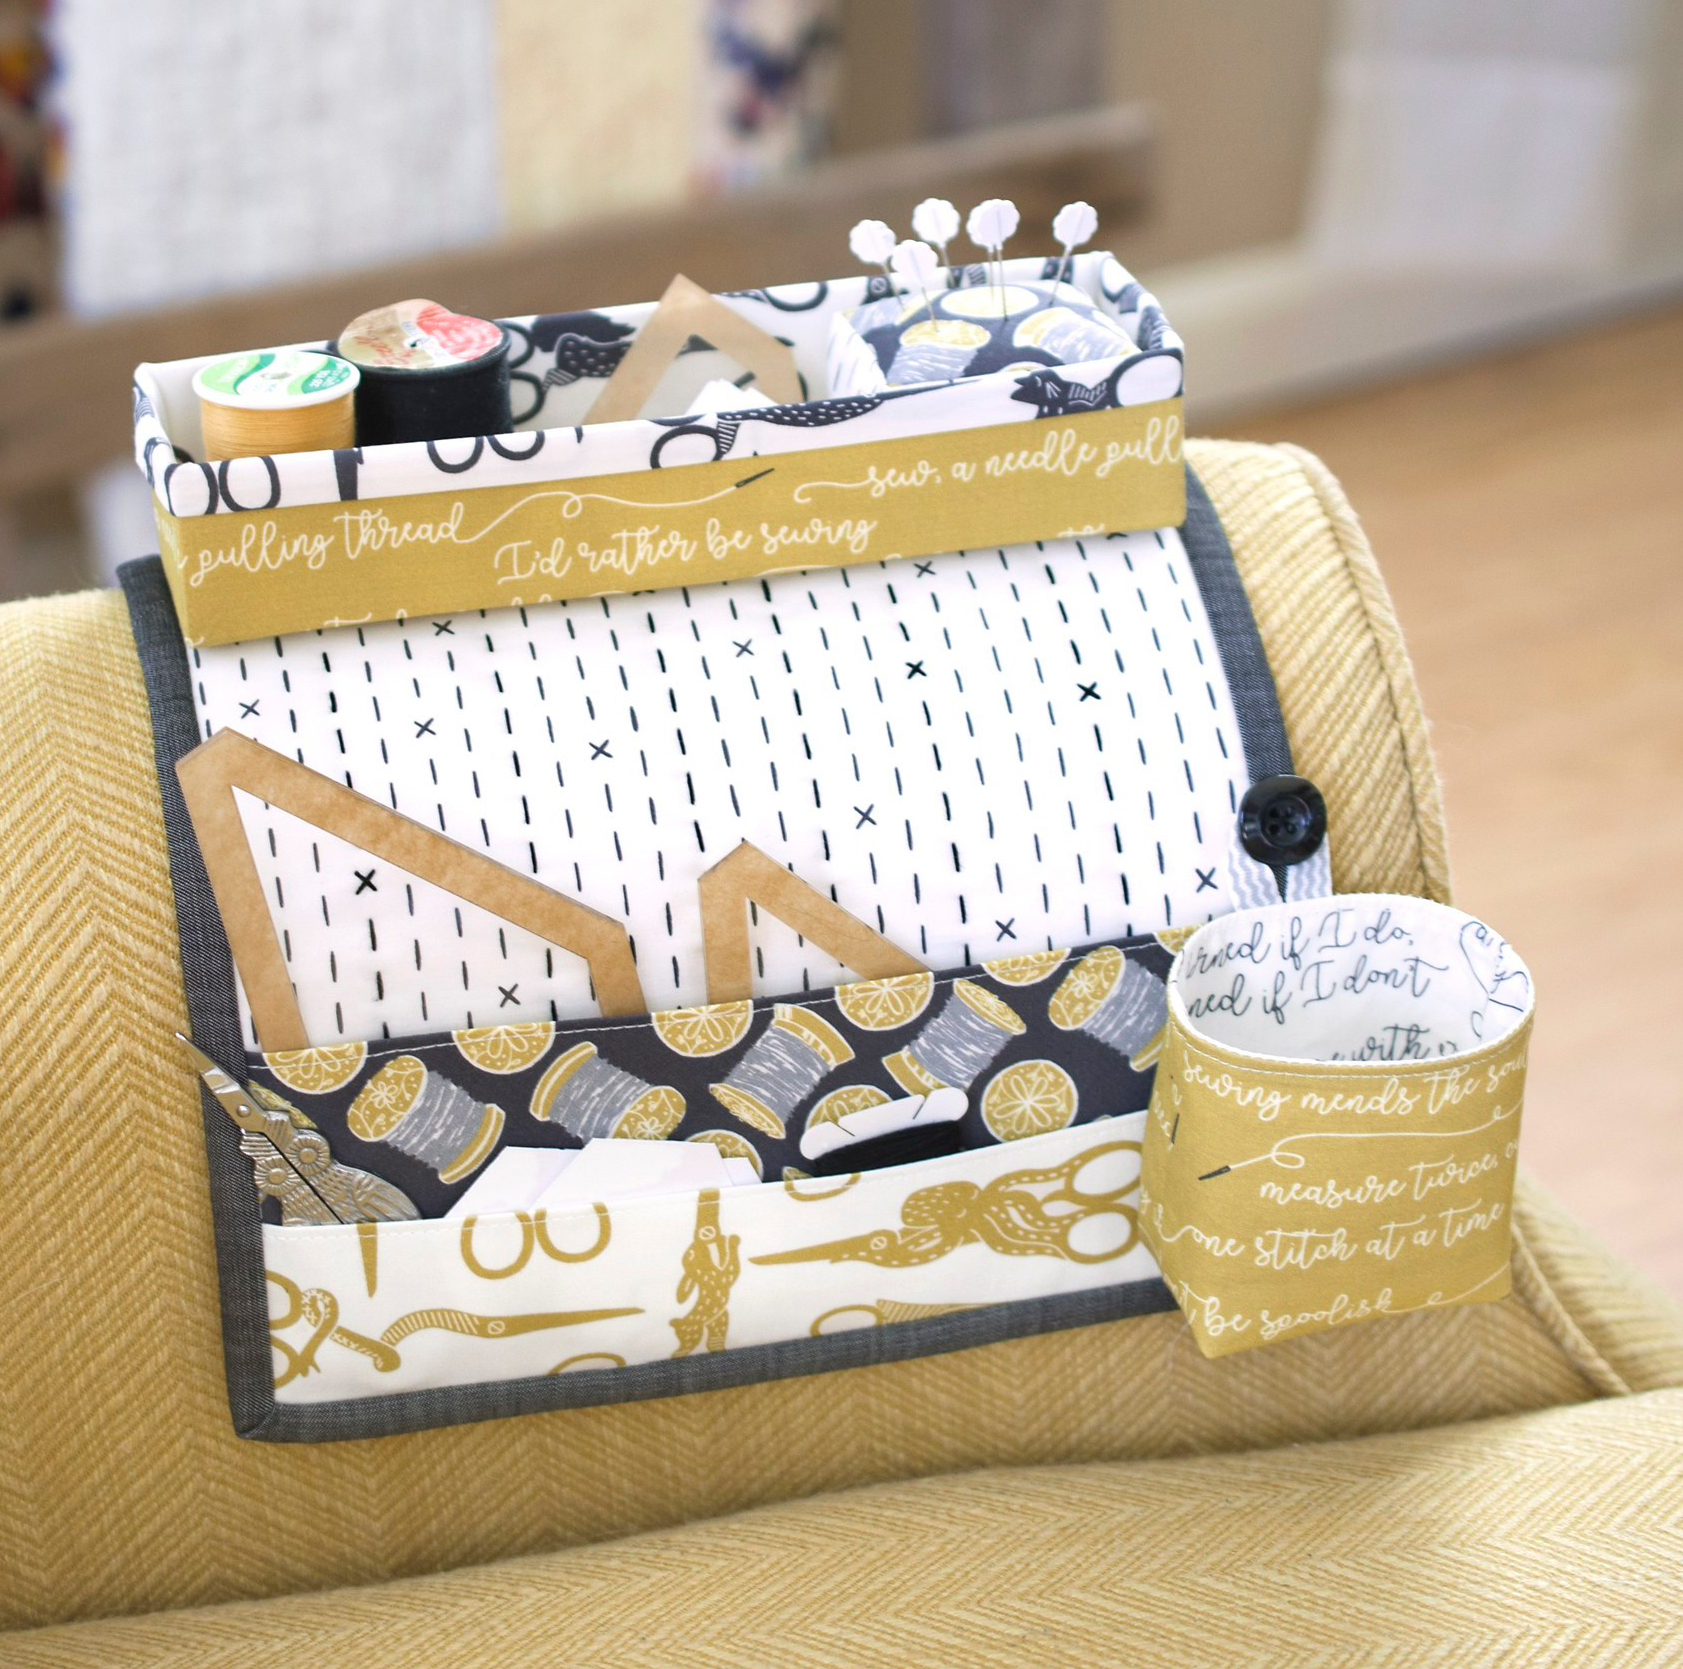
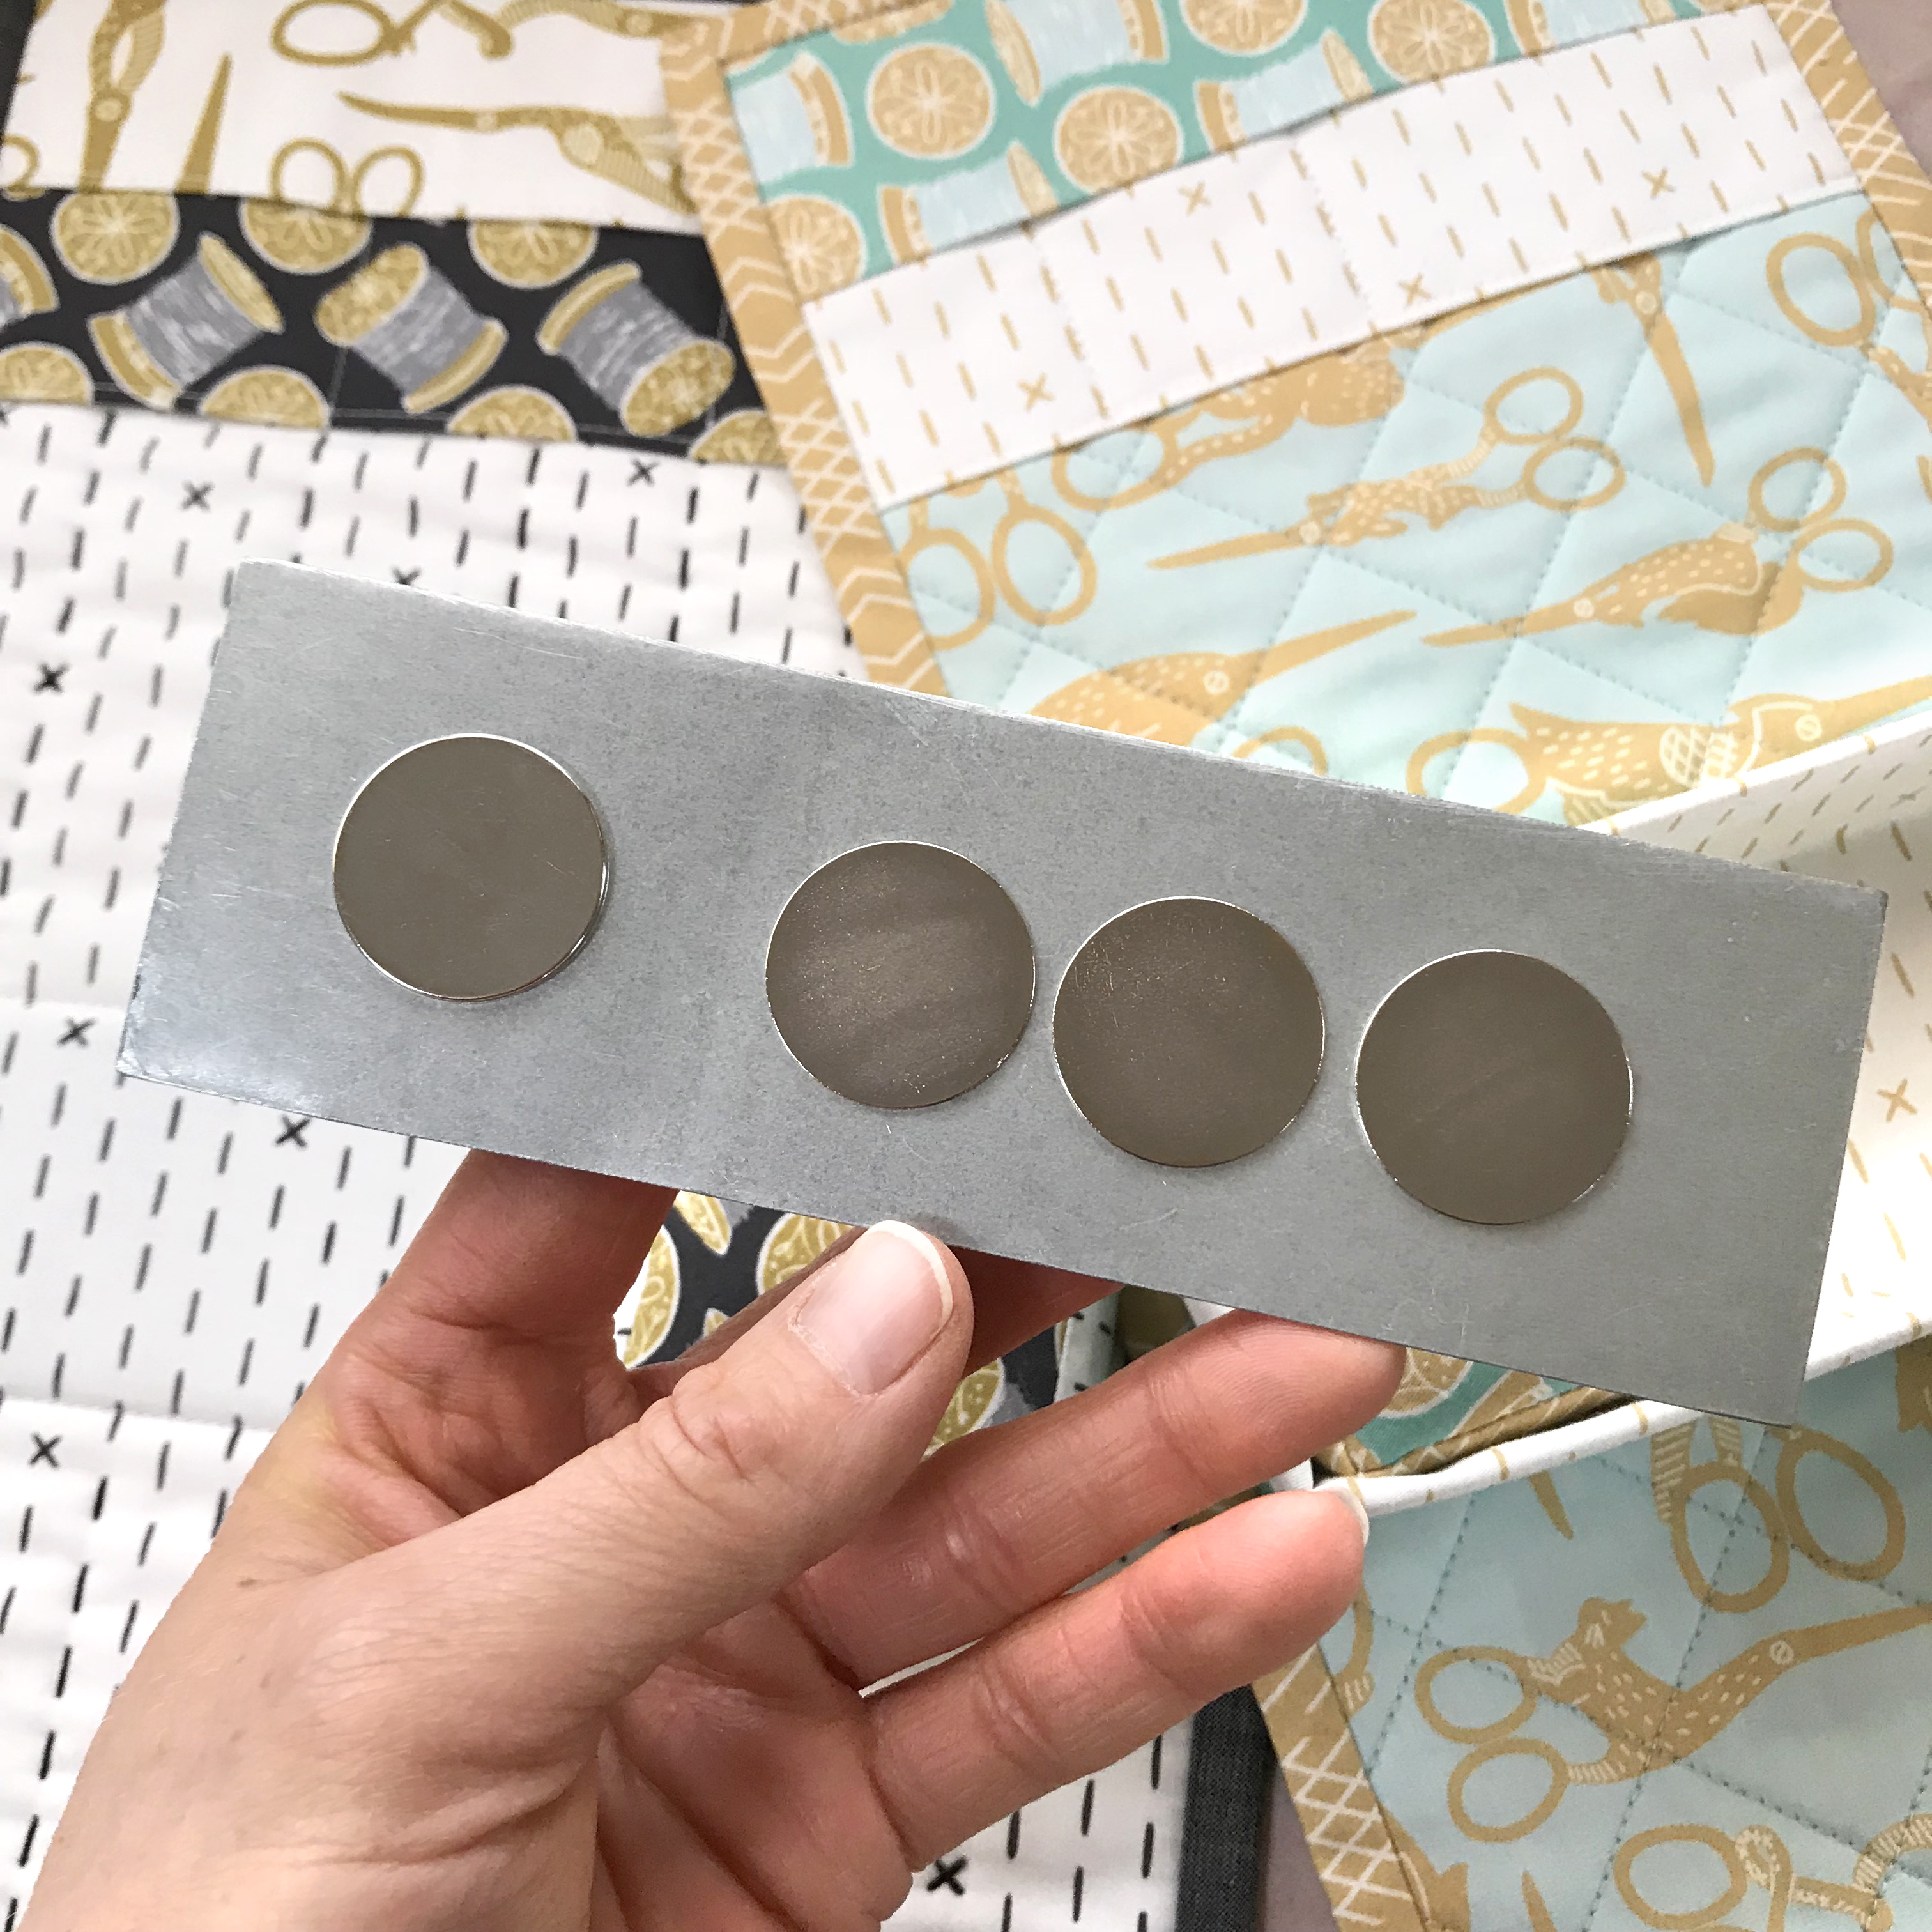
First up will be the Mini Maker Station and we will kick things off September 16. Since this project requires hardware, please read through the pattern and source your materials or purchase a hardware kit from my shop here. You will not need the hardware in hand to start the project and can actually get very far on most of it without the hardware, so don’t worry if you don’t have yours by the kickoff.

MINI MAKER STATION SAL SCHEDULE

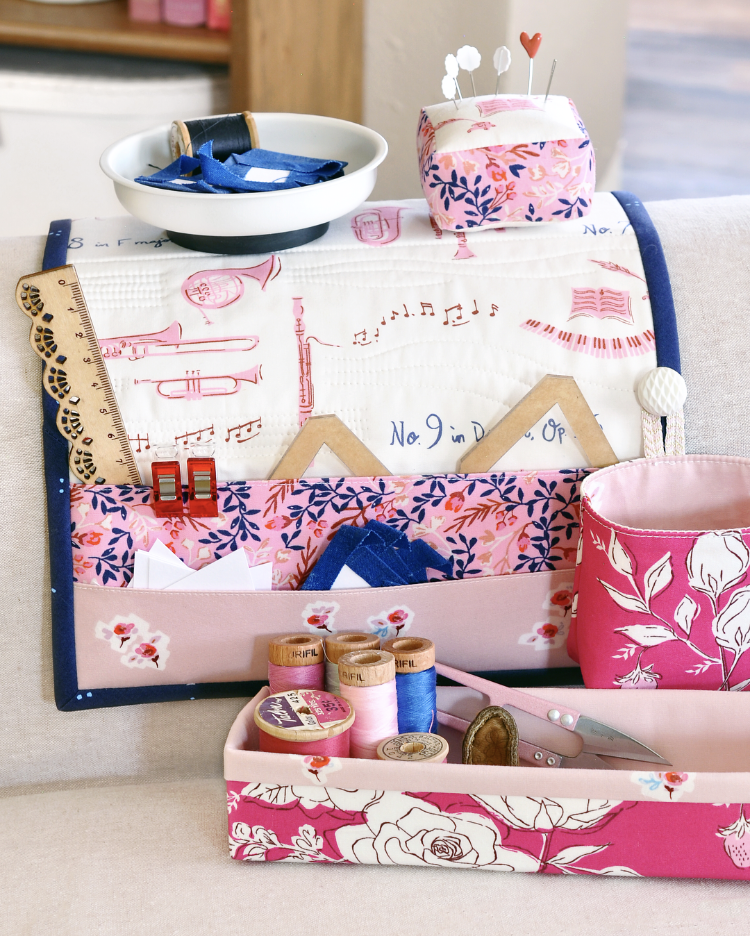
September 16 – 24: Sew Along Kick Off! Start pulling and share your fabrics. Work on the Maker Station Main Body and Thread Catcher.

September 25 – October 3: Blog post with tips about making the fabric basket and pin cushion. Work on basket and pin cushion.

October 4: Share your finished Maker Stations!

· · · · · · · · · · · · ·

DSC_0428 edit B

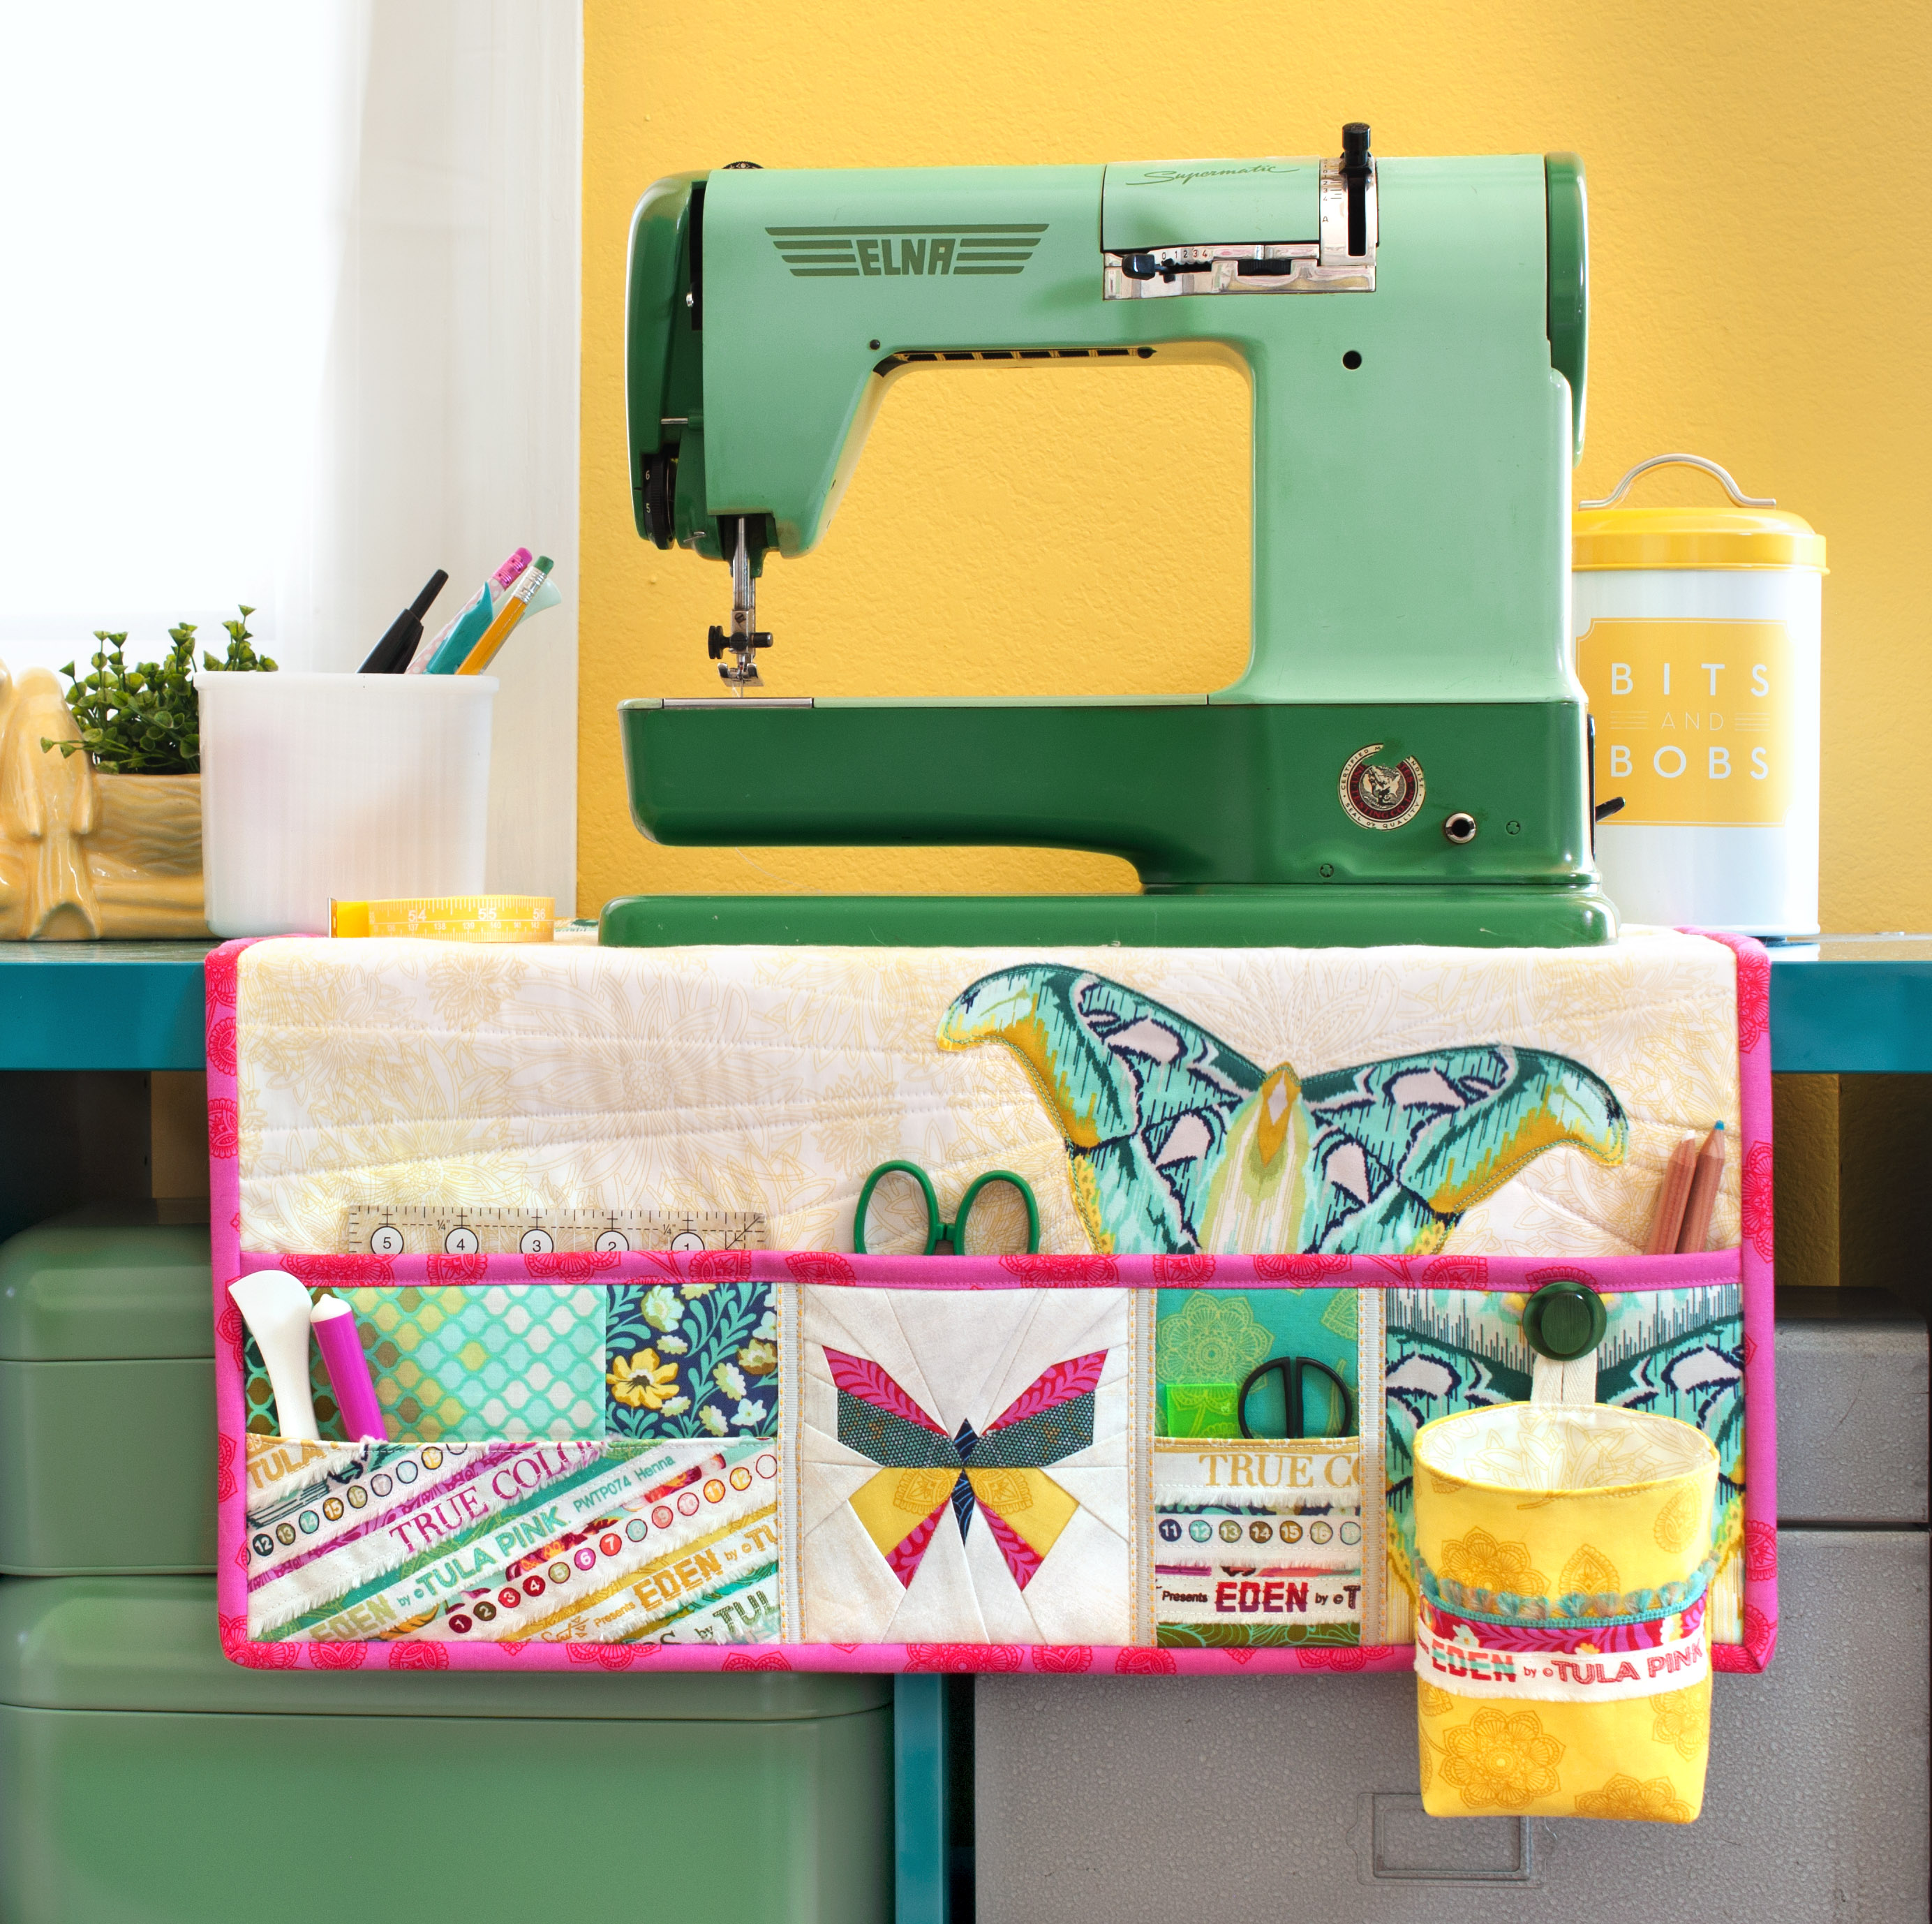
Next, the Undercover Maker Mat Sew Along will kick off on October 7 and run thru October 23. You can find the free pattern here. I will be following the schedule below but again you are welcome to sew at your own pace and join in any time! There are many ways to customize this project and adjust it to your skill level, so please note that many specifics indicated in the schedule are optional. Before the SAL begins, I will share a blog post discussing some of these options, variations and customizations to help  you plan! You can also check out the hashtag #undercovermakermat on social media to oodles of inspiration!

UNDERCOVER MAKER MAT SAL SCHEDULE

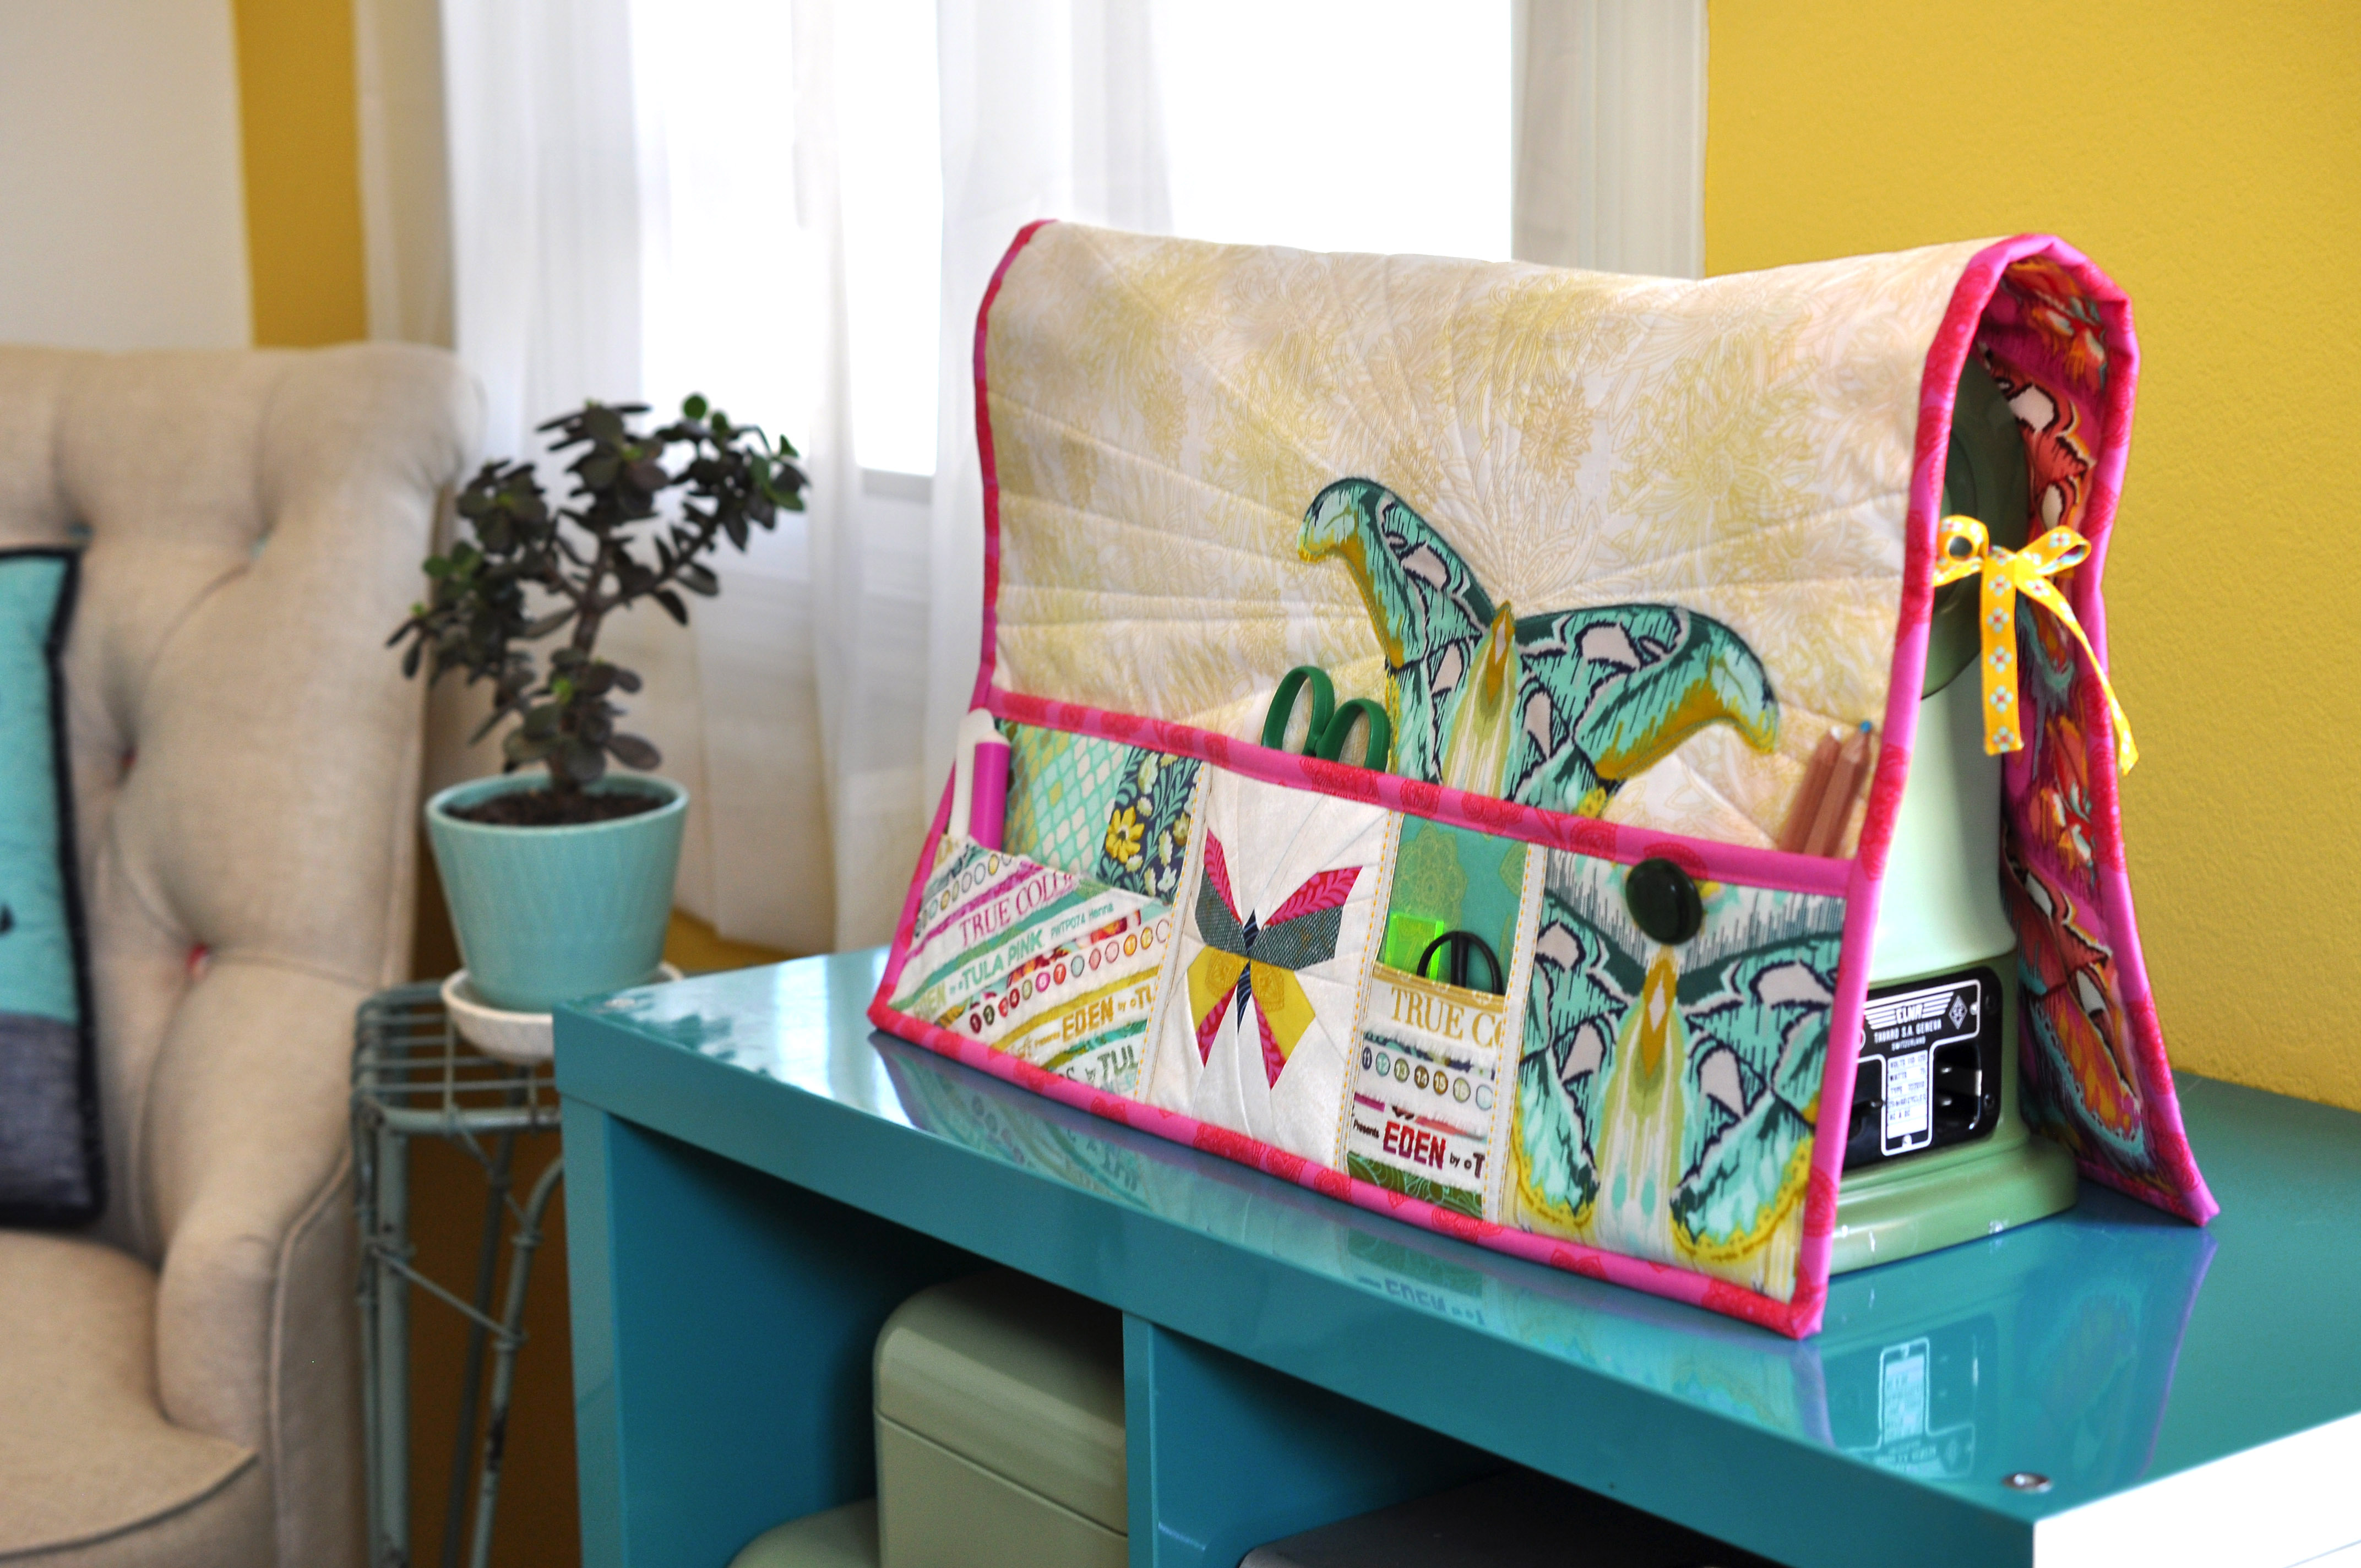
October 7: Kick off! Make main body panel

October 11: Make paper pieced butterfly and selvedge pocket panels

October 14: Make full pocket panel, assemble to body

October 18: Make optional thread catcher

October 23: Share your finished projects!

Stay tuned here and on social media for more information to come, but in the meantime, download the patterns and get ready! See you soon!

~ Nicole

Mini Maker Station Sew Along Schedule

I’m really excited to get the Mini Maker Station SAL going and can’t wait to see all your projects! I will officially kick things off on Monday, February 4 and it will run for two weeks (plus a weekend) through February 18. I’m going to keep it very casual, like the Maker Mat SAL, but I will be following a loose schedule and will be sharing some tips along the way about materials and working with the magnets. I encourage you to share your progress photos along the way with the hashtags #minimakerstationSAL and #minimakerstation!

If you’re just joining in, you can find the required hardware list in the pattern (download it here!) or in more detail two blog posts back, and I also have kits available in my Etsy shop here. Don’t worry if you’re still waiting on a kit or sourcing your materials when the SAL begins, as there is quite a bit you can do on the project without it.

· · · · · · · · · · · · ·

SCHEDULE

February 4: Sew Along Kick Off! Blog post about selecting fabrics and the proper interfacing materials needed, as well as notes about measuring and customizing your station.

February 4 – 10: Start pulling and share your fabrics. Work on the Maker Station Main Body and Thread Catcher.

February 11: Blog post with tips about making the fabric basket and pin cushion.

February 11 – 17: Work on basket and pin cushion.

February 18: Share your finished Maker Stations!

I will have a couple prize bundles up for grabs at the end of the Sew Along that I will share next week. One will be awarded to one winner chosen at random from all the posts in the #minimakerstationSAL hashtag and the other will be awarded to one winner drawn at random from all the completed maker stations posted by February 18.

If you have any questions now or along the way, feel free to email me anytime through the contact button here on my website or through social media.

I’ll see you back here next Monday!

Mini Maker Station Hardware List

DSC_0845-edit.jpg

I’m so excited to be releasing my long overdue Mini Maker Station pattern on January 9! Did I mention it’ll be FREE because I love you? I will also be hosting a little sew-a-long starting later in January with the date still to be determined. You can download the free pattern HERE.

If you’ve missed my previous blog or social media posts about this pattern, it does require a few bits of “hardware”. The main concept of the design is that there is a thin piece of sheet metal centered in the body of the piece and magnets sewn into the interchangeable accessories (mini basket & pin cushion). You can also then use any other accessories with magnets, such as magnetic pin bowls, on the piece as well.

I have hardware kits available for $14.00 each in my Etsy shop here and I’ll try to keep them stocked as best I can, but below I’m also sharing the hardware specifics if you’d like to source them yourself.

DSC_2059-edit-smaller.jpg

The Mini Maker Station pattern includes two station sizes depending on how much you’d like to store in it and, more importantly, what size your arm rest is! The larger of the two finishes at 9″ wide (shown above), while the smaller of the two finishes at 7″ wide (shown below). The pincushion and pin bowl in the photos are the same size for reference.

DSC_1933 edit crop

Each Mini Maker Station requires one piece of sheet metal and four magnets to make it as shown with the pincushion and basket.

IMG_9046 edit

Hardware list:

• One piece 26 gauge Zinc Plated Sheet Metal: cut 2″x8.25″ for the larger 9″ station, cut 2″x6.25″ for the smaller 7″ station

• Three round disc magnets for the basket: N45 Neodymium 1″ x 1/32″

• One round disc magnet for the pincushion: N45 Neodymium 1″ x 1/16″

I purchase the magnets from CMS Magnetics and the sheet metal from Home Depot. I cut it to size with tin snips and file the edges smooth.

A FEW NOTES:

I tried various other sizes, shapes, and strengths of magnets for this project and found the ones specified above work best, so I highly recommend you use exactly what is specified. If you choose to use other types of magnets in your project, I’m not well versed enough in magnets to answer questions about them and can’t specify if your station will “function” properly.

I purchase my “pin bowls” from Harbor Freight. They are actually magnetic parts holders and are available in 4″ or 6″. I prefer the 4″ bowls and I spray paint them to match my fabrics.

I don’t have fabric requirements together yet, but it is a small project requiring small cuts and is fat quarter friendly. The largest piece needed for the main body is 9″x17″.

Stay tuned here and on social media for the pattern release on January 9! Who’s excited? 😀

DSC_1987-edit-smaller-e1546284872306.jpg