
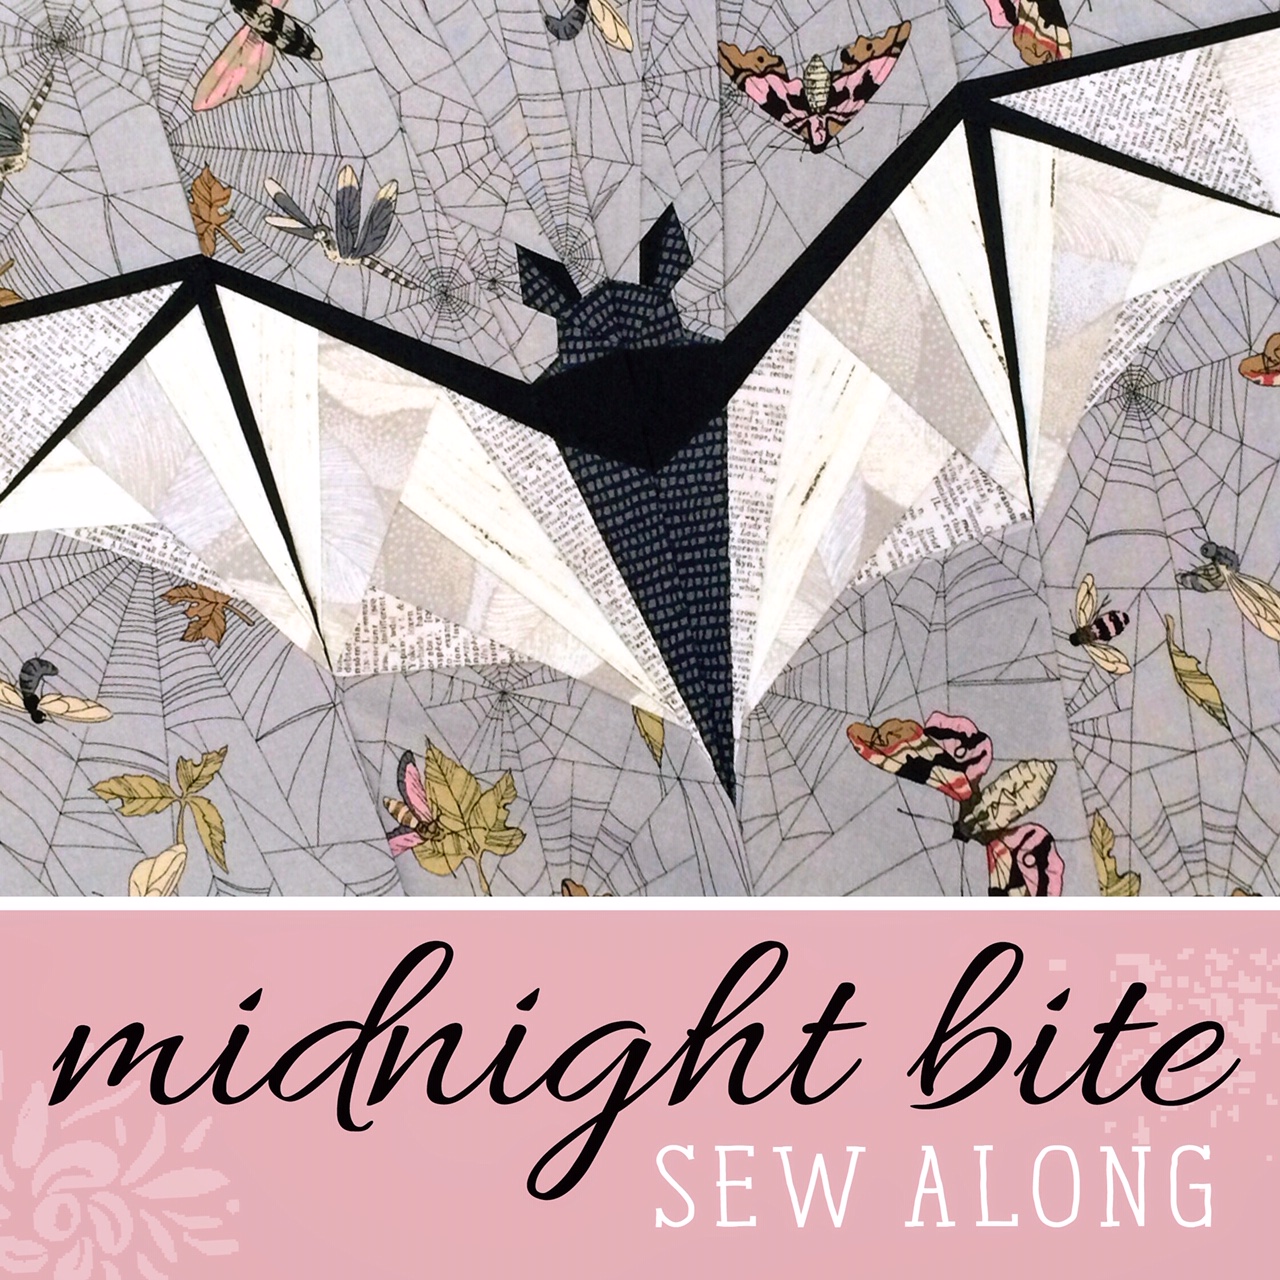
It’s time to kick off the Midnight Bite Sew Along! I’m so excited to jump into this one with over 400 of you and see all the amazing bats & spiders you create! If you’re just joining in, you can find the all sew along details, sign-up, schedule and Sal Facebook Group here.
Today I’m going to walk you through the process of how I plan a project, prepare my pattern pieces and precut my fabric, as well as what the benefits are to these steps.
· · · · · · · · · · · · · · · · · · · · · · · ·
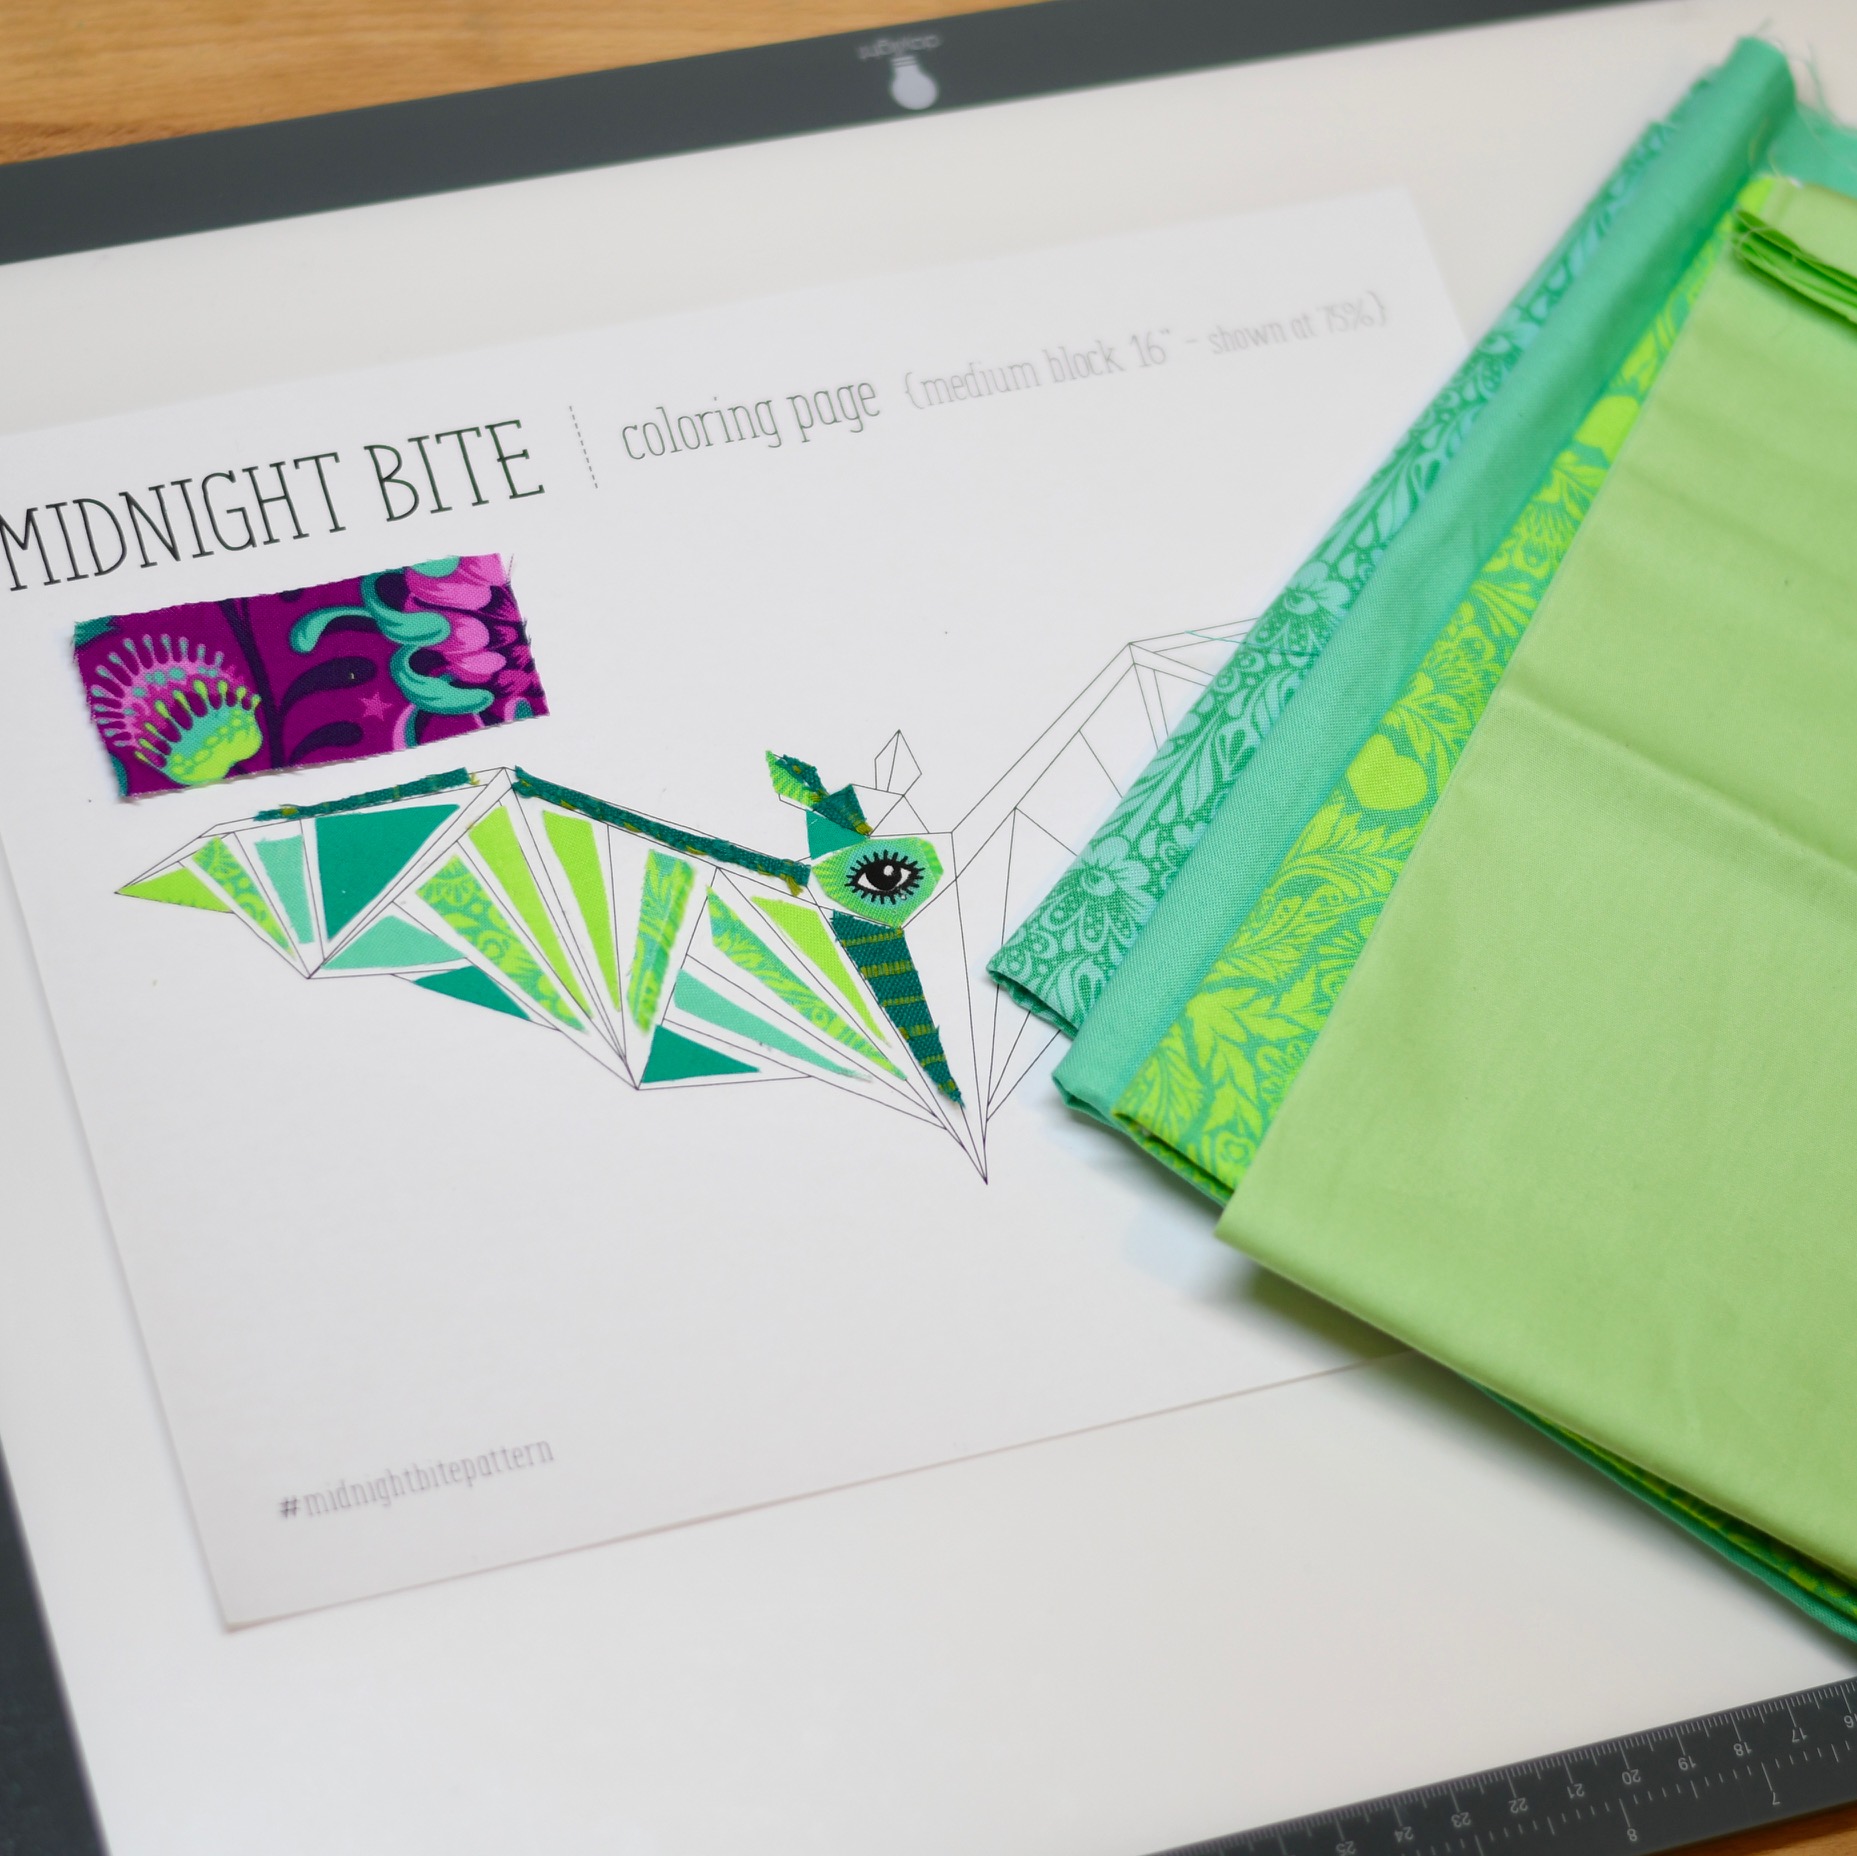
All of my patterns include a coloring page which is helpful for planning your project. I often start by using colored pencils to get some rough ideas of the direction I’d like to go, then I pull fabric and create a mini mockup by gluing little fabric snippets onto the page. Below is a video talking a little more about this.
· · · · · · · · · · · · · · · · · · · · · · · ·
When it comes to foundation paper piecing, PAPER MATTERS! Ok, not *technically*, but it does to me. Not only for ease of sewing, but for ease of clean up. I always print my pattern pages on a lightweight newsprint paper. You can find paper marketed as foundation paper piecing paper and it is essentially just basic newsprint, so I purchase mine in bulk from DickBlick.com. You can get 500 sheets for about $5. I run it through my laser printer with no trouble and have also used an inkjet without any problem.
The next thing I do everytime I paper piece is to trace the pattern lines onto the back of the printed pattern pages. I do this using a lightbox, but you can use an iPad, a lightbar under your extension table or just a window! Below is a video showing this process and touching on the benefits.
· · · · · · · · · · · · · · · · · · · · · · · ·
Next, I use the traced side of my pattern to precut all of my fabric for the entire project. This is beneficial in many ways. First, it allows you to fussy cut and use directional fabric with precision, which is something I do with just about every FPP I make. Second, it eliminates waste and takes out all room for error in cutting pieces the wrong size or shape. I talk more about this in the video below. Last, it prepares us for easy and efficient piecing and allows for chain piecing. You can simply place all your precut fabric for each section in piles with the pattern piece and move down a like sewing one step from each pattern section in a chain and then repeating.
· · · · · · · · · · · · · · · · · · · · · · · ·
This process is something I teach in much greater detail when I do live workshops and class events, but I wanted to try and touch on all the basics here to share these helpful tips and techniques and see how they work for you. I’d love to hear what you think! Also, if you have any questions you can comment on this post, visit the Sew Along Facebook group, comment on my Instagram post, or shoot me an email through my contact page.
However you plan and prepare to start piecing your project, be sure to share some photos on social media with the hashtag #MidnightBiteSAL! Also watch my Instagram feed for our next prize!
You can work at your own pace until my next post where I’ll be sharing some FPP piecing tutorials and some of my own tips and tricks. I had this scheduled for October 12, but have had to adjust some of my road trip plans, so may need to shift this by a couple days. I’ll keep you all posted!

What a cool block to work on!
LikeLike