Good morning, friends! It’s time to kick off the 2019 Mini Maker Station Sew Along! I’m thrilled that so many of you have said you’re finally making the time to sew this up for yourself or for holiday gift. Sew Alongs always give me the motivation to create something that I’ve been wanting to.
If you haven’t downloaded the FREE pattern yet, you can find it here. This pattern requires some basic knowledge of sewing and quilting, but any beginner can tackle it! I’ll be including helpful tips, tutorial links, videos and more along the way for every step and I’m always happy to give personal assistance when I can. You can reach out to me anytime through social media or email.
This SAL will run three weeks, ending on October 4, but you are welcome to join in at any time and sew at your own pace. In today’s post I’m going to talk just a bit about selecting fabrics and go over some of the other materials you need. I’m also going to share some tutorial links on basic quilting and binding for those who may be new to quilting, and a couple tips about thread catcher placement. This week we’ll be working on the main body of the Maker Station and the thread catcher. Next Monday I’ll have a new blog post with some tips about creating the fabric basket and working with the magnets.
Share your progress photos on social media with the hashtags #minimakerstationSAL2019 and #minimakerstation to inspire and encourage others, and have a chance to win some fun prizes!
If you haven’t picked up a hardware or are waiting for yours to arrive, don’t worry! You can still begin your project as there is plenty you can do without it, especially during the first week. You can create the entire body and just wait to sew the last bit of binding down until you have the metal, and you can create the thread catcher. There is also quite a bit you can do on the pin cushion and basket next week before you need to add the magnets. You can find hardware kits in my Etsy shop here.
· · · · · · · · · · · · · · · · · · · · · · · · ·
FABRIC & MATERIALS
I want to quickly touch on why I don’t often include “fabric requirement” sections in my patterns, including this one. There are endless ways to layout and customize this project. I never want to lock someone into fabric placements by specifying what you should use where. One person may use three fabrics for the whole project, while another may use thirteen! Also, the cuts on a project like this are all small, so a fabric requirement list would simply be the same as the cutting instructions. The specific sizes of all the pieces you need for each part of the pattern are included at the beginning of each labeled section.
Now, onto materials! If you have not already purchased a hardware kit or sourced your own materials, you can find more information about those materials needed here, including my sources.

All fabrics used are standard quilting cotton. You could use some lightweight linens or blends, but thicker materials, such as canvas, may be too bulky for the pin cushion, basket and thread catcher, as they’re all pretty small. In addition to your fabrics, you also need a couple different interfacings. Sometimes these can be optional, as they are often used for added durability, but in this project they are required as they hold the magnets in place and create the basket.
The first is Pellon brand SF101, also known as ShapeFlex. You can find this at any fabric store or Walmart with a craft section. You can also order it online. This can be substituted with another featherweight or lightweight fusible interfacing if you wish, but the SF101 is my preference.
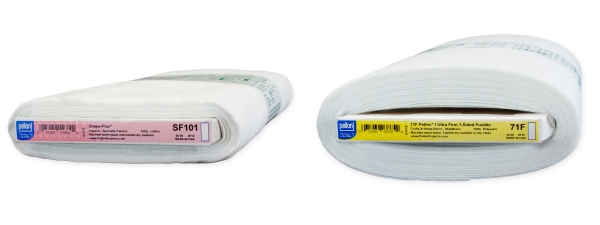
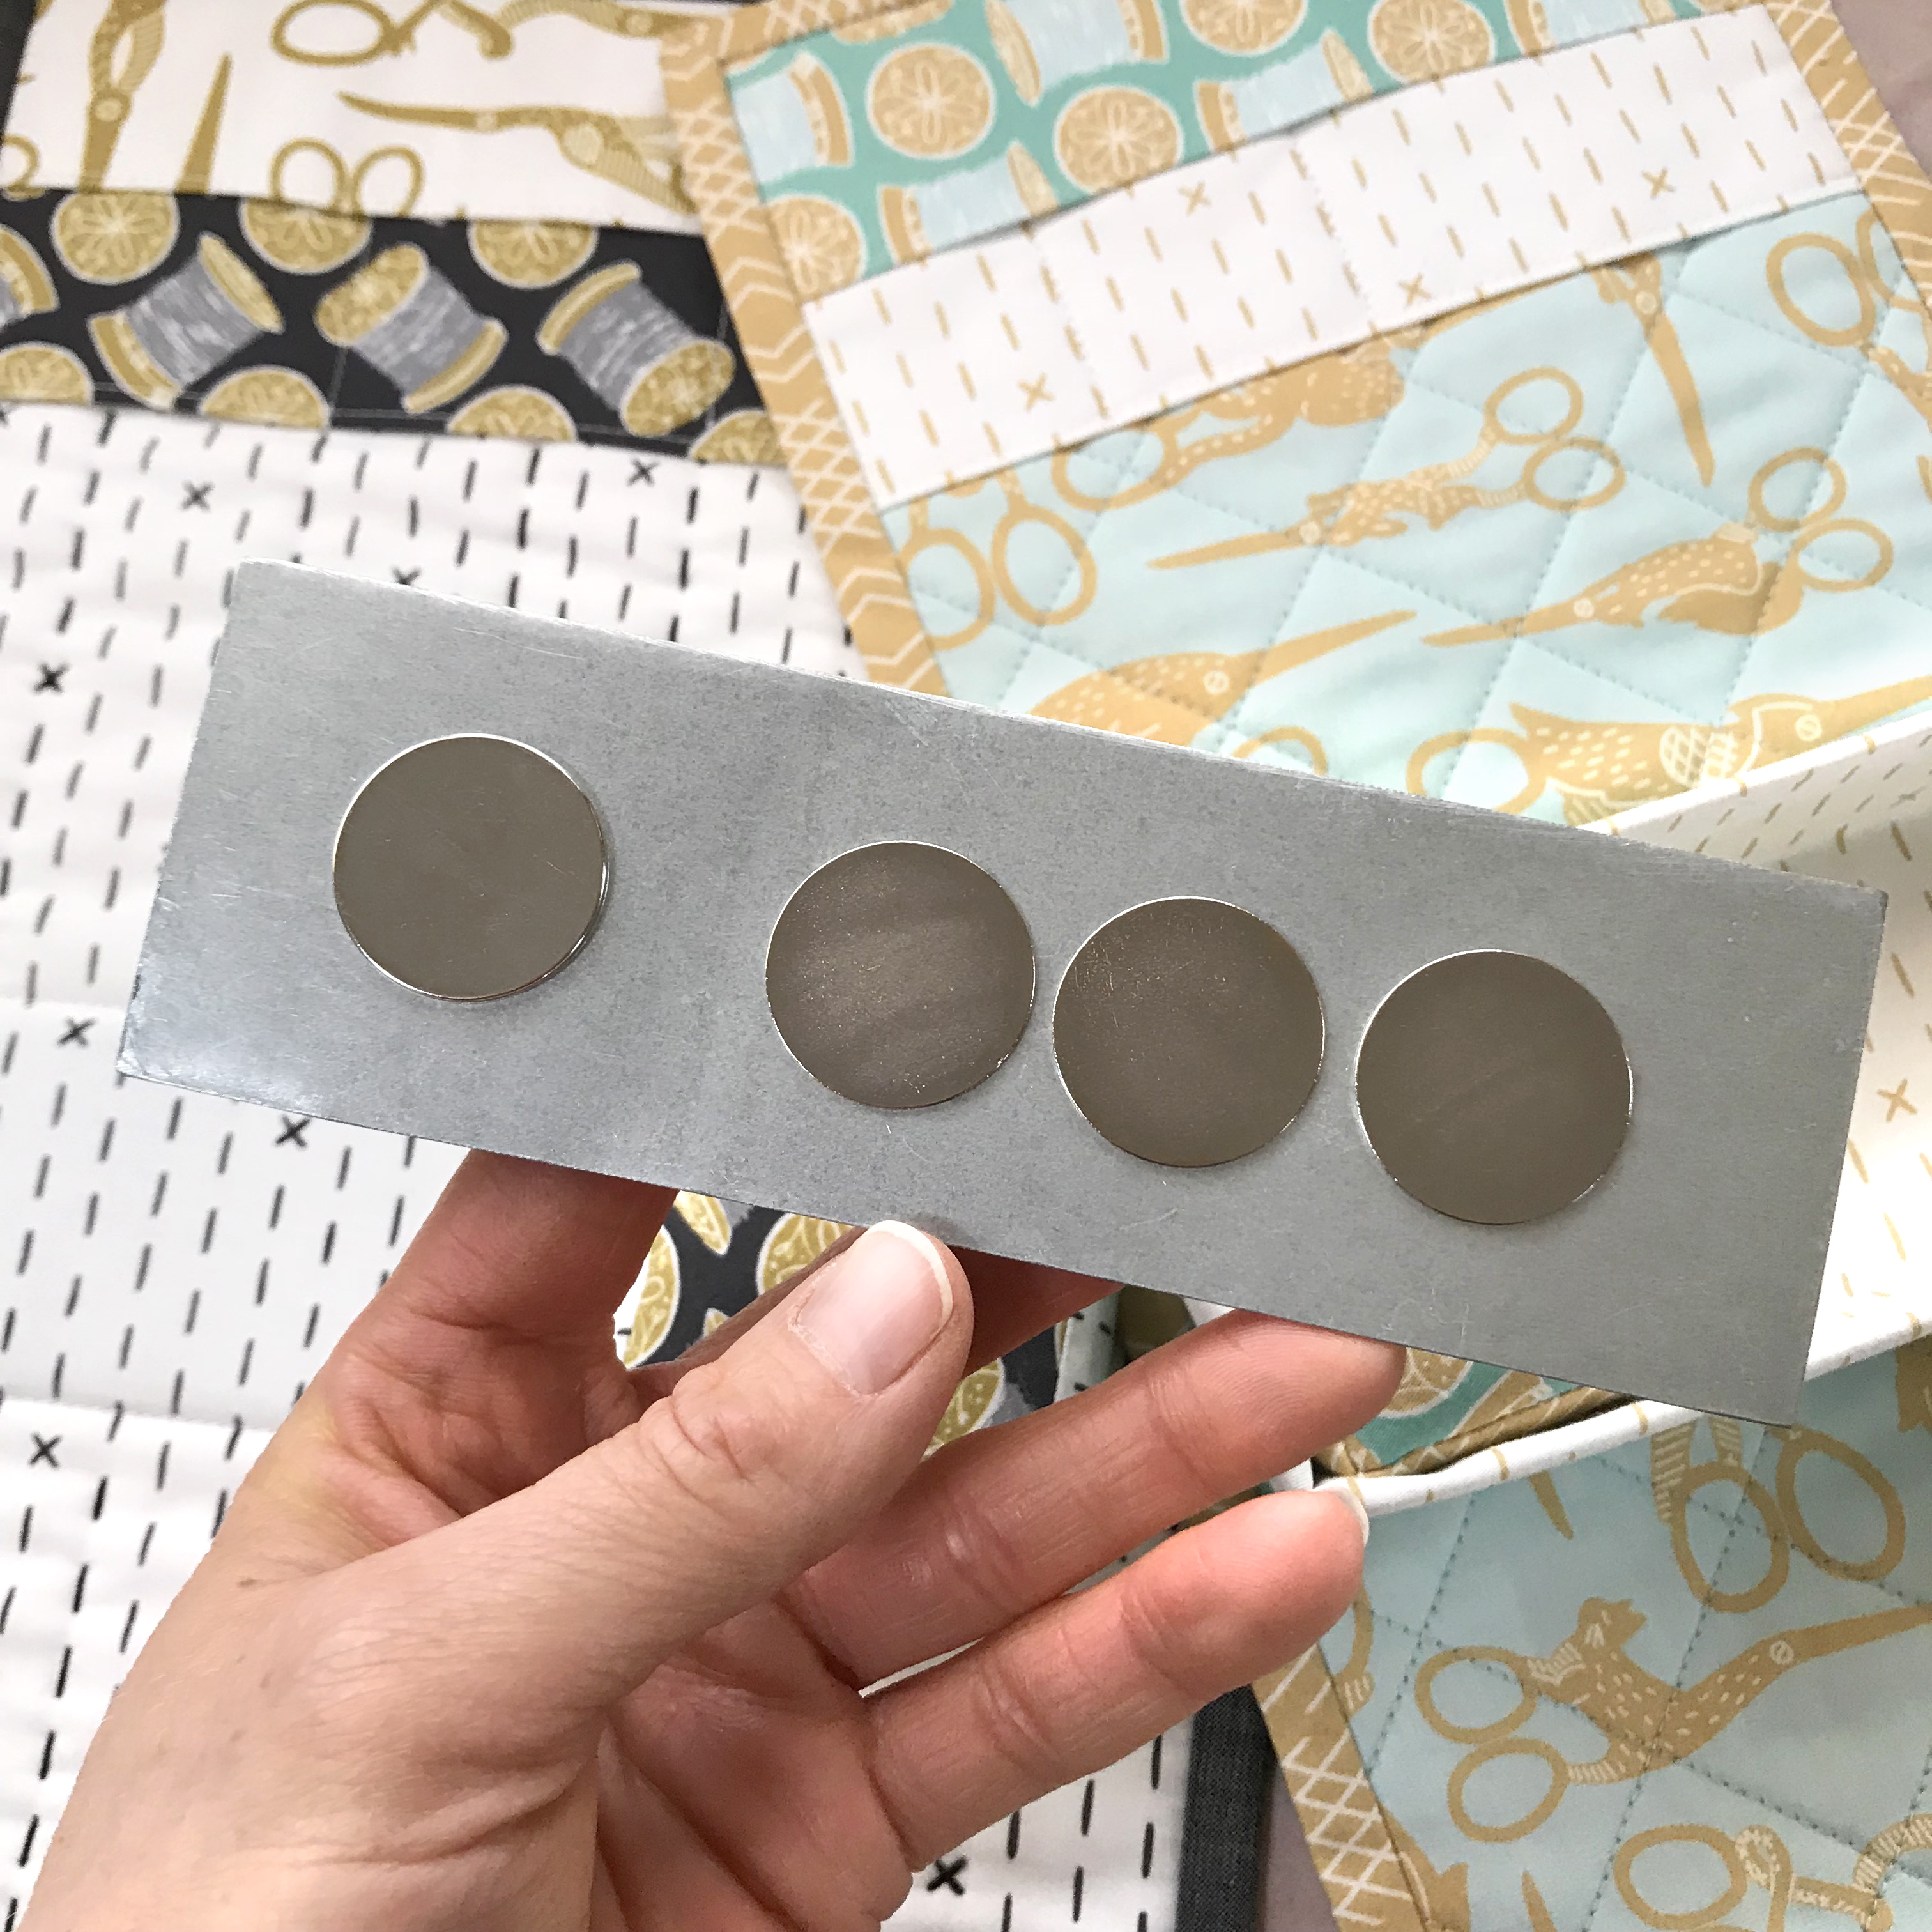
The second interfacing you need is Pellon brand Peltex 71F, ultra firm single sided fusible interfacing. I do not recommend substituting this with anything else as it creates the main structure of your fabric basket. Be sure that you get the 71F and not the 70 (sew in) or 72 (double sided fusible). This interfacing is very thick, it should look and feel similar to a piece of cardboard. It should not fold without “creasing” itself. You can also find this interfacing at fabric stores, Walmart (or the like), or online. Next week I’ll share some helpful tips for keeping the basket edges nice and crisp!

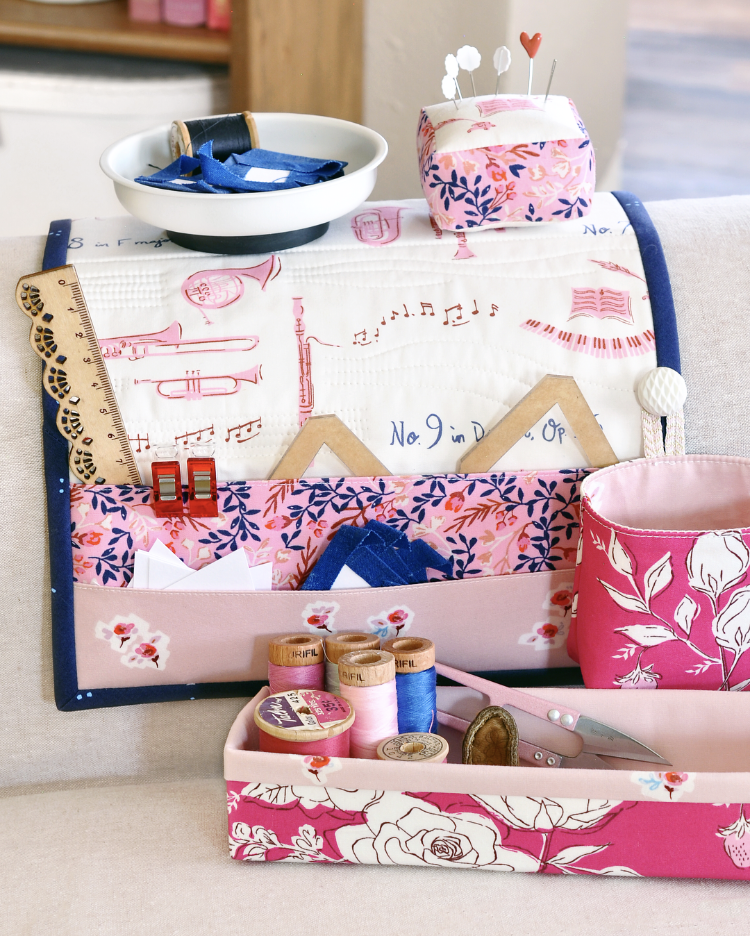
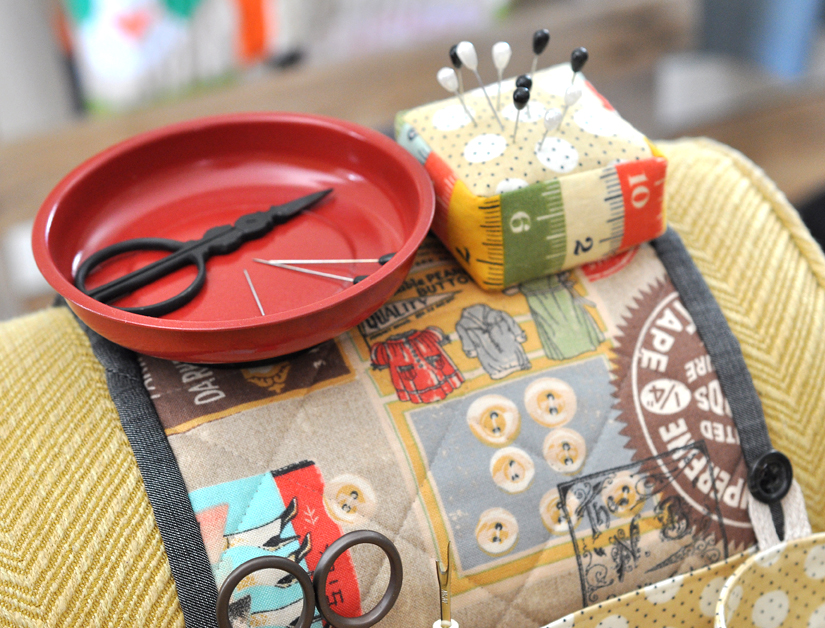
For filling the pincushion, I like to use ground walnut shells because I love the weight and feel, especially with the square shape. It’s like an adorable little bean bag! I purchase mine at a local quit shop, but Plum Easy (the brand I get) also sells online here. If you’re making this for a gift, just avoid the shells if someone has a nut allergy! I have also used polyester stuffing in the cushion, which works perfectly fine!
The last little “extras” you need are some thin ribbon or trim and buttons to hang your thread catcher (which is optional!).
· · · · · · · · · · · · · · · · · · · · · · · · ·
CREATING THE BODY & THREAD CATCHER
If you’re a sewist, but new to quilting, don’t fear! The body of the Maker Station is a great first project to dip your toes into the world of quilting!
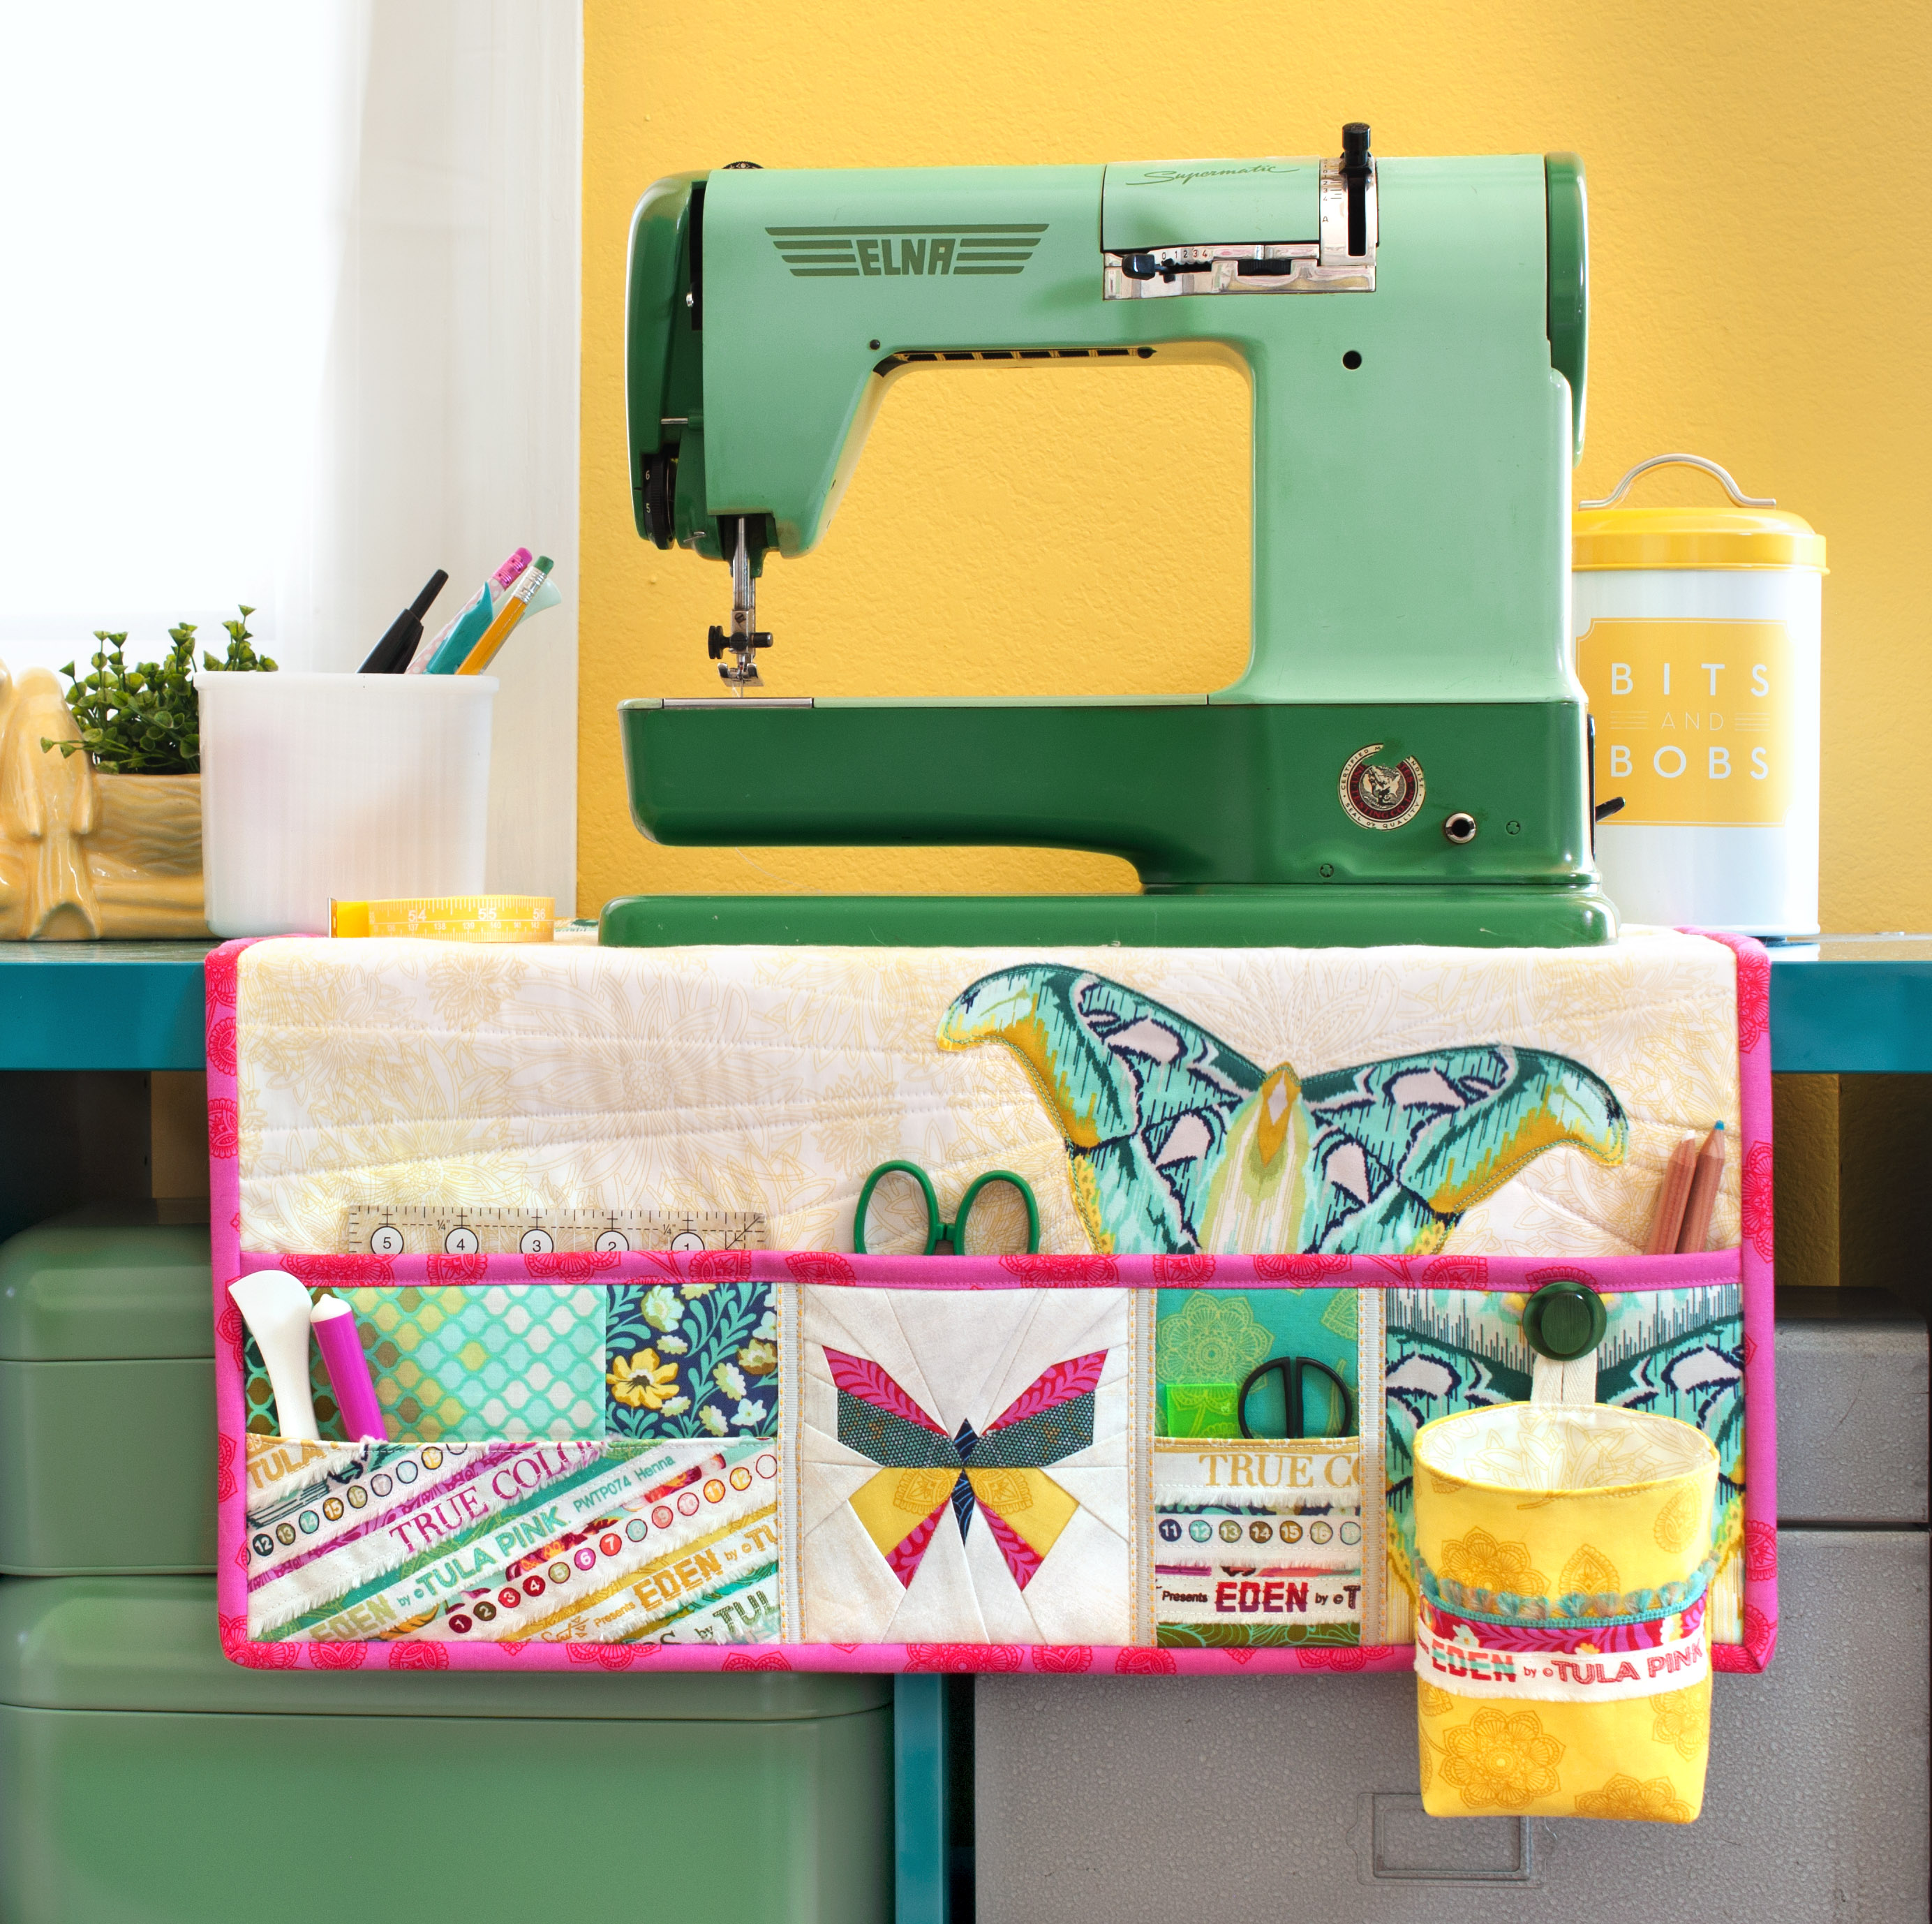
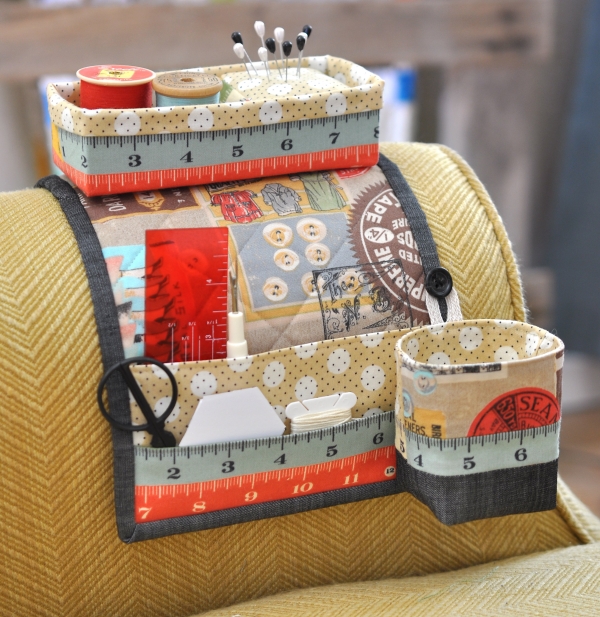
To create the main body of the Maker Station, you will need basic knowledge of how to layer your top, batting and backing and how to do the quilting stitches. This tutorial from Suzy Quilts covers all the basics. It applies to a large quilt, so working with your main mat body will simply be a smaller and simpler version! Straight line quilting is a great design for beginners, or a crosshatch is a always a nice option, too. You can see how this looks on my sample below. I’m not sure its mentioned in the tutorial, but I love using a Herra Marker (a bone folder or scoring tool also works similarly) to mark my quilting lines, especially for something like a crosshatch. Here is a video on using a Herra Marker.

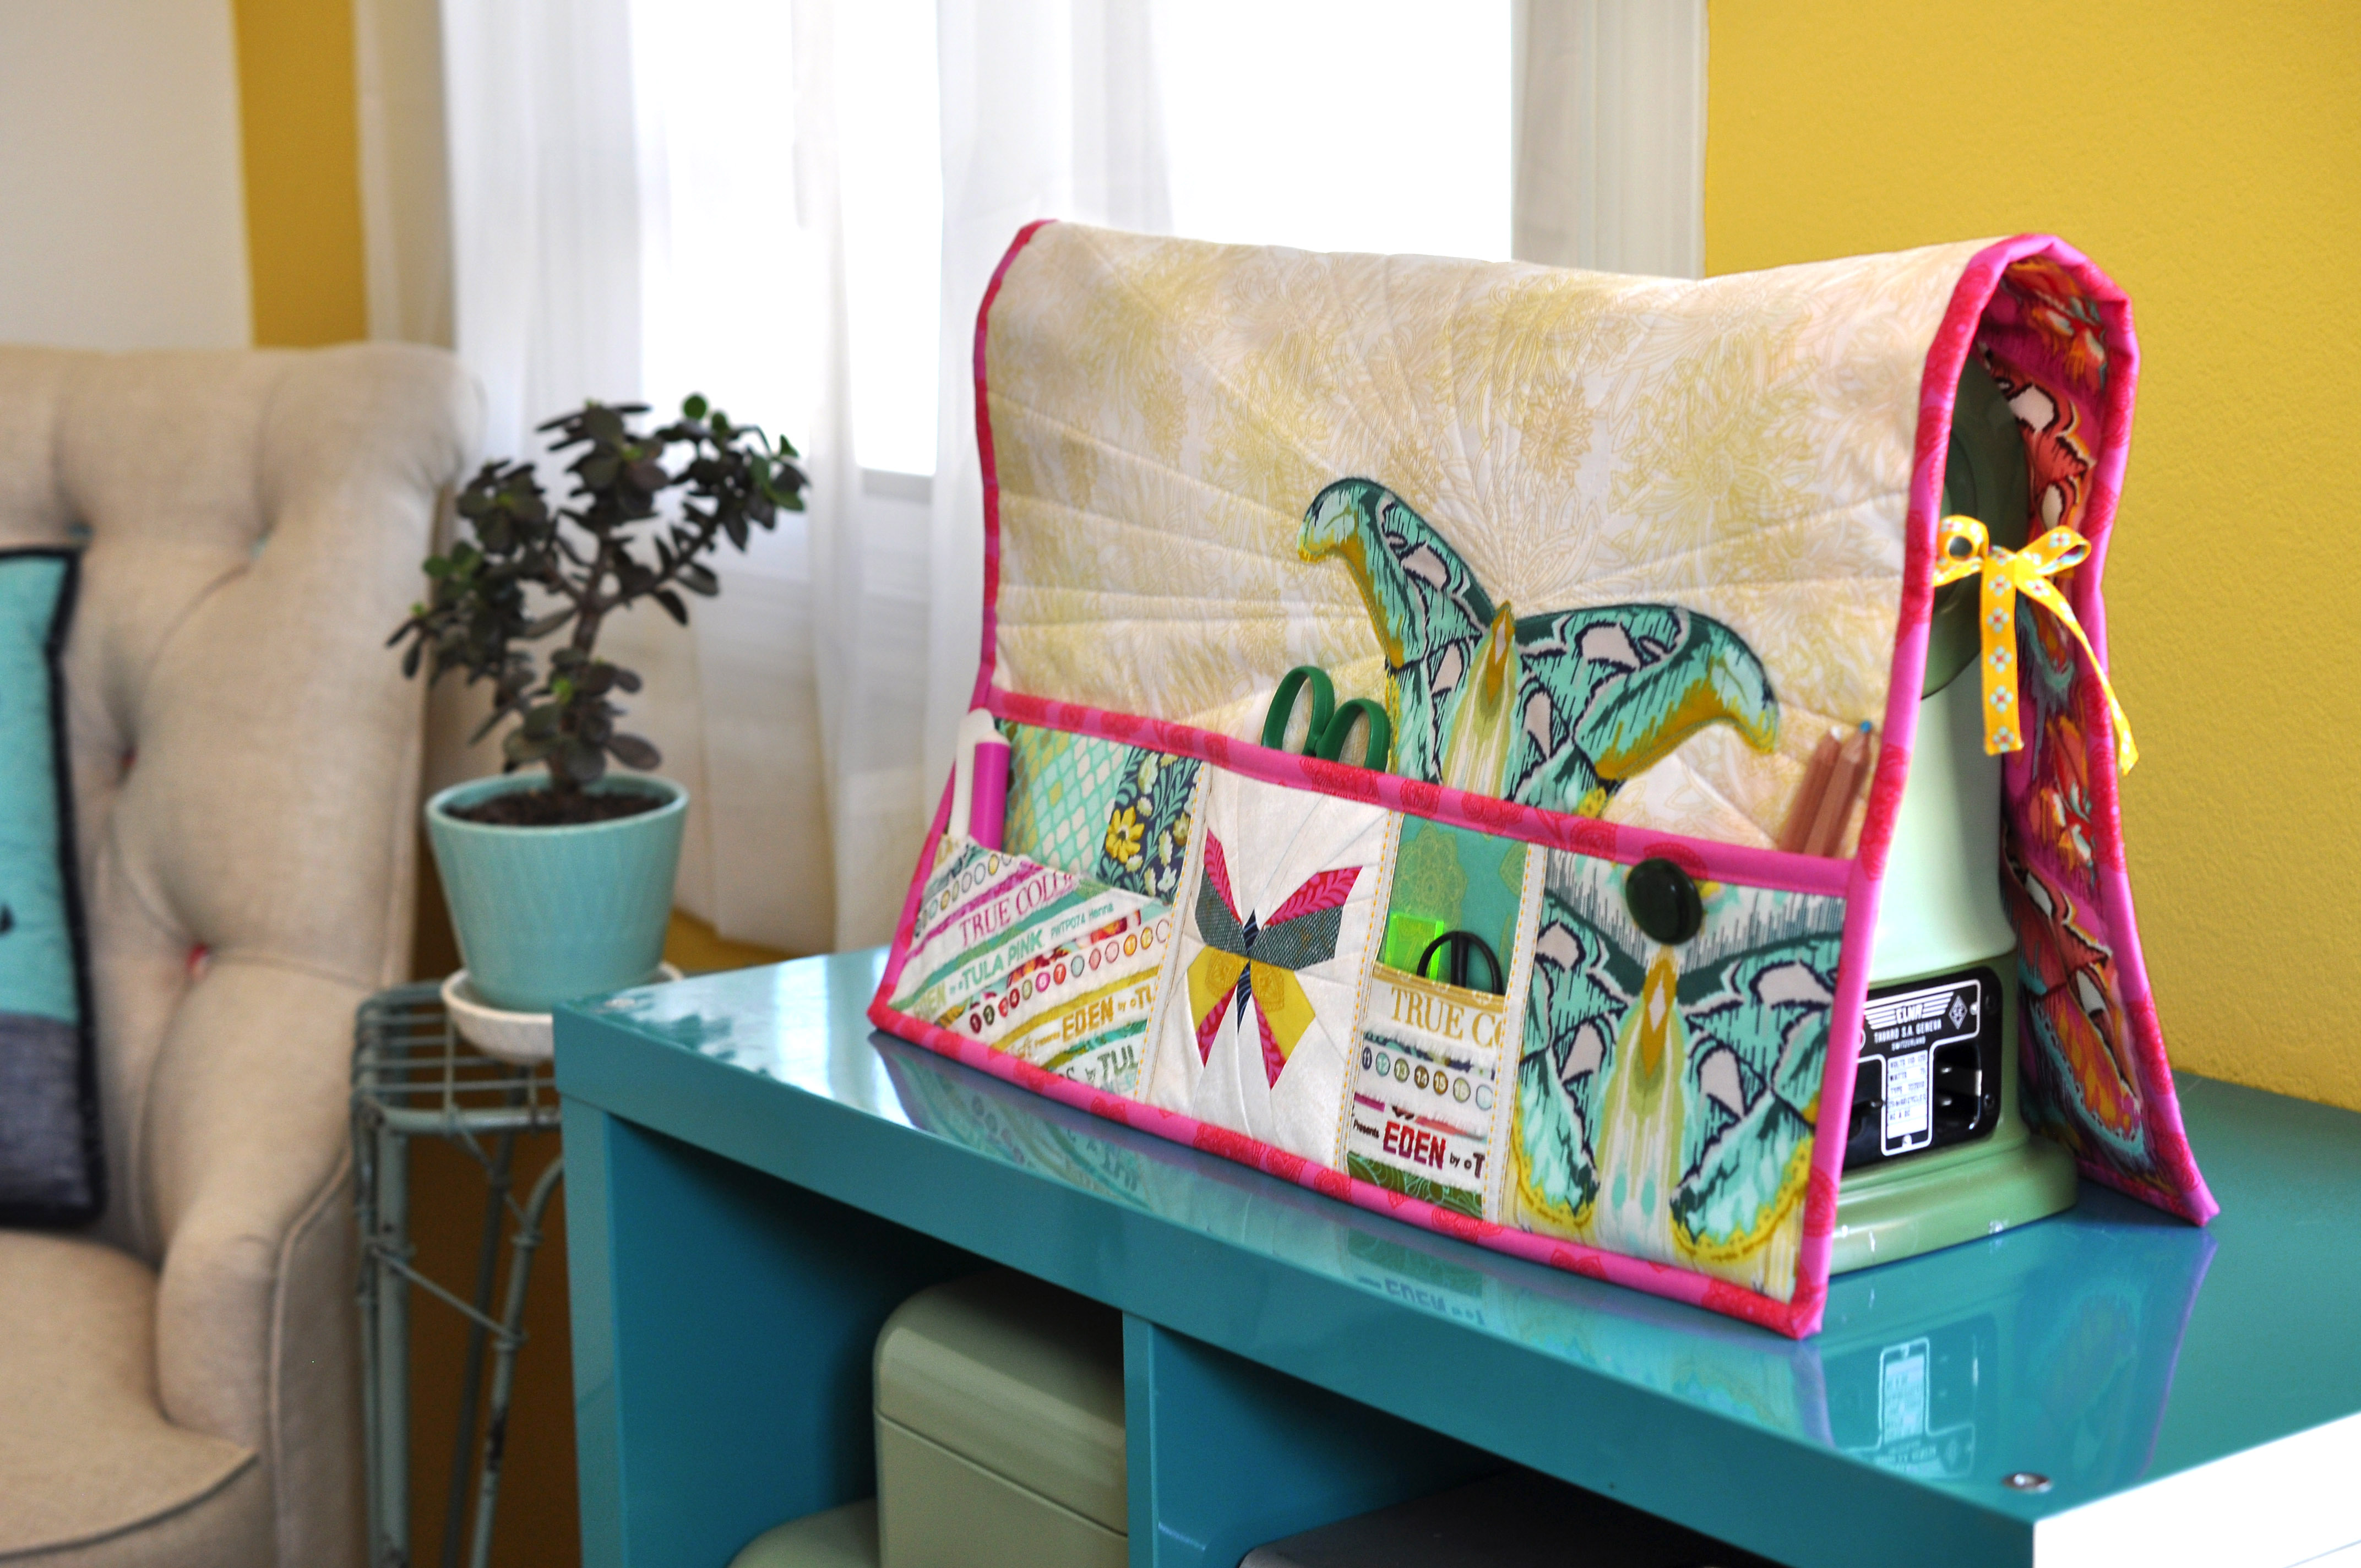
Another quilting technique you will need to know comes at the end of the body and that is binding. This is the little edge “wrap” that goes around the entire piece and seals everything up. Here is a helpful tutorial from Bluprint.
The body and thread catcher are fairly straight forward and the pattern includes detailed instructions and diagrams on creating these pieces, but if you have questions at any point, feel free to contact me.
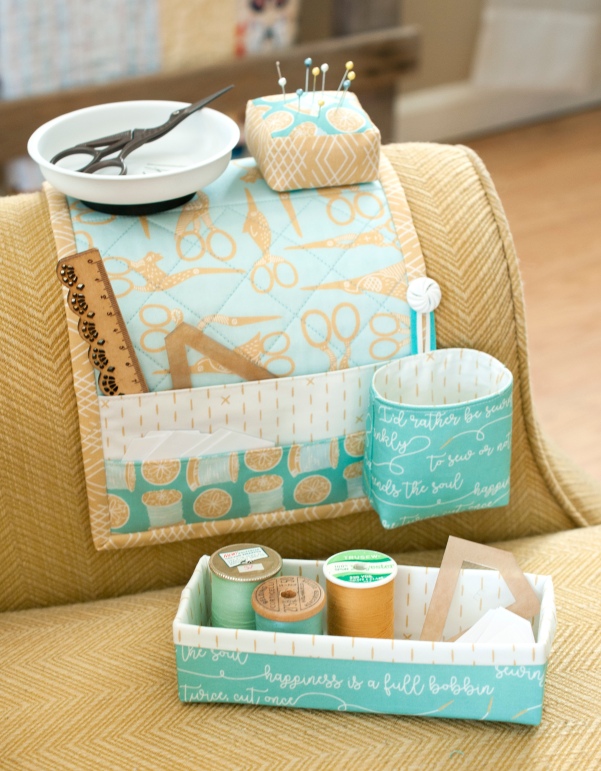
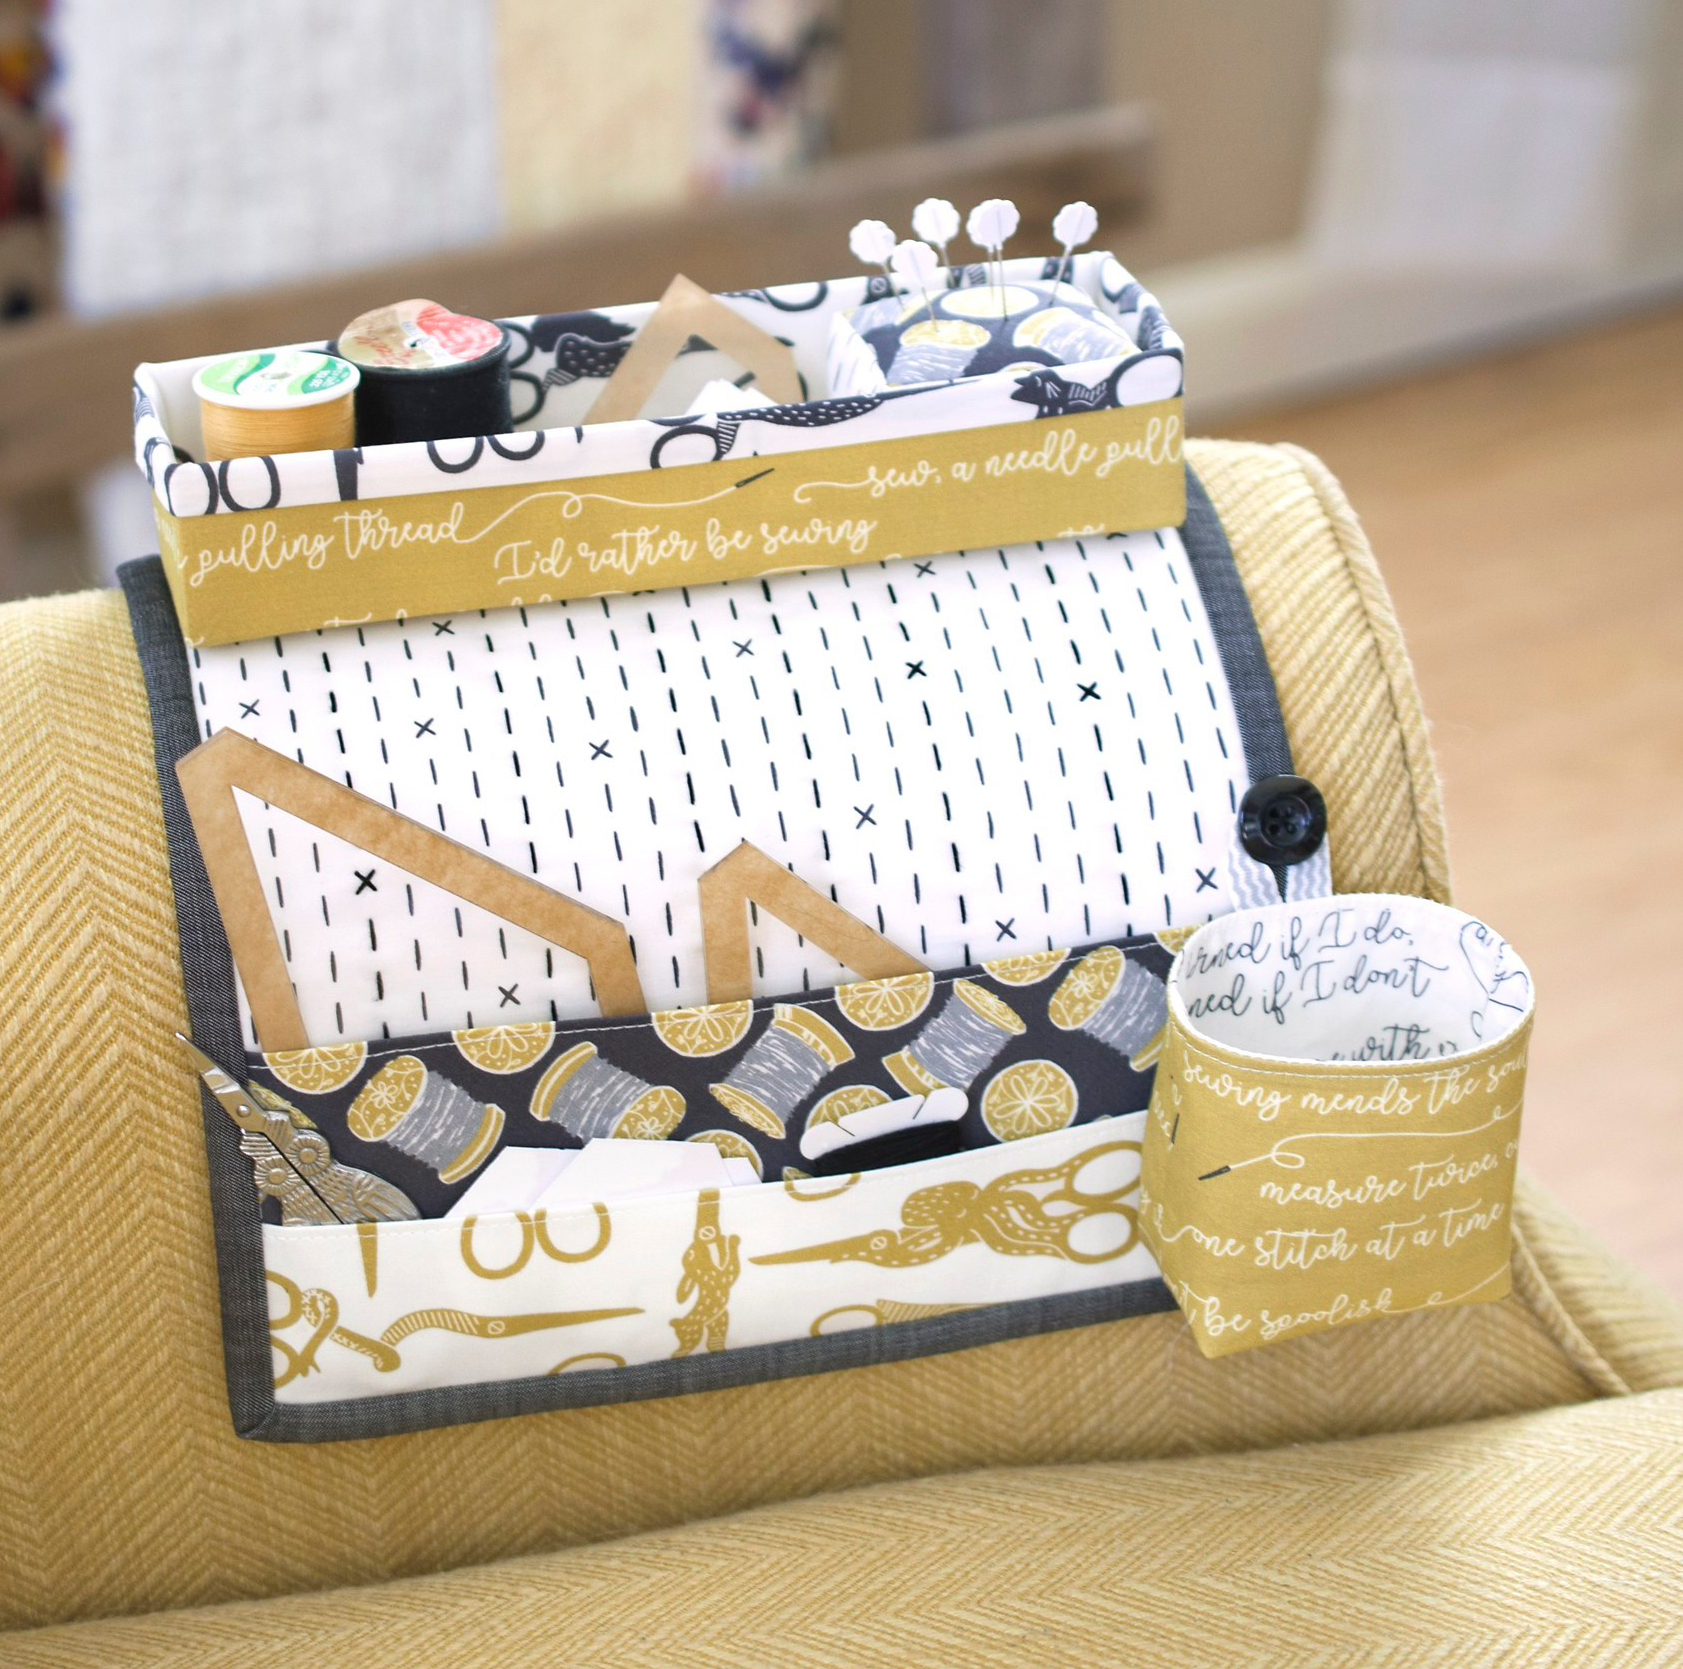
When it’s time to sew the buttons for hanging your thread catcher, think about where you will be using your Maker Station. I prefer to hang my thread catcher on the side farthest away from me so my leg doesn’t hit it and it’s not in the way of my pockets, so this placement will vary if you place the station to your right or your left. Also keep in mind it’s “reversible” in a sense, you can place either set of pockets on the inside of your seat or the outside. I sew at least two buttons on my body, but you can sew four buttons (one on every outer edge) so you’re fully versatile!
As I mentioned, this little thread catcher is an optional piece, but I love it. If you don’t use it for scraps, you can use it for extra storage. It’s also a handy design to use elsewhere, like on your sewing machine!

Those are all the basics for this week as we create our main body and thread catcher. I will be posting some photos of your projects on Instagram through the week, as well as sharing some of the SAL prizes, so I hope you follow along! Remember to use the tags #minimakerstationSAL2019 and #minimakerstation, and share with a friend!