

Hey, Gang! How are your Maker Stations coming along? This is Part 2 of the Mini Maker Station SAL and if you missed the kick off, you can find Part 1 here.
This week we’re moving on to the pin cushion and fabric basket and today I’m going to share some helpful tips for keeping your basket nice and crisp, and just a note, these same tips apply to making any size or shape of my free sturdy fabric basket pattern.
Below I’m sharing some IMPORTANT tips on how to create a crisp basket that keeps its shape! I have made a video tutorial of these steps and am not able to post it here, but you can find it in my Instagram stories here. It’s definitely worth taking a few minutes to watch and follow these steps closely! There are also additional notes below that are not in the videos about adding the magnets, so be sure to also read through this post.
As I mentioned in last week’s post, I don’t recommend substituting the Peltex 71F interfacing used in the basket, because it’s what gives the basket it’s stiffness and shape.
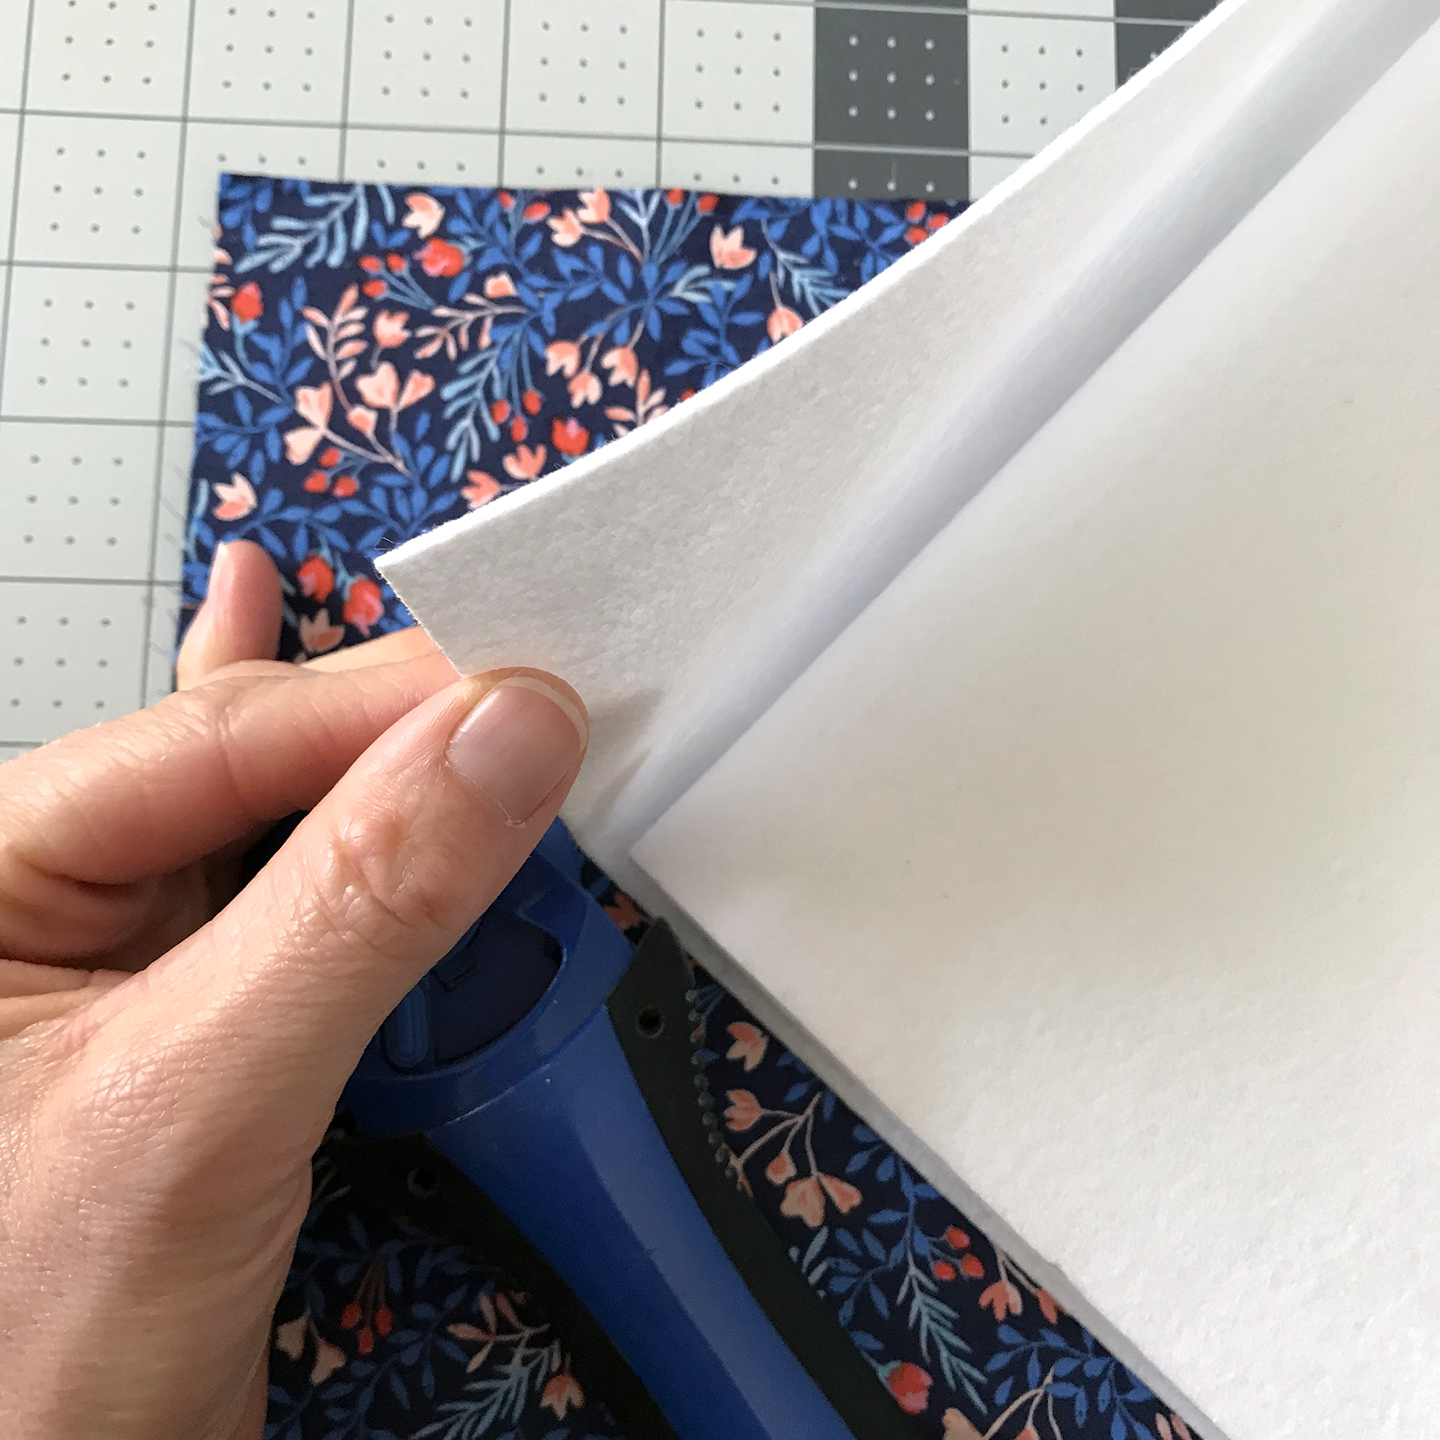
Once your Peltex piece is cut to shape according to the diagrams on page 5 of the pattern, you will first score along the dashed lines on the non-fusible side as indicated on the diagram. The fusible side will feel a bit textured, while the non fusible side will be smooth.
My favorite tool for scoring is a herra marker, but you can also use a scoring tool, a bone folder, or the back edge of a butter knife.
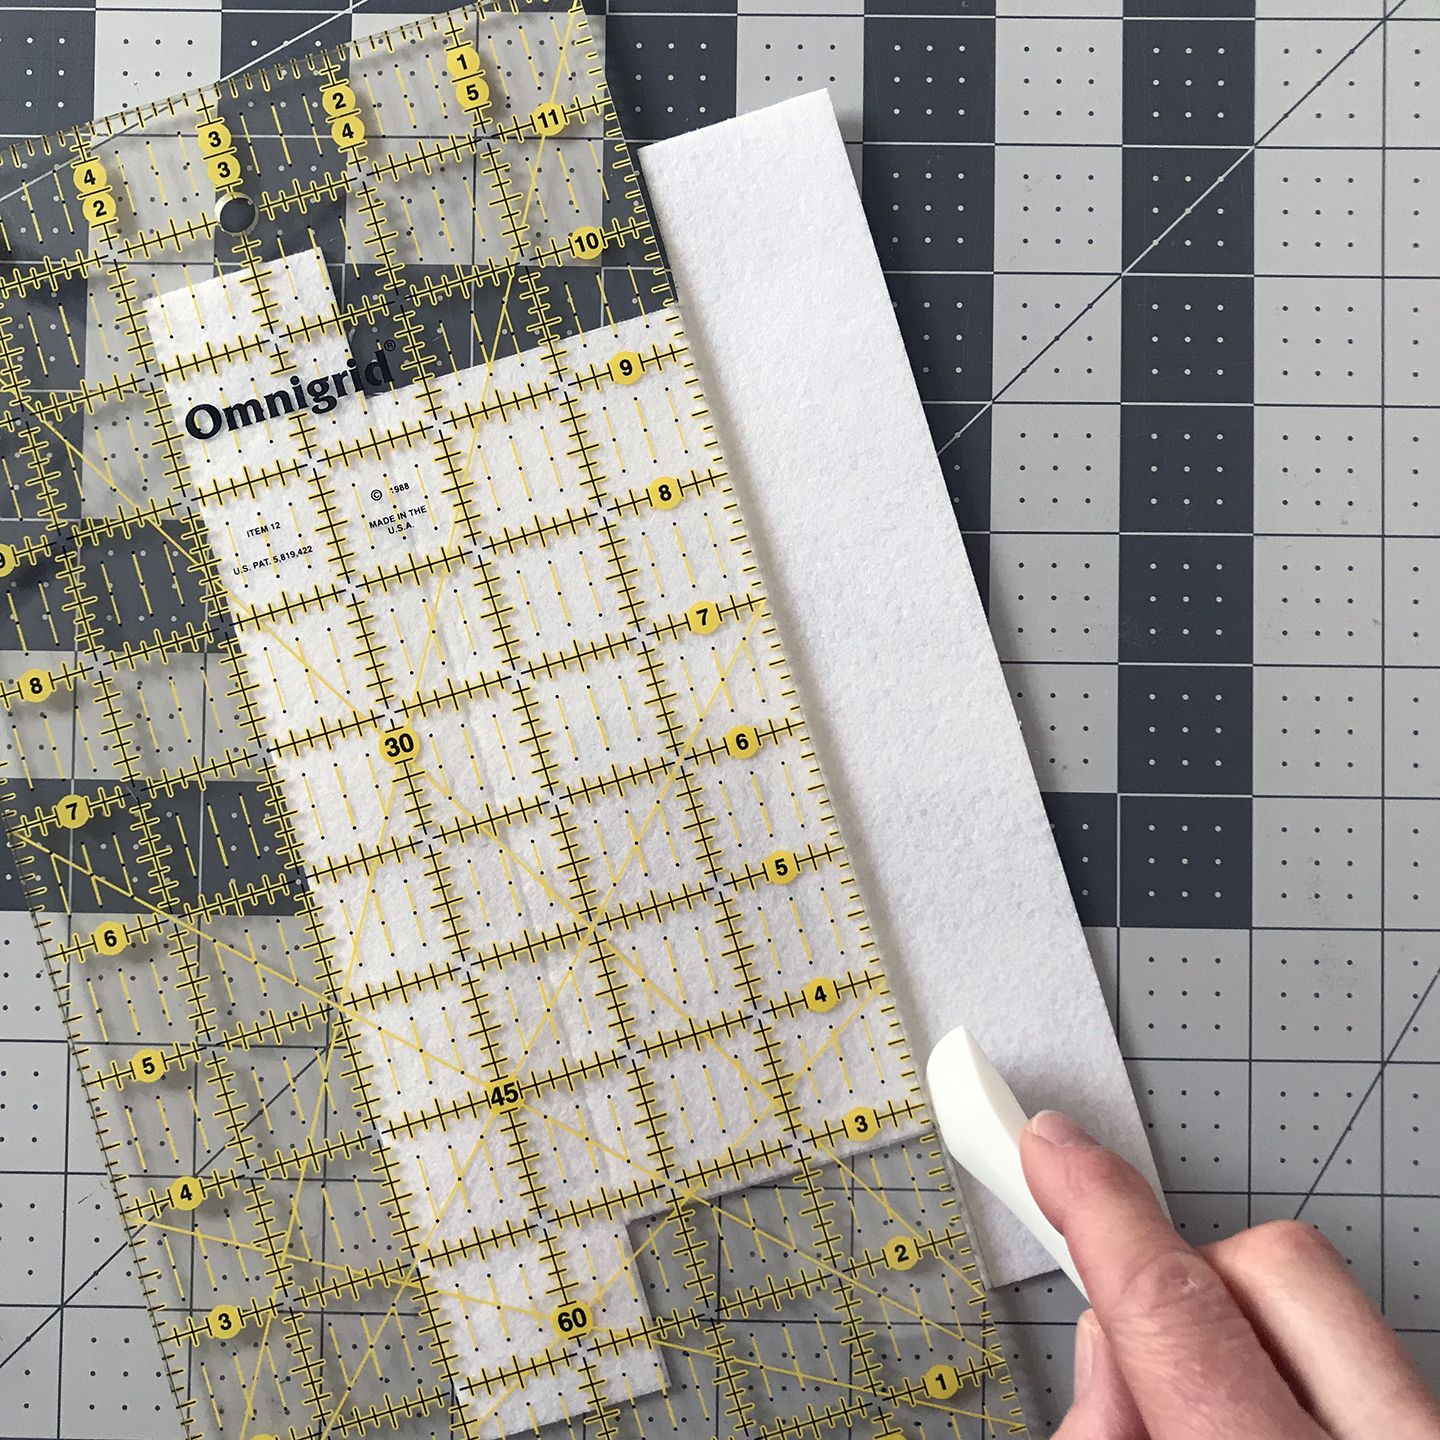

Use a ruler edge as a guide and press with firm pressure, running the tool back and forth a few times to make a deep crease. Repeat for all the fold lines indicated on the diagram.

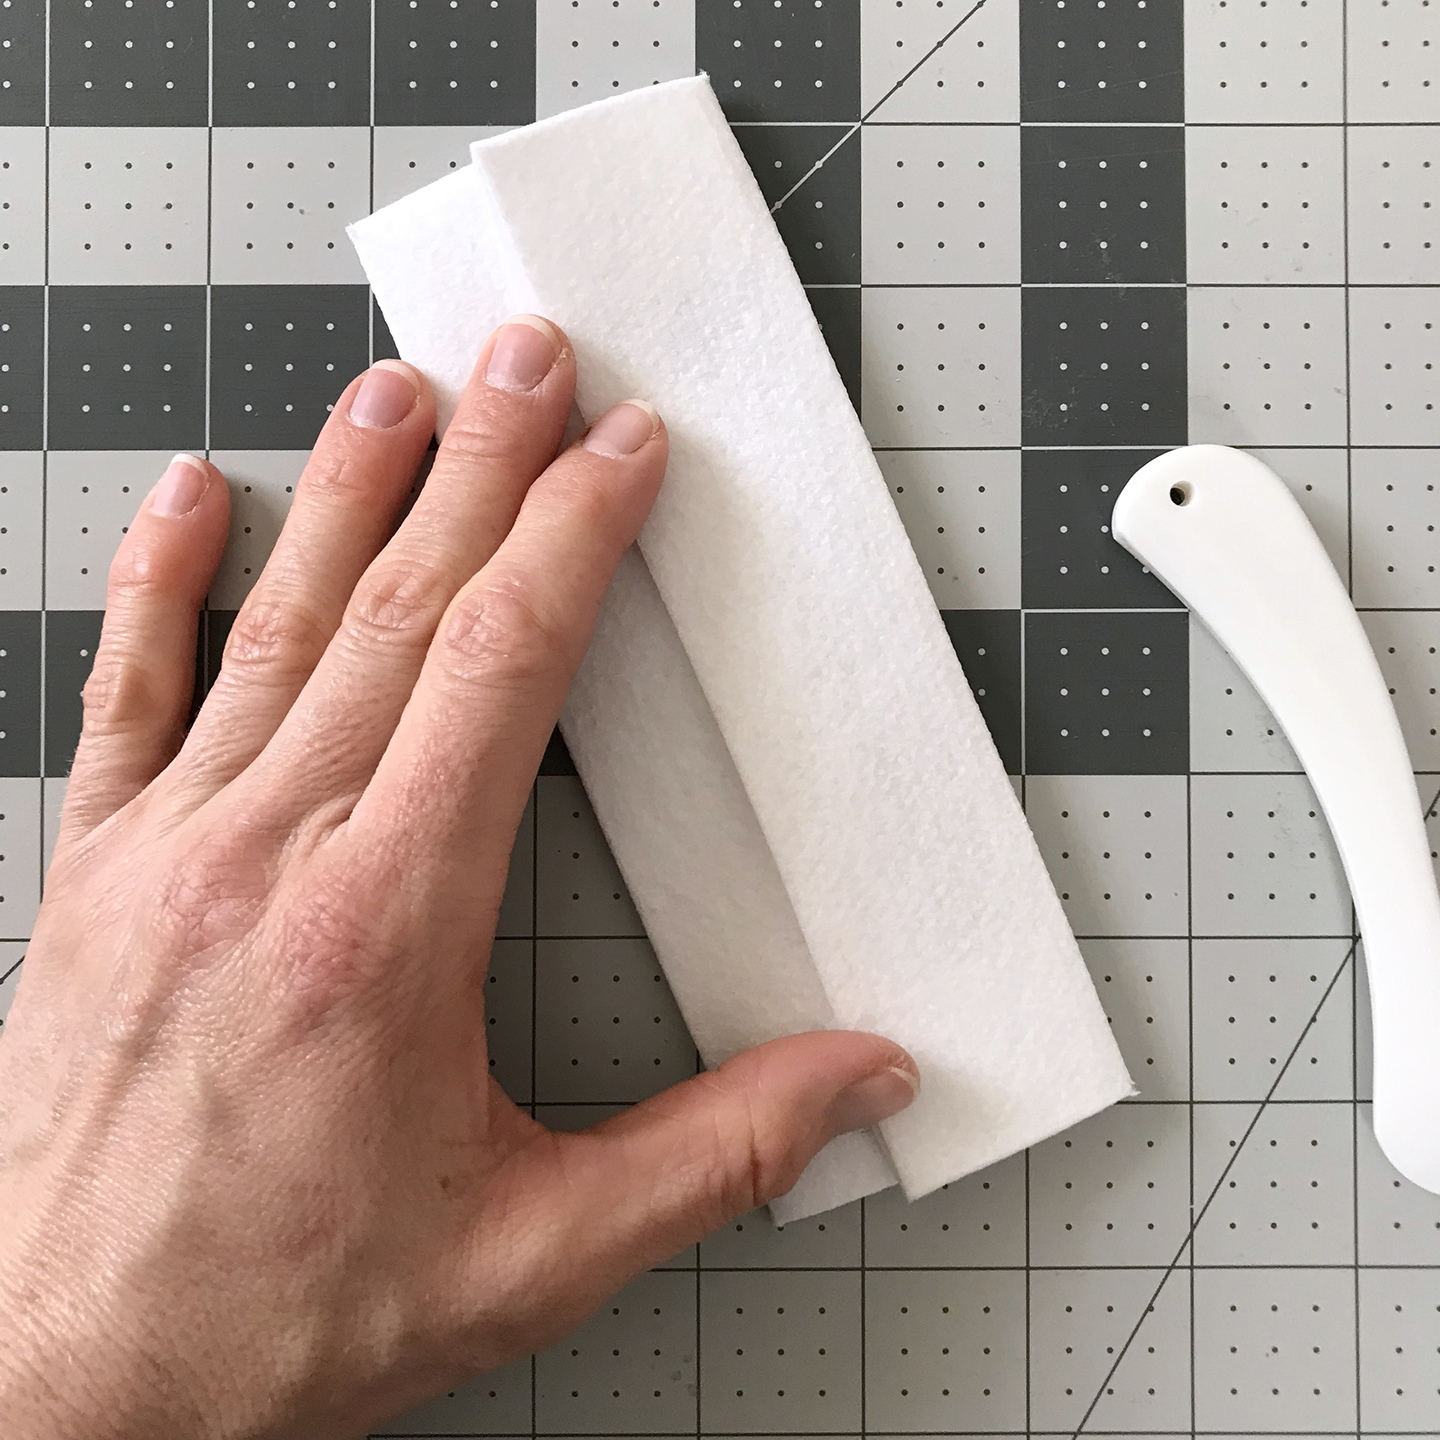
Once you’ve created all the score lines, working one at a time, fold along each score and rub a more blunt tool (such as the other end of your herra marker or the handle of your scissors) along each fold, pressing hard to really accentuate the fold.

The last step is to fold everything up on itself and place the folded Peltex piece under something heavy, such as a stack of books or under your sewing machine, for a few hours or preferably overnight.

After your piece has been pressed you will see all the edges are nice and crisp and the basket holds its shape. Any little “give” that it has left will be held together by the fabric body of the basket which you will see in a few more steps.

Moving onto the magnets used in the basket, when securing them under the SF101 interfacing, I first press both short edges and one long edge of the interfacing to the inside bottom of my main basket fabric. I then slip the magnets through the open side and hold two in place at a time using my thumb and forefinger while pressing around them with the iron in my other hand.
Work slowly and use steam, but be careful to not burn yourself. Be sure all areas of the interfacing around the magnets are pressed well and secure. Your magnets may move around under the interfacing a bit, but just be sure they cannot slip out any sides or slide toward each other.


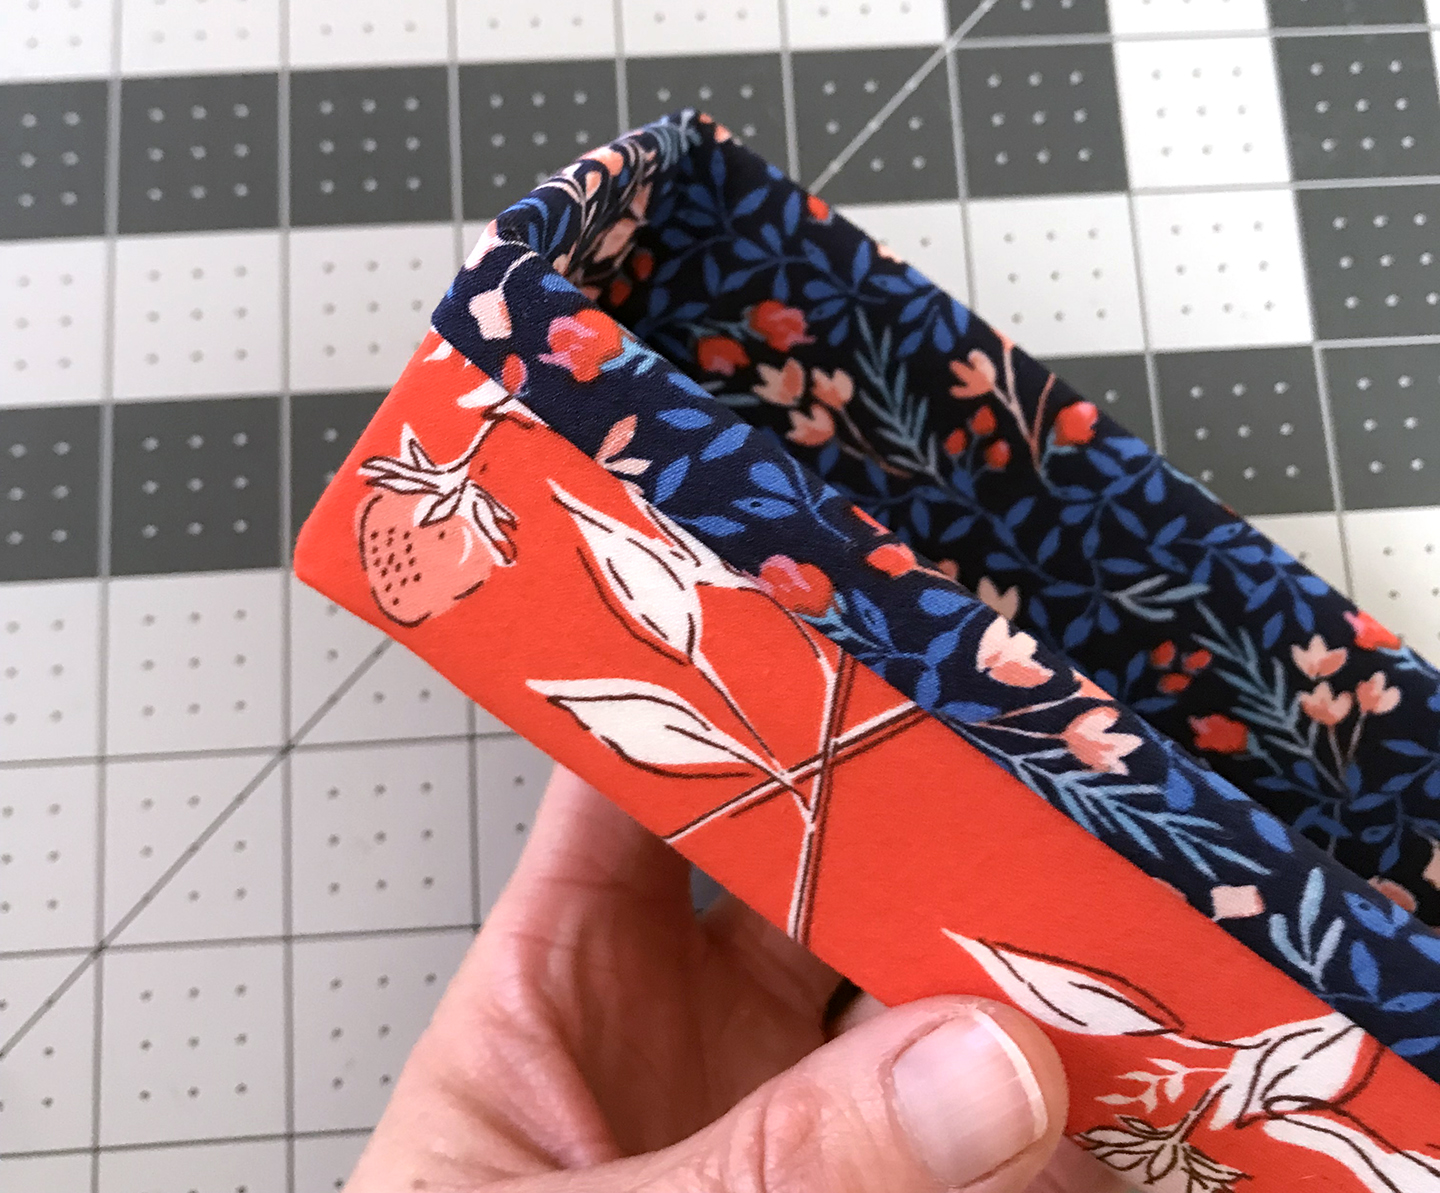
Now you can place your Peltex basket form into your main body fabric and you’ll see that it holds the peltex together nice and tight and perfectly in place.
For the last step, I have just one tip about preparing the basket lining. After cutting my basket lining piece to size according to the pattern diagram, I prefer to press the first fold of the folder edge before sewing the lining to shape. I find it easier to measure and press while the piece is flat. I mark a line twice the size of my fold, so in this case the fold is 3/8″ and I mark my line at 3/4″. I can then fold the raw edge to the marked line and press.


I do this on both long edges of the lining piece and then I sew it to shape, place it inside my basket and fold the top edge over. Ta da! A beautiful, sturdy basket ready to hold your notions!

· · · · · · · · · · · · · · · · · · · · · · · · ·

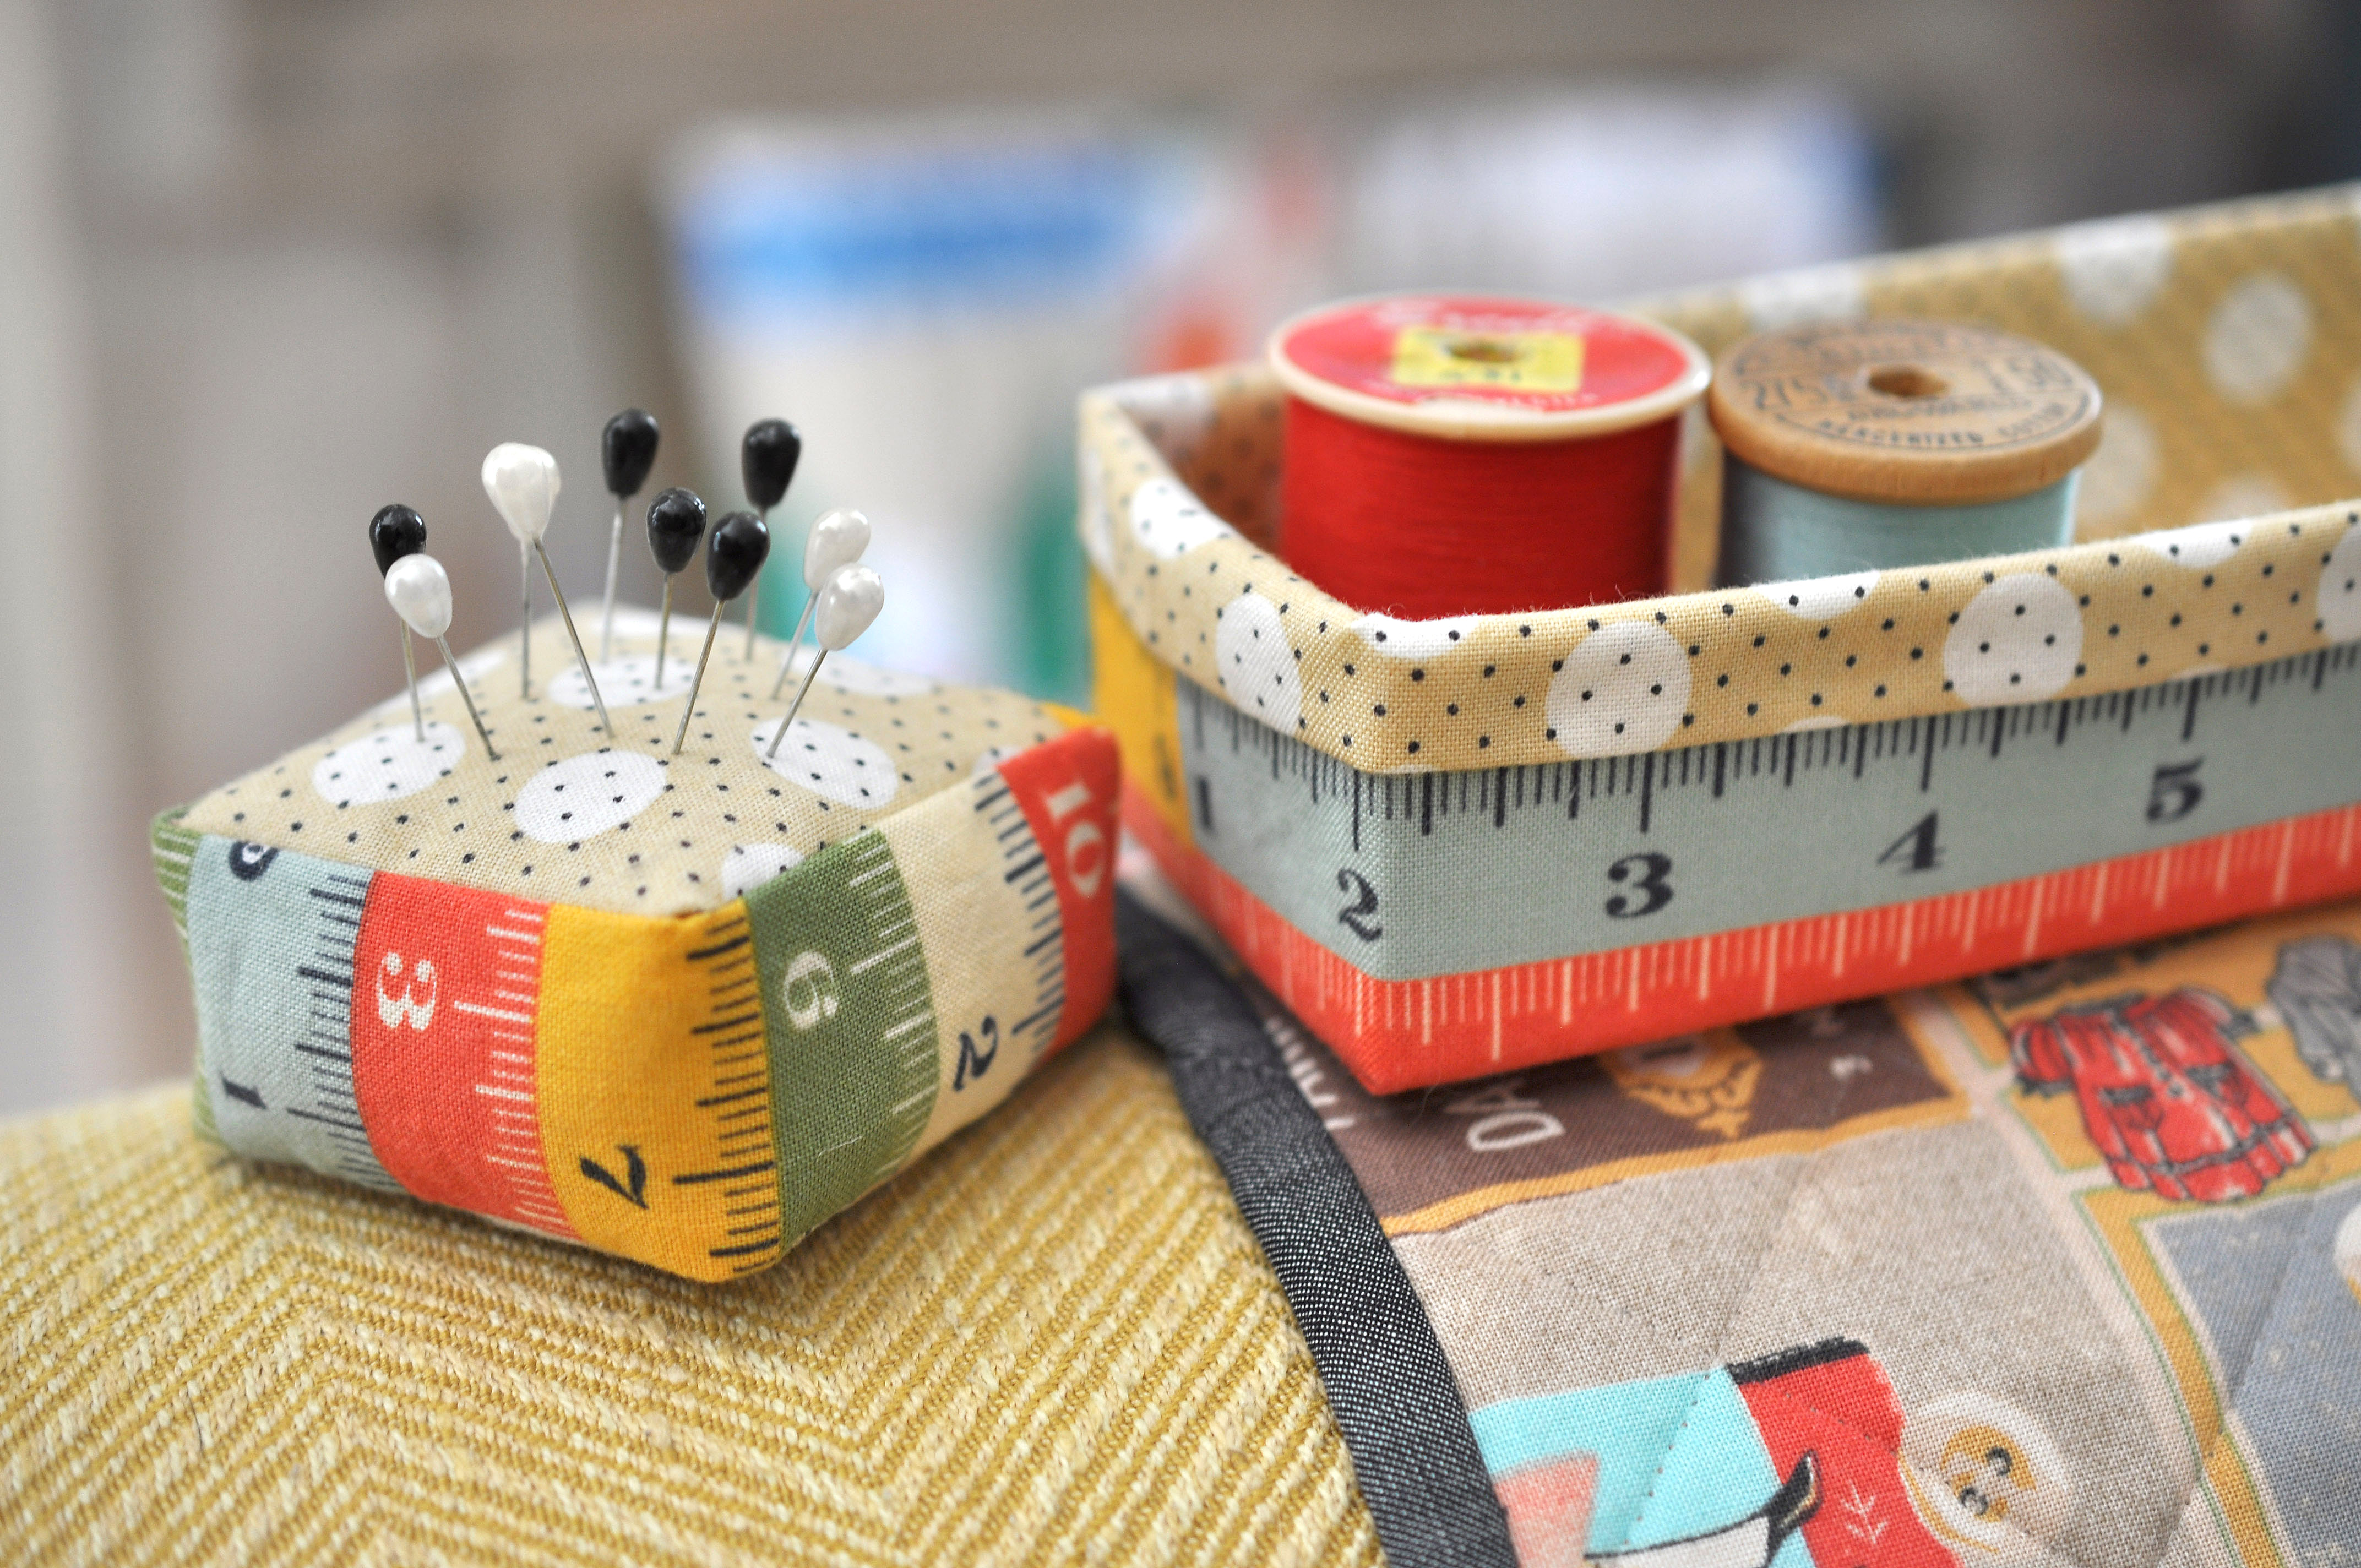
The last piece of your Mini Maker Station is the totally adorable little pincushion that you’ll want to make a dozen of! You can make them with the magnet and stick them to any metal surface, such as a work table or metal sewing machine, or you can make them without to simply use as a pinnie anywhere or give as gifts!

I don’t have any extra tips for you about making the pin cushion as the pattern is very detailed, but if you have questions at any time though, you’re always welcome to email me here or contact me on social media.
The Sew Along will officially wrap up on October 4 and I can’t wait to see your finished pieces! Remember to share your progress photos on social media with the hashtags #minimakerstationSAL2019 and #minimakerstation!


Do you have a pattern for your little red thread catcher? It’s perfect.
LikeLike