

Good morning, friends! I’m so excited to officially kick off the Undercover Maker Mat Sew-a-long and have loved seeing some of your fabric pulls already! If you’re just tuning in, you can find all the details and the free pattern in my previous post (scroll down or click here). Please be sure to use #undercovermakermatSAL and #undercovermakermat on your photos so we can all inspire and motivate each other!
As mentioned, I’m going to follow the schedule that I shared, but you are welcome begin and end anytime, and sew at your own pace. I will try to share a few extra tips and suggestions at each step, but everything you need to complete the project is in the pattern.
—–
Today, I’m going to talk a little about some options for the main body of the mat, but first, I want to talk about PRIZES! Because who doesn’t love prizes?

First up, I have some super awesome, generous donations to giveaway! I have FIVE 6-month subscriptions to Make Modern Magazine, a three month subscription to Stash Builder Box and a $25 gift certificate to Stash Fabrics!
I’ll also be giving away three bundles of all my lillyella stitchery patterns AND a bundle of fabric, notions and other fun stuff that I’m putting together, which I’ll share soon, and possibly a few more things that get added along the way!
I’m thinking that I will pick my three favorite finished mats and then draw the rest of the winners at random. What do you guys think?
—–
Alright, onto to business! I talked about the overall size of the mat and how to modify this to fit your machine on my original post, so be sure to check that out. Now I’m going to talk a little about fabrics and design options.
On the previous mats I’ve made, I have chosen a simple, low volume for the main body, so that the colors and prints used on the pocket panel would really pop. My very first one was a solid piece and on the next one I made for the Paperie Fabrics blog tour shown below, I pieced a thin strip of accent fabric in and really love the look.

On the Tula one shown above, I added an applique moth peaking out from behind the pocket panel, and I think it’s so fun.
Because the main body is 20″x23″, you need yardage for this piece, but if you are working with scraps or a FQ bundle, you can simply piece it together any way you like.
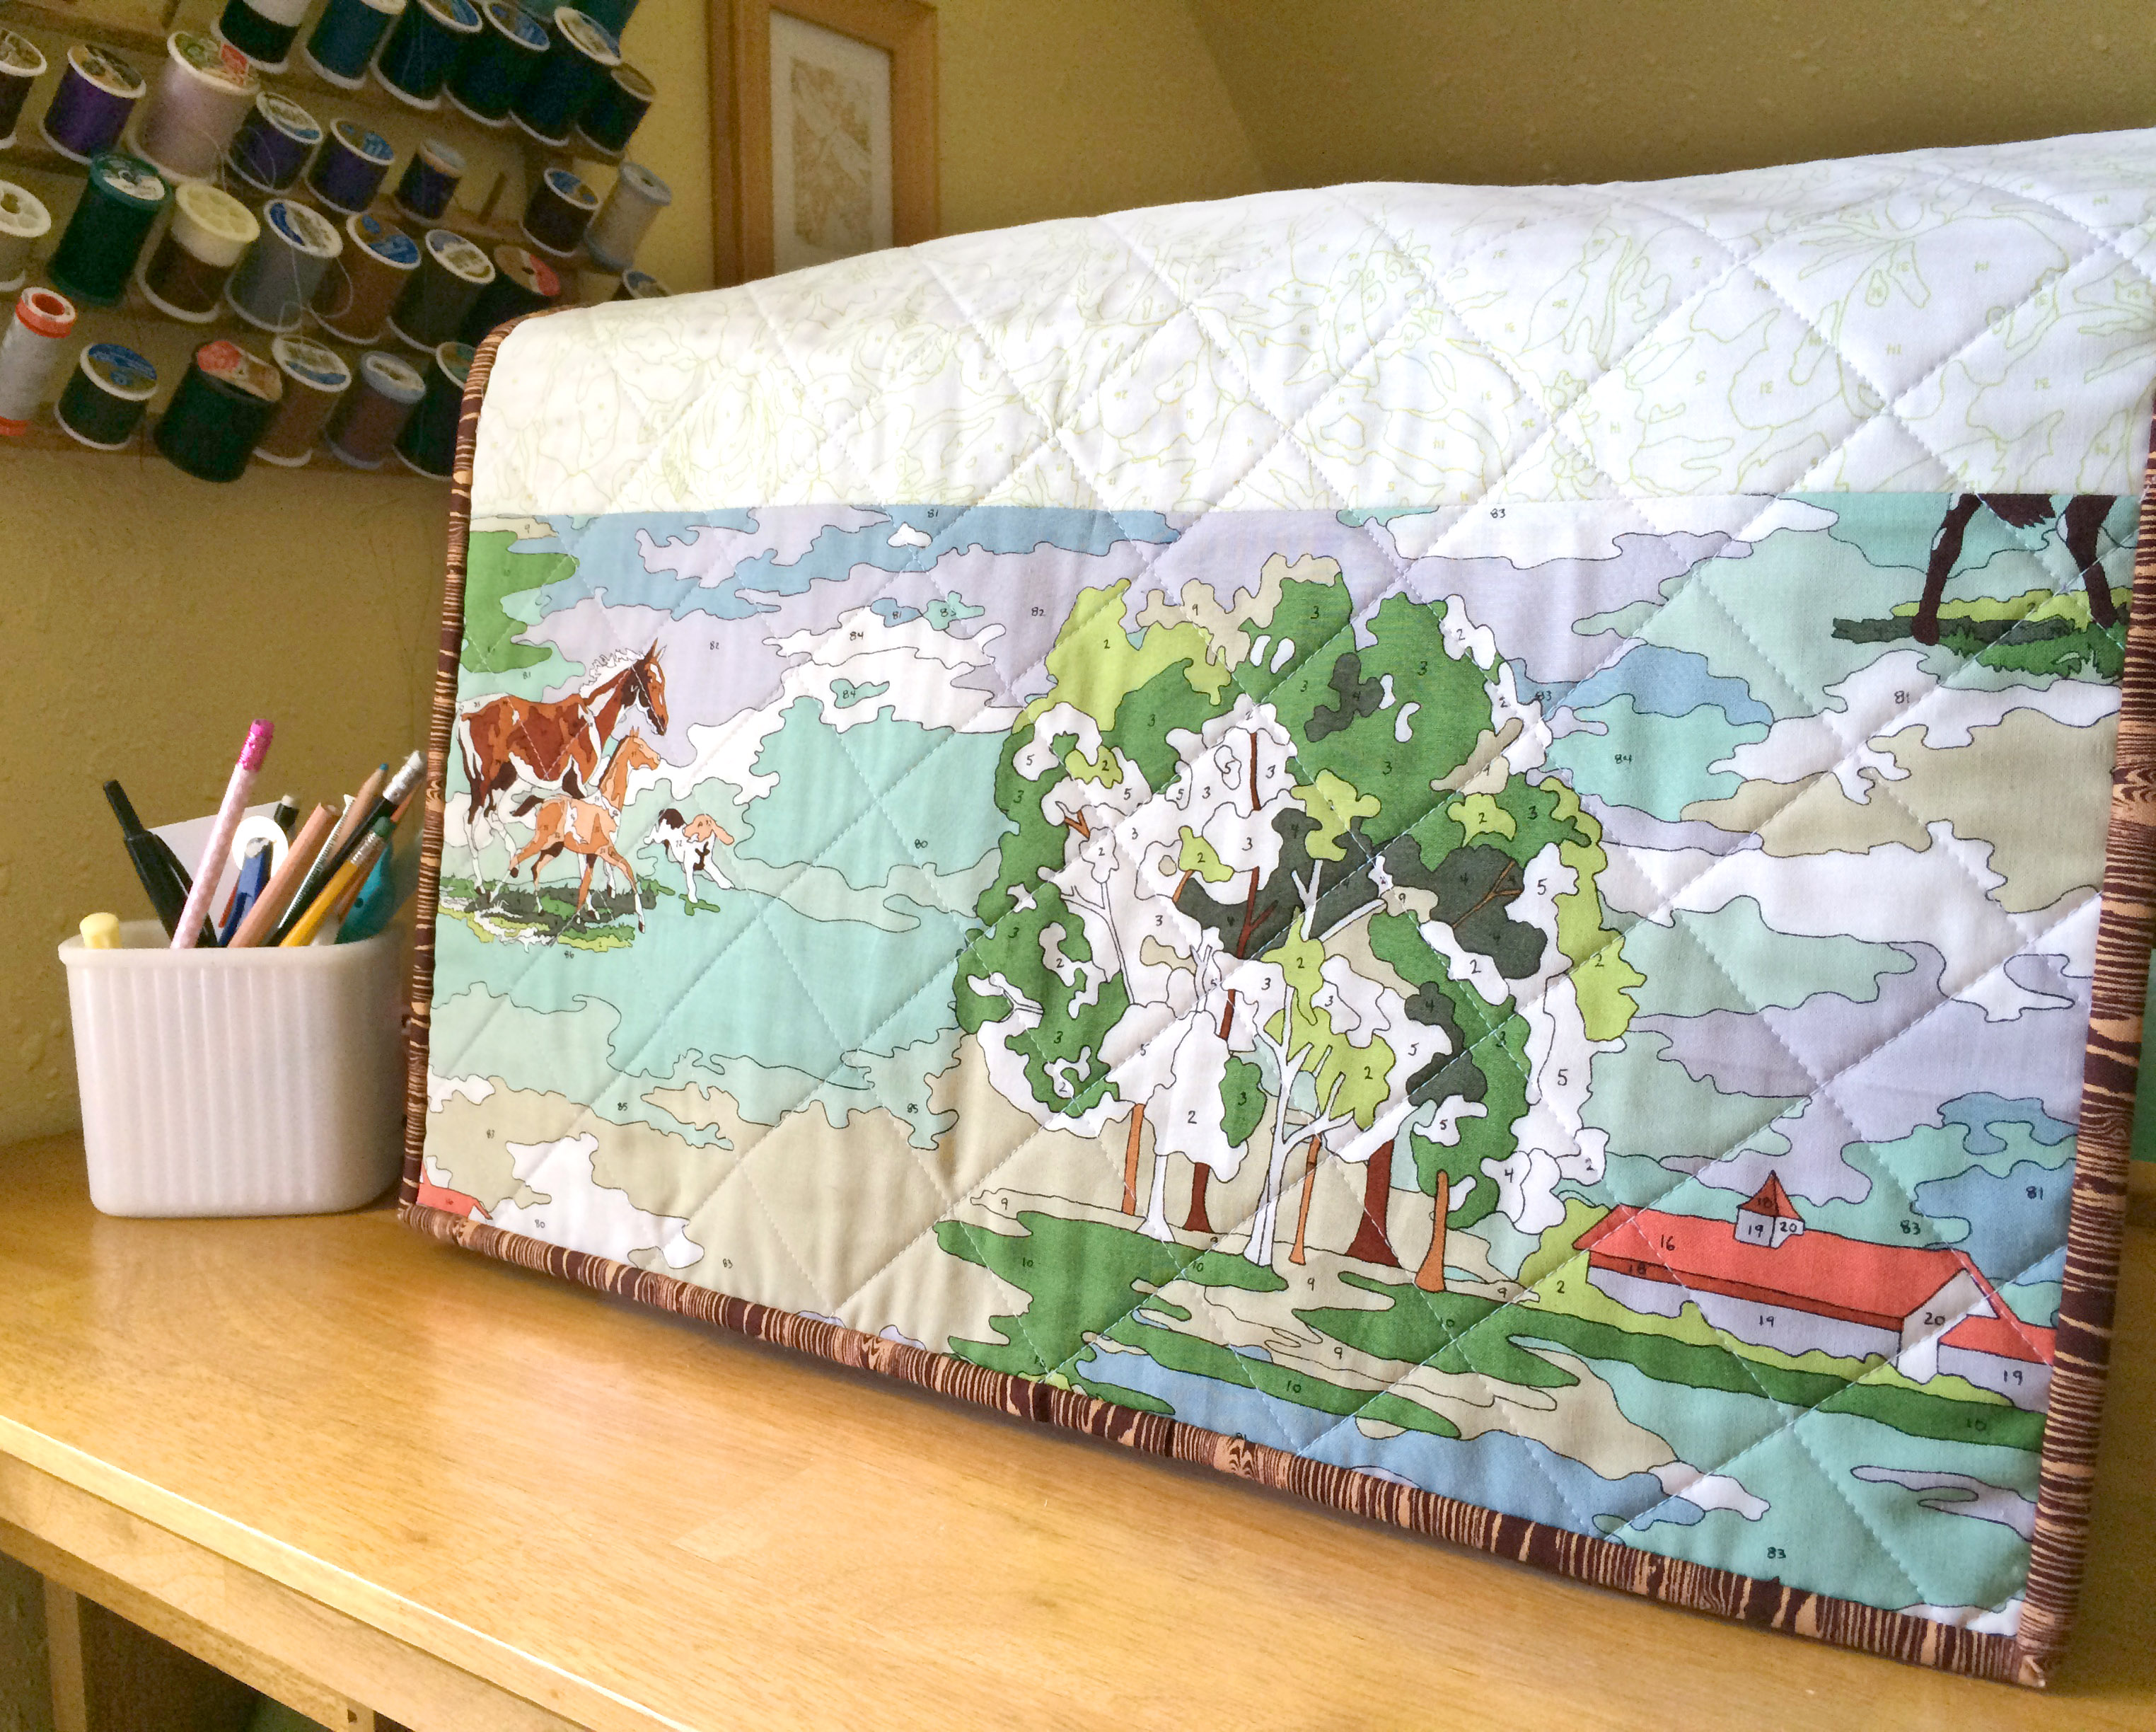
Even if you choose to use a low volume background, another fun option is to add a print to the “back” of the cover, what would show on the back of your machine when being used a cover, such as on this one:
—–
Another way to approach this project is to make the main body bold and vibrant, and keep the pocket panel simpler. Below are a few examples I found on the #undercovermakermat hashtag on Instagram using fun prints or patchwork designs. I hope these, and all the examples I shared in the original post, will help inspire you!

—–
I am making two mats during this sew-a-long (at least that’s the plan), but after unexpectedly spending all night in the ER and heading back to the doctor shortly, I have nothing to show you yet! Hopefully I can make some progress later this evening and I’ll share my final fabric pulls and finished bodies on my instagram page. And as long as I’m not under the knife, I’ll be back here Thursday to talk about the paper pieced and selvedge pocket panels!
ADDITIONAL POSTS:
Undercover Maker Mat Sew-a-long: All the details
PART TWO: September 6 – Kickoff, prizes and main body panel variations

Oh dear! I do hope there is nothing to seriously wrong. Best of luck with the Doctor etc.
I have a serious quantity of stuff on my plate at present but have been wanting to make this project for a while so may just give it a go.
LikeLike
Prizes?!! Ooo–I guess I can be even more excited than I was already 👏🏻👏🏻 Really sending good positives vibes for you though, with what ever is happening medically.
LikeLike
Oh no, I’m sorry you are ill.. I hope you get it sorted out quickly. I’ve wanted to make this project for a while, love the design! Thanks for hosting this see along to provide the movtivation. I pulled salvages and thought of some ideas for the main body, can’t wait to get started.
LikeLike
I hope that you don’t have to go under the knife! 😳 I’m sending prayers 🙏🏻 that your recovery is quick! So looking forward to this SAL, I’ve been wanting to make it for a while!!! Hugs to feel better!!!
LikeLike
Oh no about the ER, hope everything and everyone is alright. I wasn’t expecting prizes, woohoo, so glad I already started on my main panel, I’m doing a little hand embroidery so it will take me a little time before I can show it. Take care.
LikeLike