

Hello, Hello! If you are just joining the sew-a-long, please scroll down a few posts to find the kickoff and all the tips shared in previous posts or scroll to the bottom of this post for direct links.
Some of you are just joining in and some are already finished with their projects. Today is my last post about the steps of the pattern, but there is still plenty of time to sew! I will officially be wrapping up the SAL at the end of this month and choosing winners for the awesome prizes up for grabs, but you don’t have to finish your mat to be eligible to win. You just have to post your progress photos with the hashtags #undercovermakermatSAL2019 and #undercovermakermat on Instagram or Facebook. Every post is an entry. If you’re joining in and don’t have any social media accounts, feel free to email me some pics (nicole at lillyella dot com)!
• • • • • • • • • • • • • • • •
THREAD CATCHER
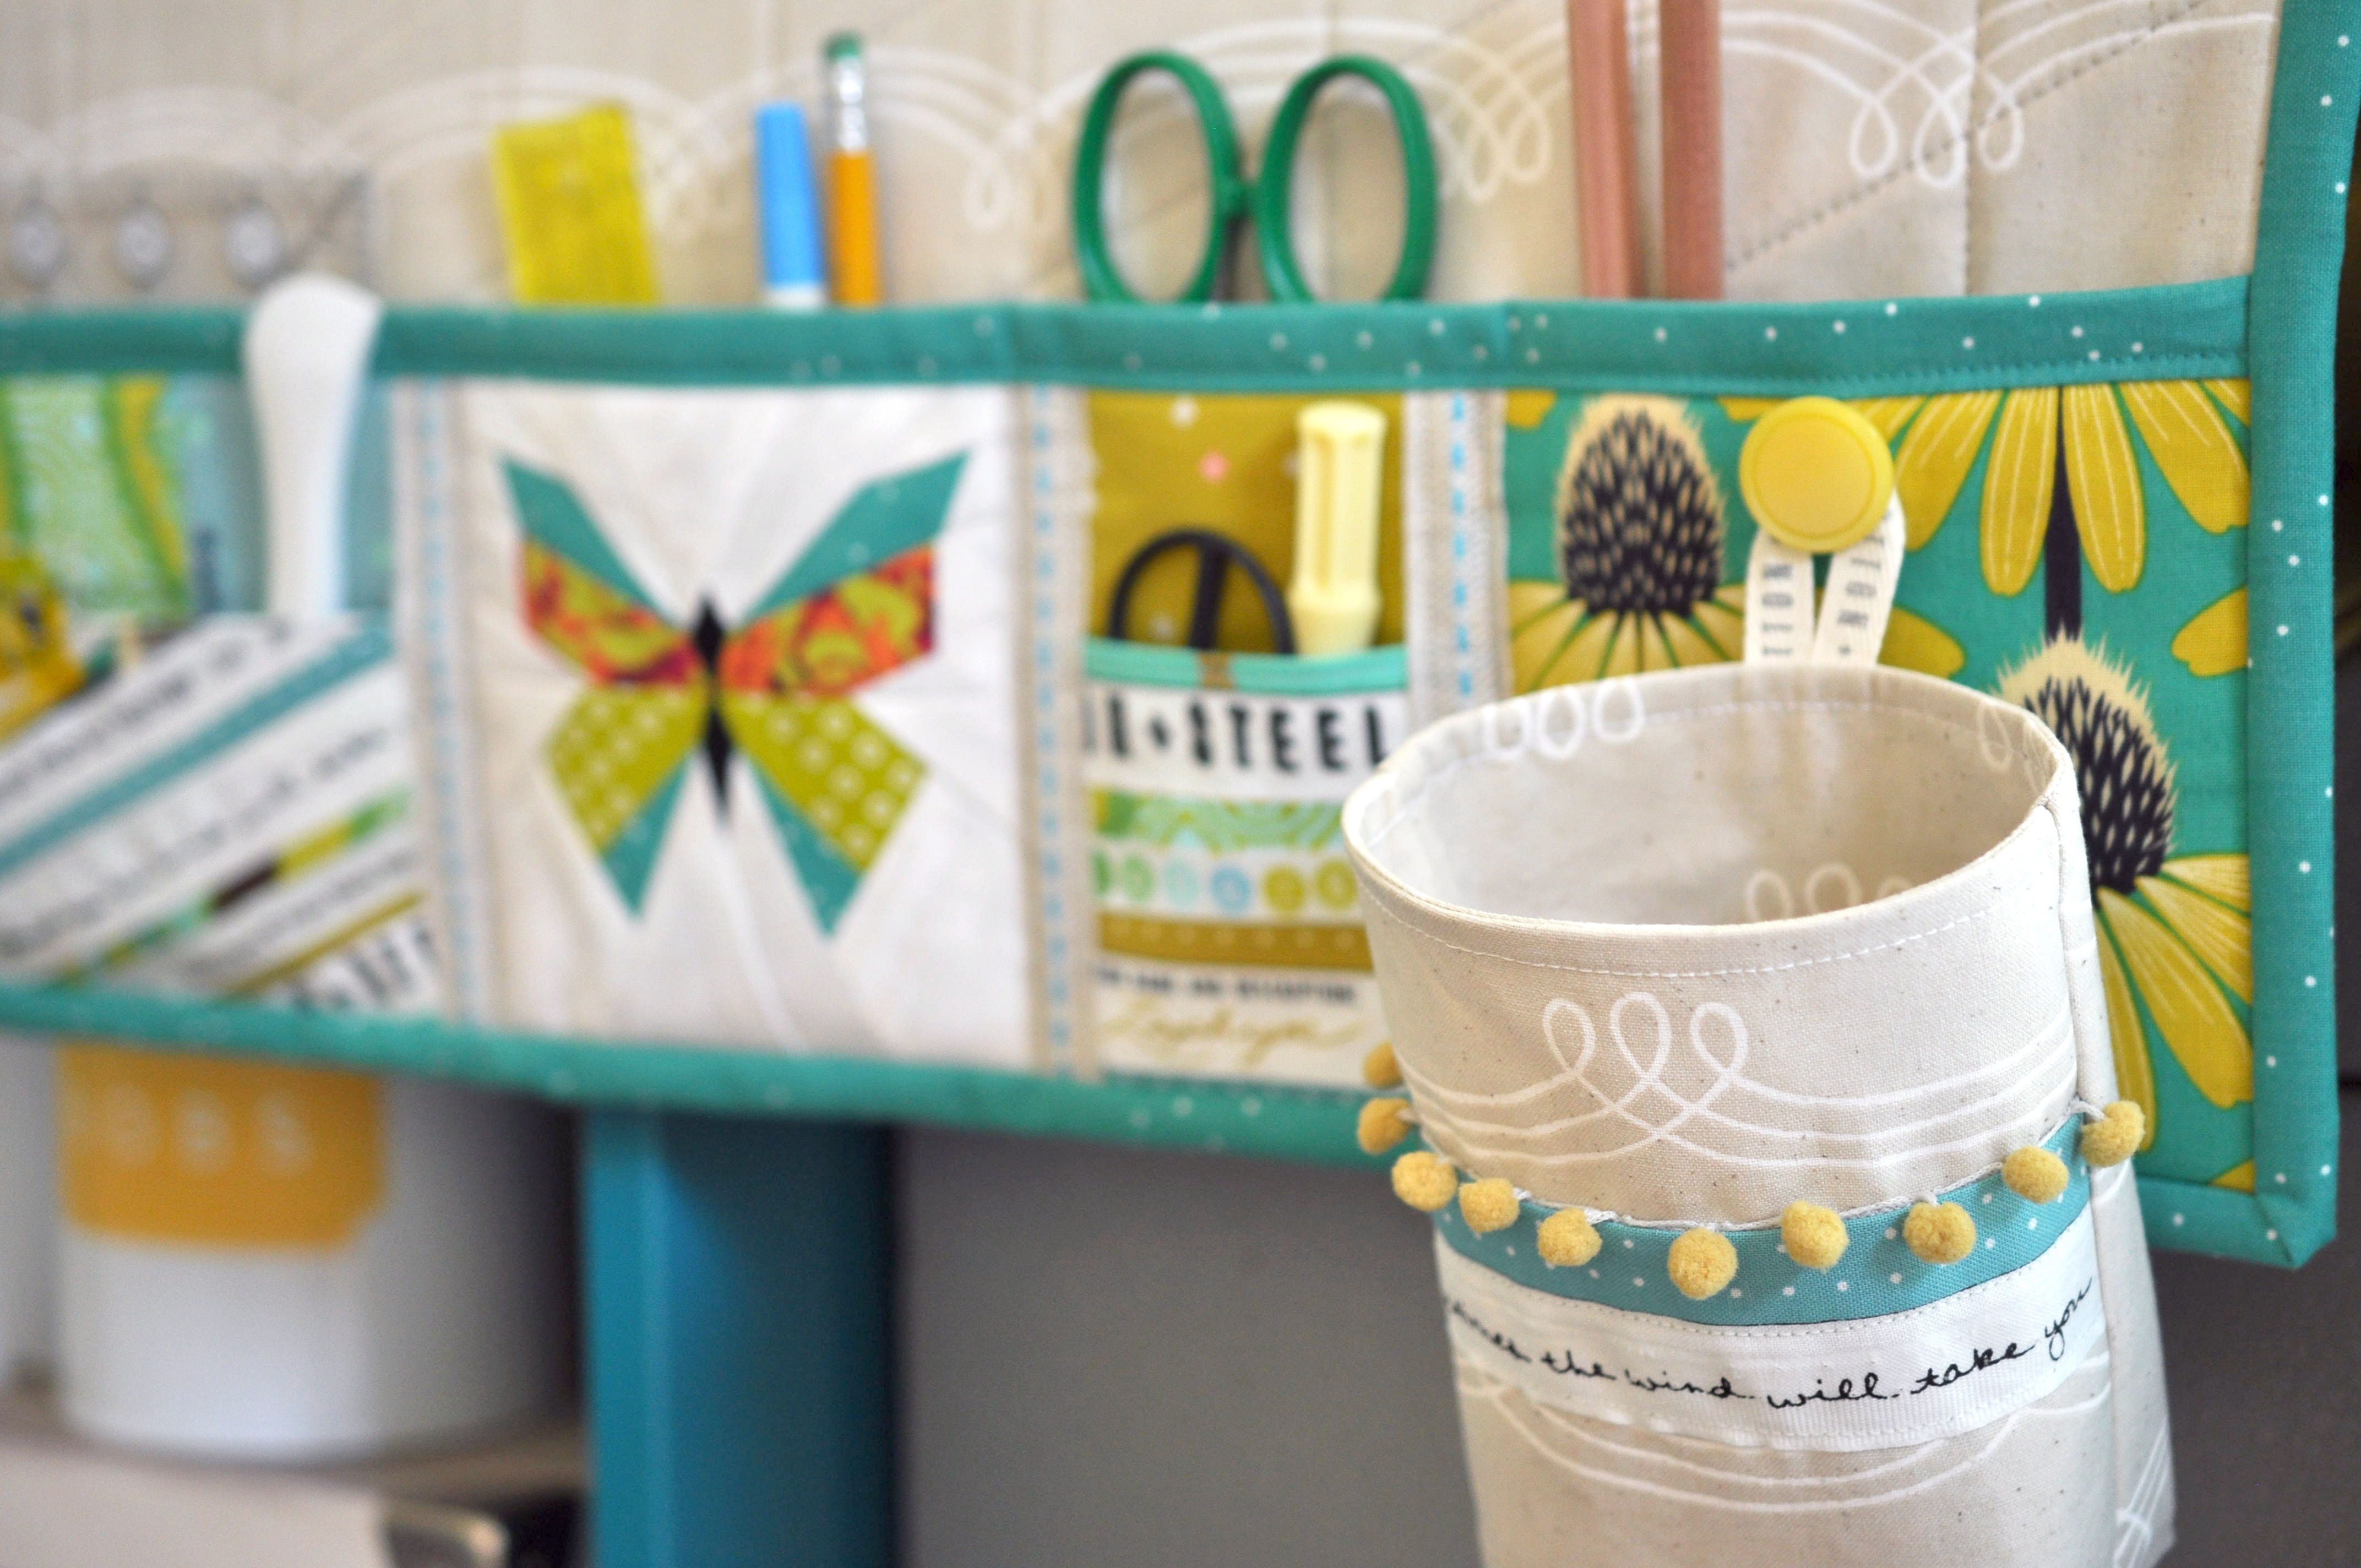
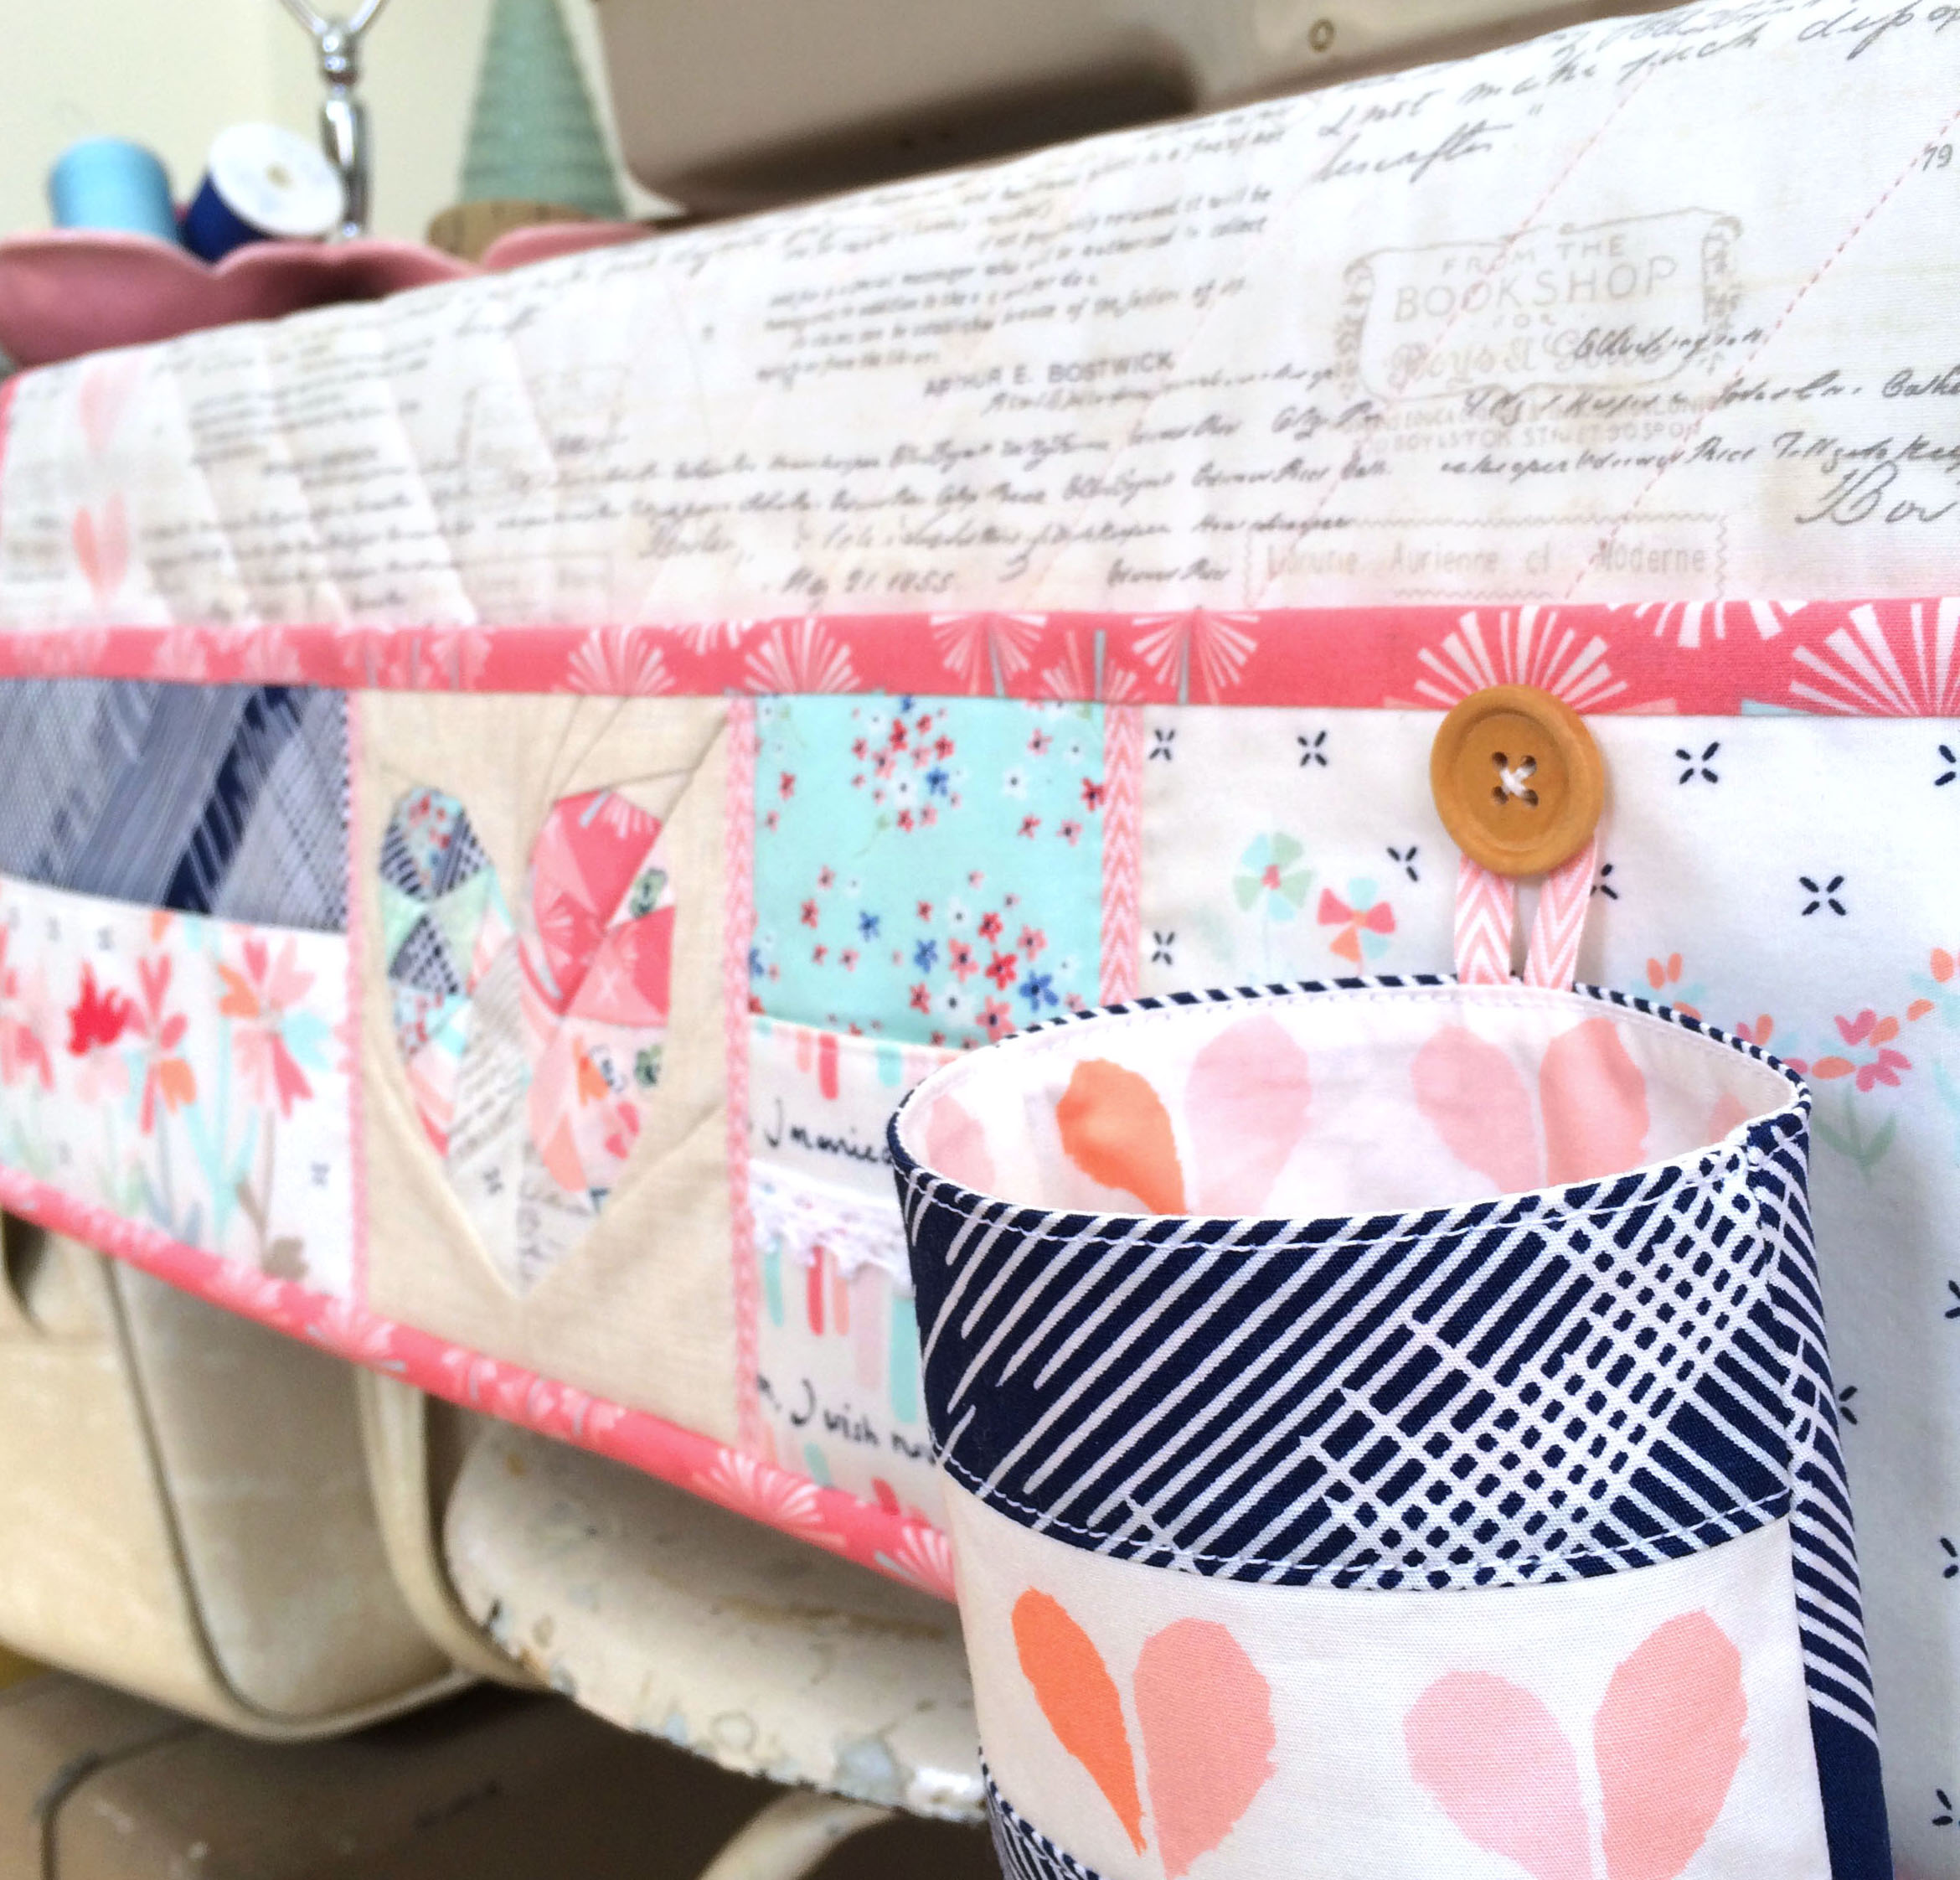
Onto today’s business. You’re either a thread catcher kind of person, or you’re a throw-it-on-the-floor-and-sweep-it-up-later kind of person! So, this step is optional. The thread catcher is designed to hang from a button on the far right pocket, but it will also stand on it’s own and can sit on your work table. If you choose to have it stand alone, you may want to shorten the height of it a bit to make it easier to use.
As with all the elements of this pattern, there are endless ways to customize the thread catcher. You can use a single fabric embellished with trim and selvedges or you can create any sort of patchwork design you like. Piece in a single accent strip, make the bottom half a contrasting fabric or use another paper pieced block. Here are a few examples:


• • • • • • • • • • • • • • • •
OTHER USES
Outside of this project, the thread catcher alone is handy for a variety of other uses! I often hang one somewhere on my machine while I’m sewing and I’m also working on a set that will hang from hooks on the wall behind my sewing machine to hold tools and notions. You could hang some in a bedroom or bathroom for jewelry, toiletries, hair accessories, etc! You can easily adjust the size by adding or subtracting equal amounts to all pieces.
• • • • • • • • • • • • • • • •
Remember to keep sharing your photos with the hashtags #undercovermakermatSAL2019 and #undercovermakermat!
ADDITIONAL POSTS:
Undercover Maker Mat Sew-a-long: All the details
PART ONE: Kickoff! Sizing your mat and tutorials for beginners
PART TWO: Adding a machine handle opening
PART THREE: Pocket Panel Tips & Tutorials

Where’s the pattern and directions?
LikeLike
How clever to hang it from a button sewn onto your mat pocket!
LikeLike