Hello, Hello! If you are just joining the sew-a-long, please scroll down a few posts to find the kickoff and all the tips shared in previous posts or scroll to the bottom of this post for direct links.
So far we’ve worked on the main body of the mat and how to add a machine handle opening, and today I’m going to talk about the pocket panels. If you’re just getting started on your mat, don’t worry, there’s still plenty of time!
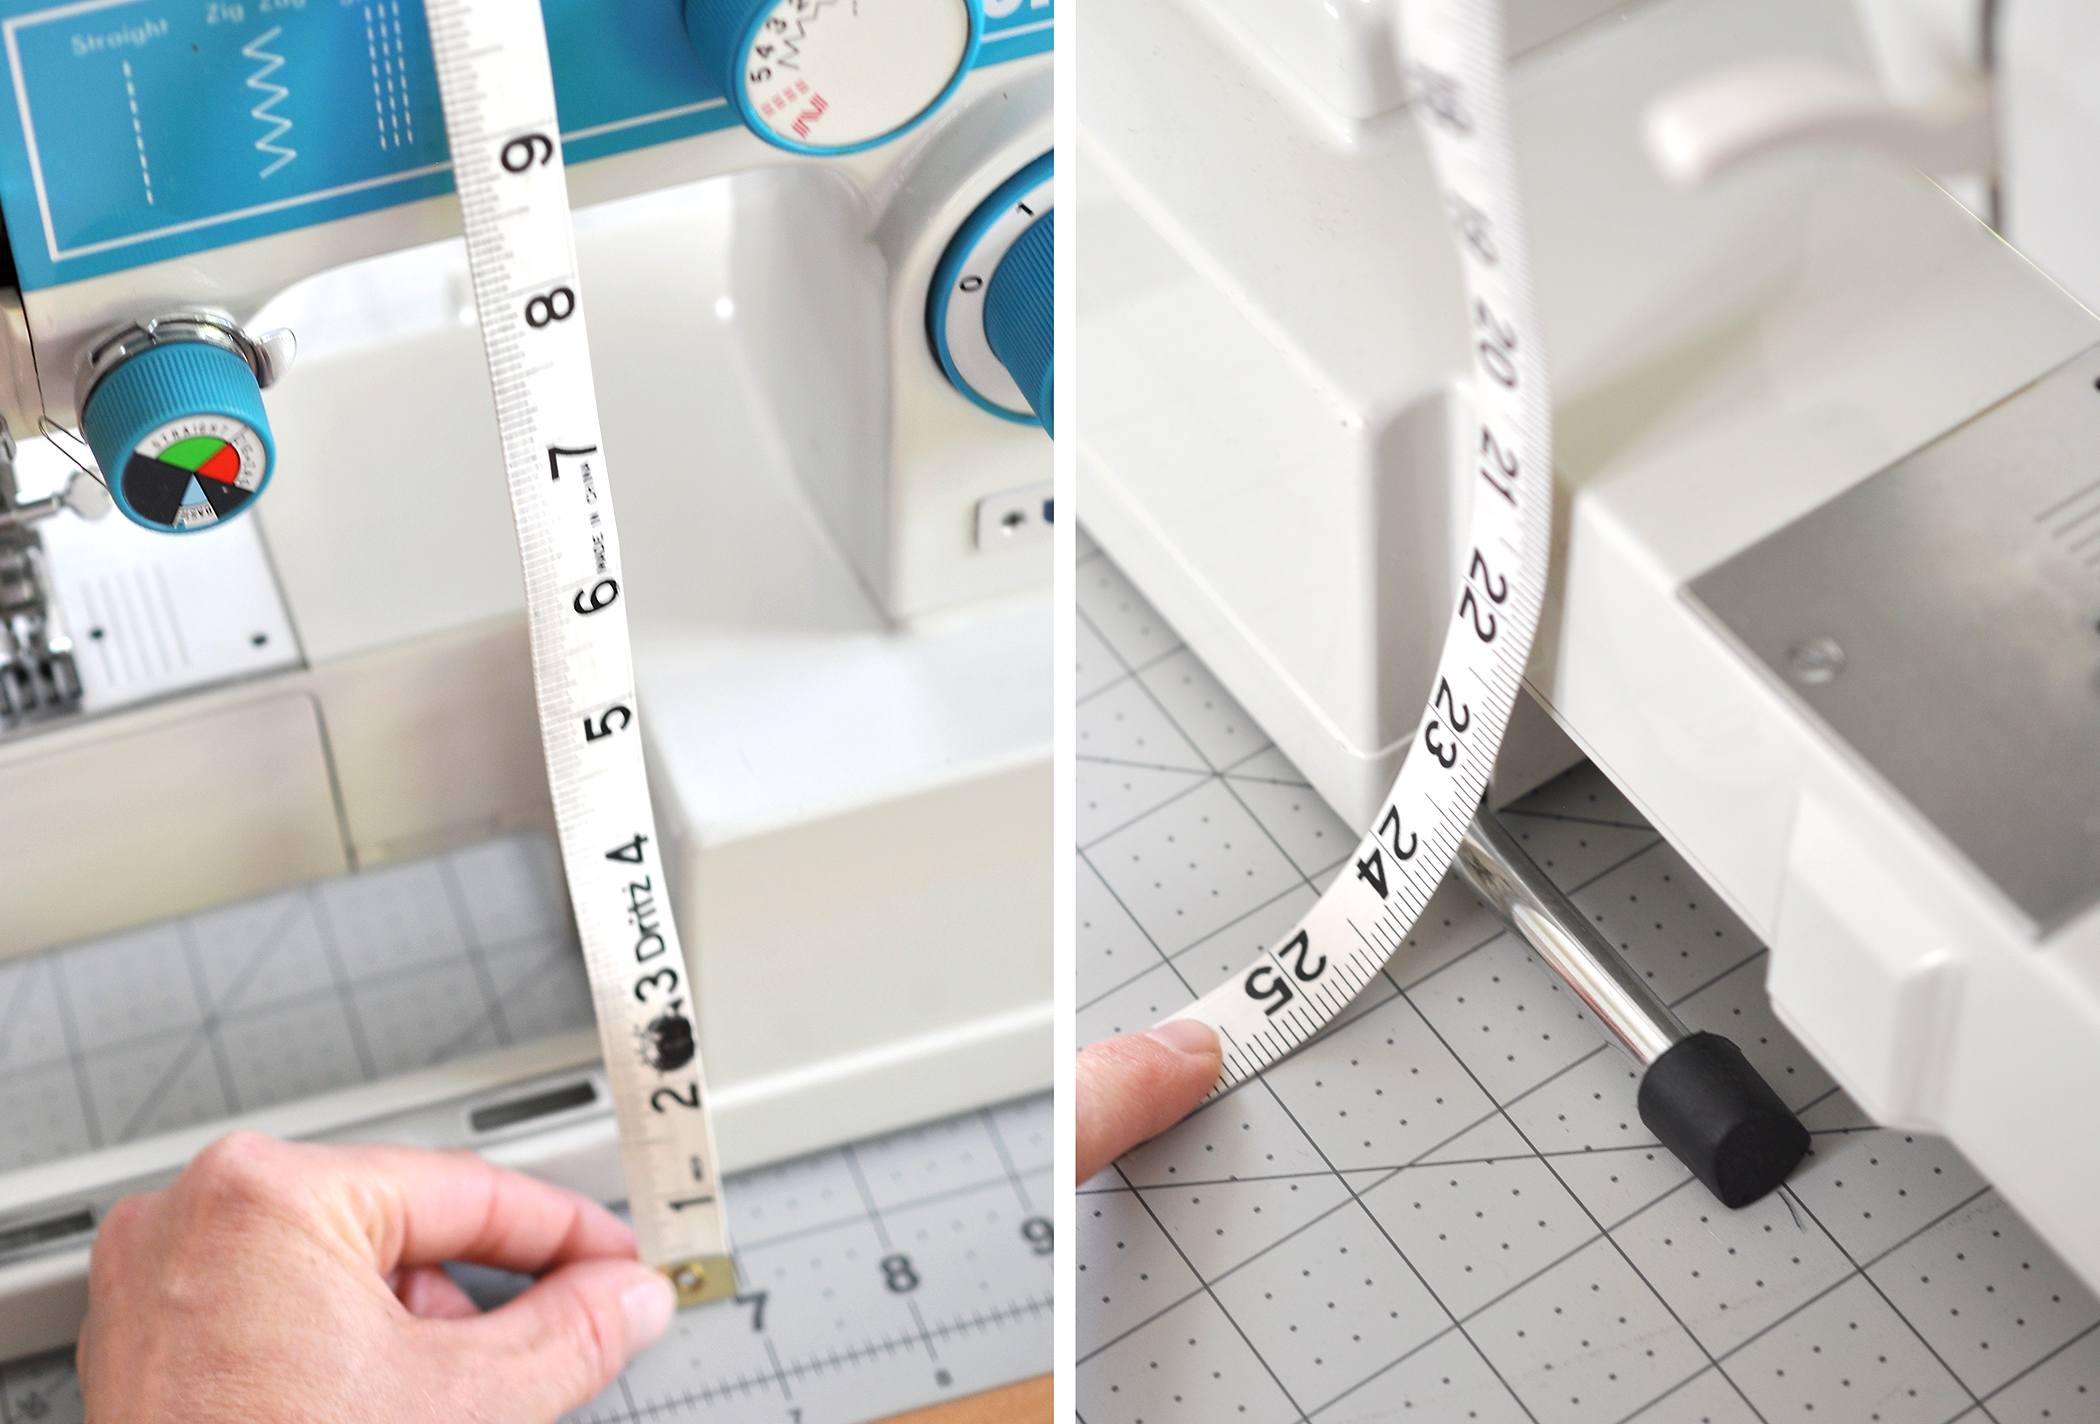
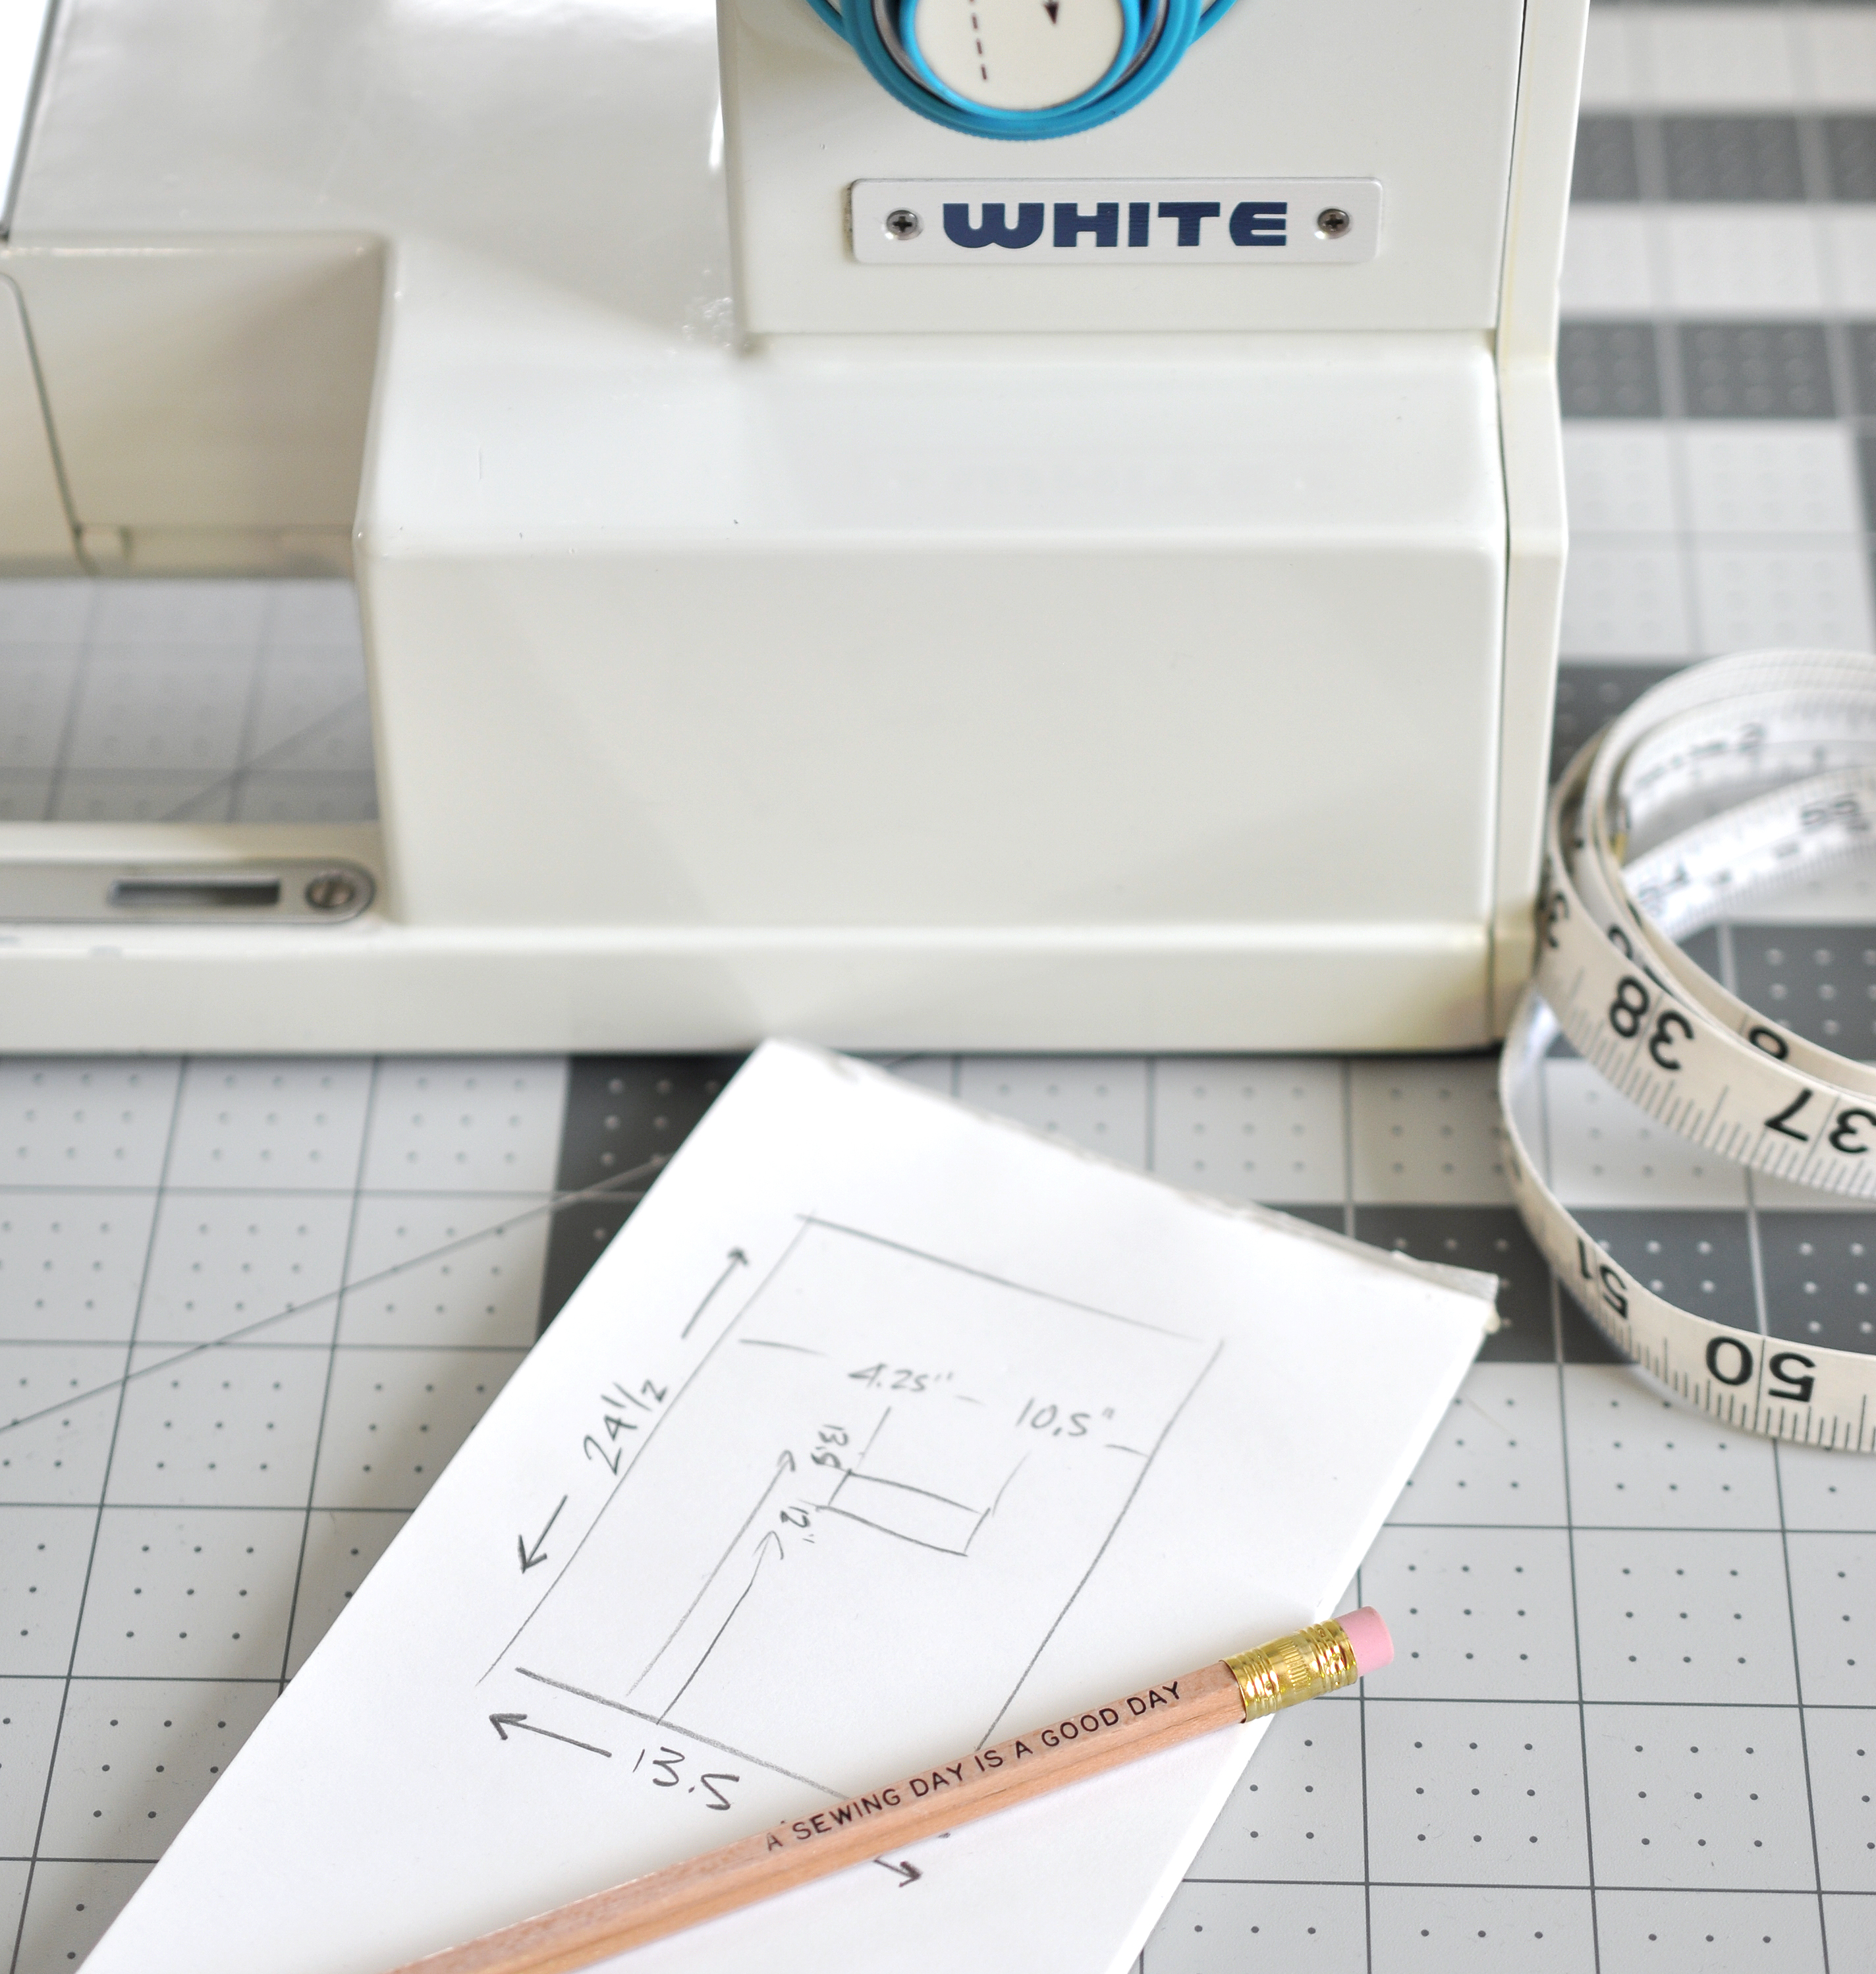
Before you begin your pocket panels remember that if you changed the size of your main body, you will need to also adjust the size of the pocket panels! You can do this by changing the size of one pocket or adjusting all the pockets equally. Don’t forget to think about seam allowances when calculating cutting sizes.
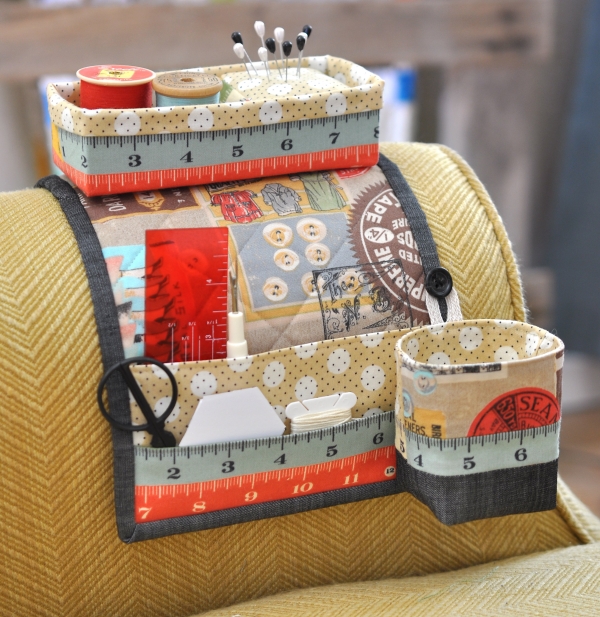
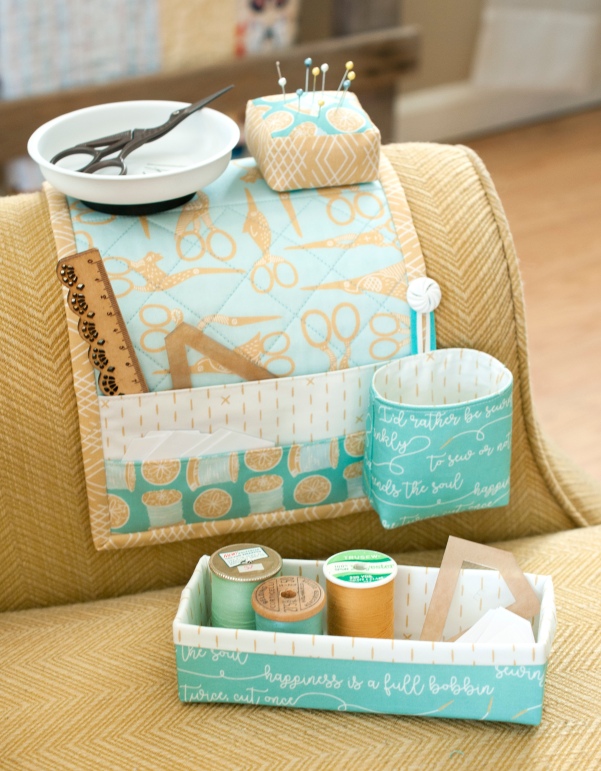
One thing to note about the pocket panels is that there are SO many ways you can customize this entire project, but especially this part. You can adjust the sizes, add more or less pockets, you can piece them all with any block you love or you can eve use one solid cut of fabric to make it really quick and easy. Be sure to check out the #undercovermakermat hashtag on social media to see tons of creative inspiration!

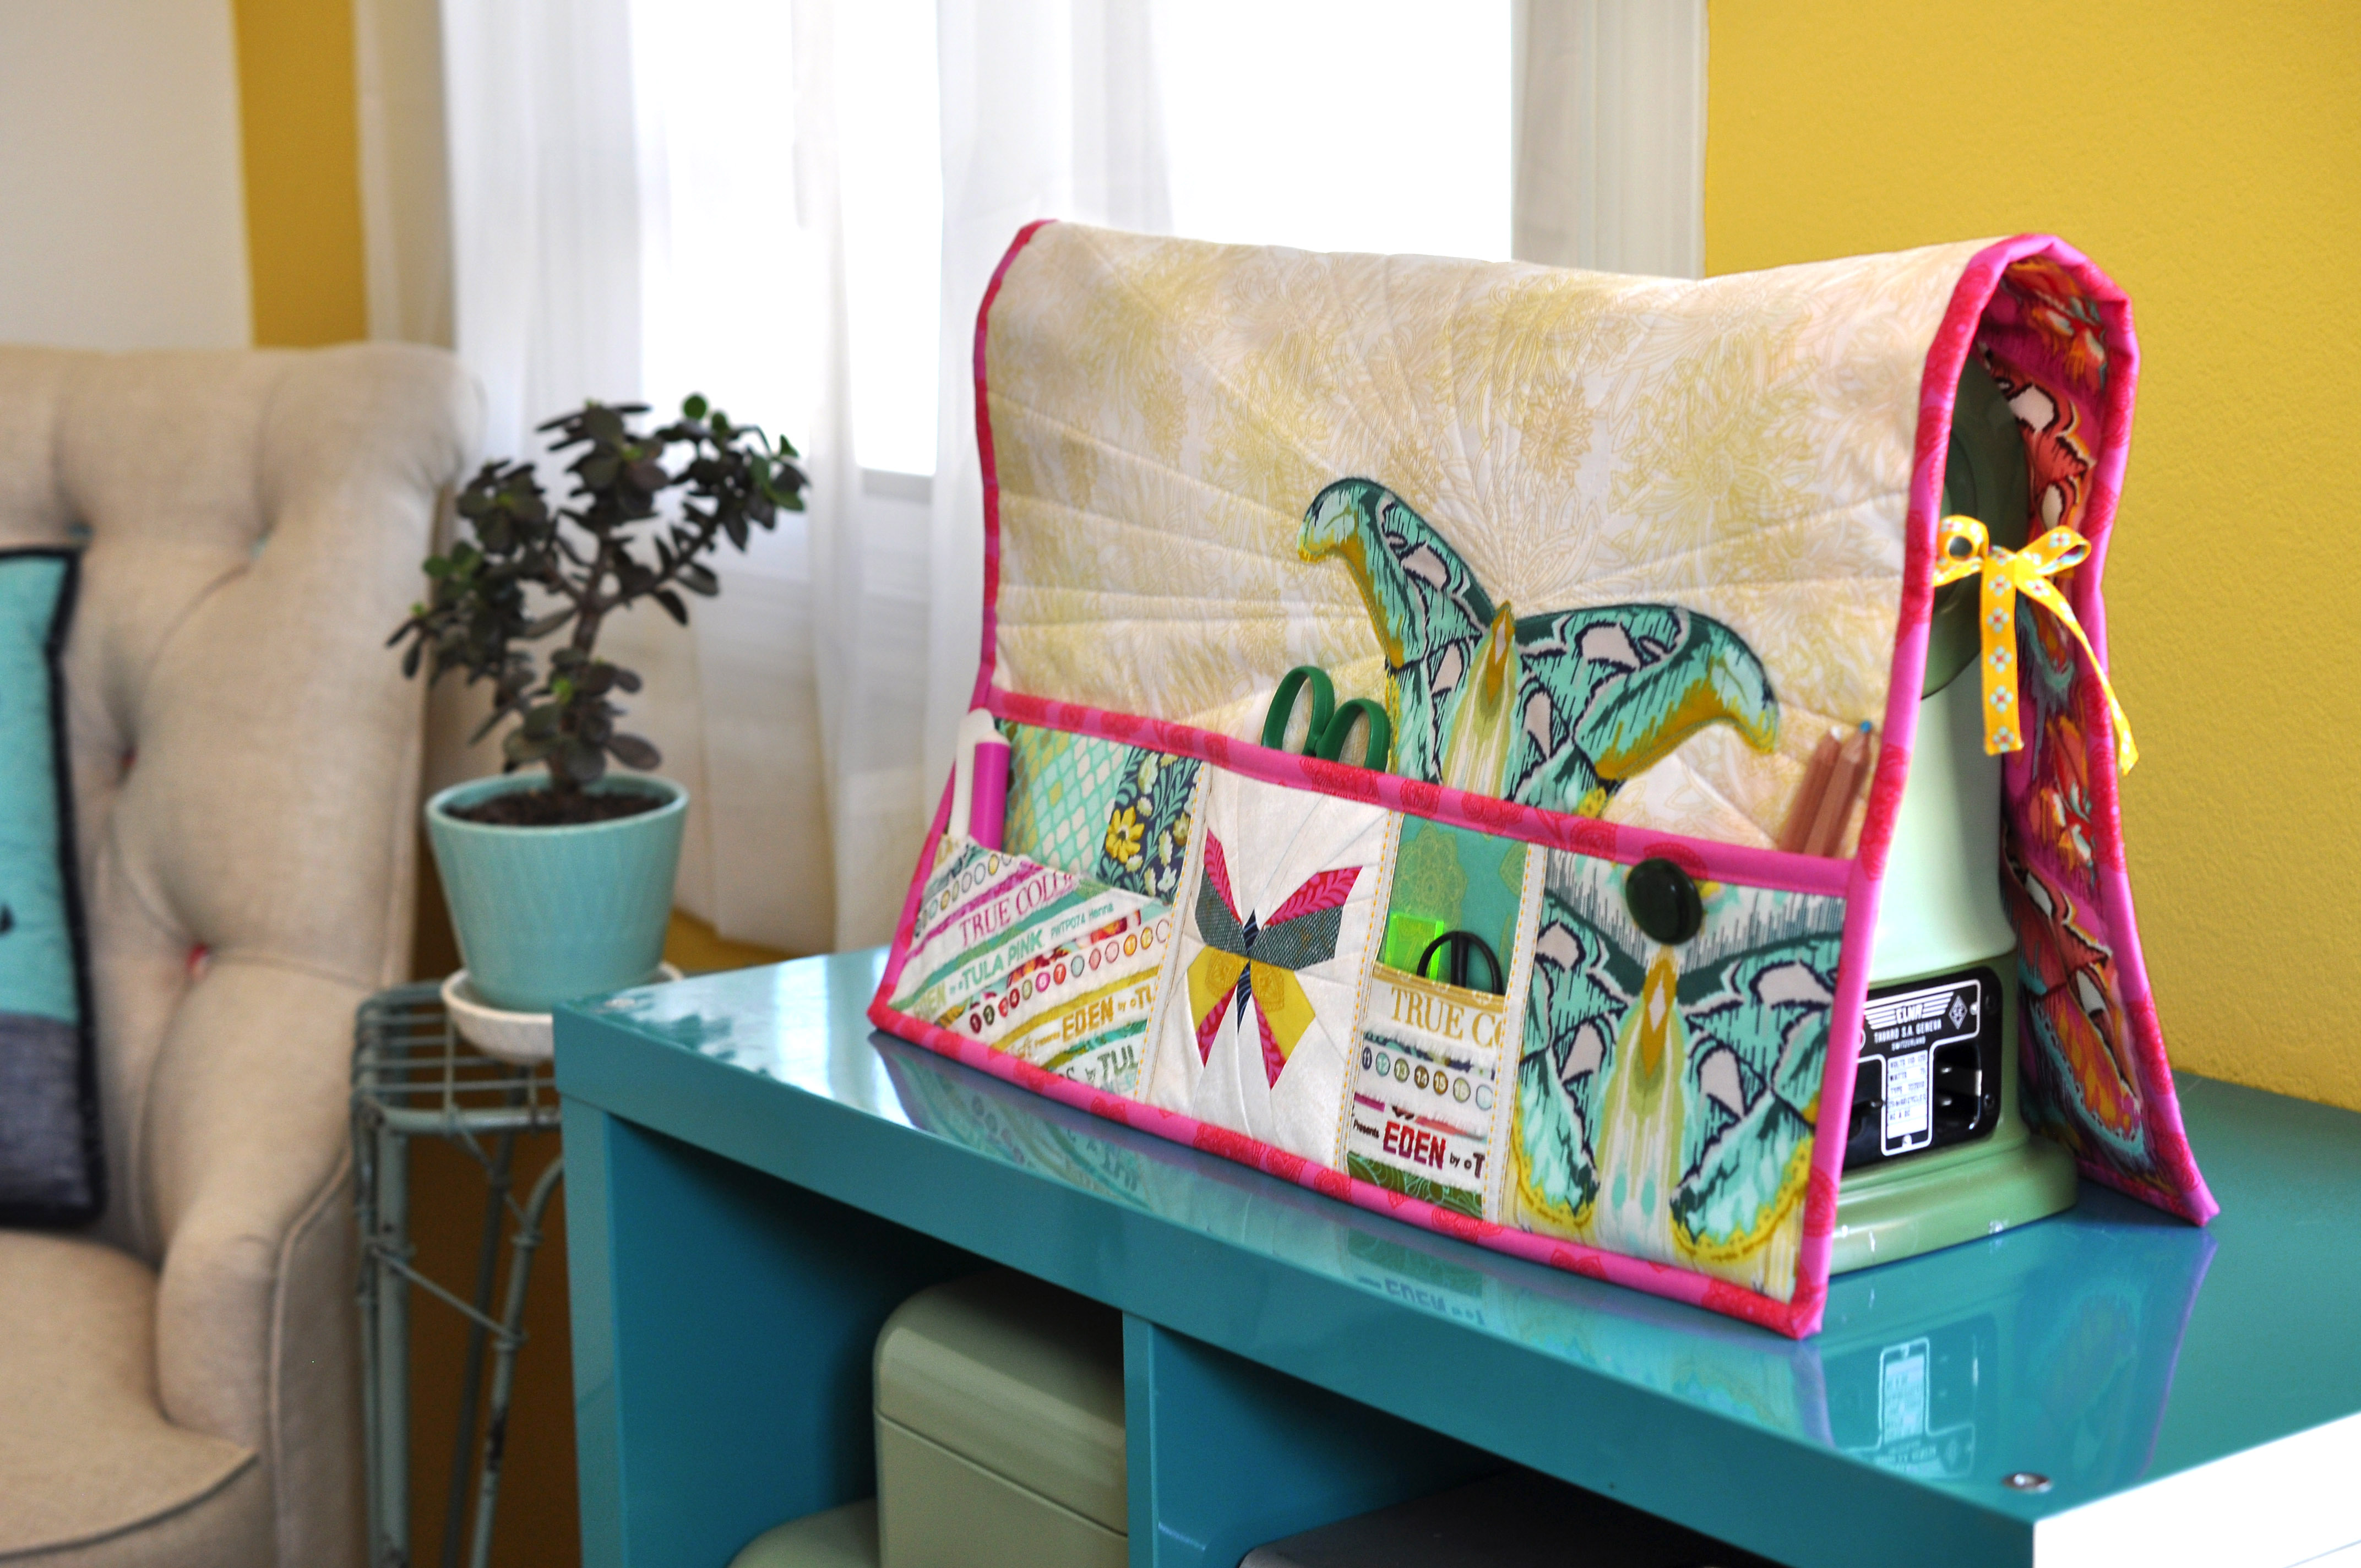
Above you can see just a few variations from mats that I’ve made in the past. The top left follows the pattern as written, which the bottom left follows the same sizing and layout, but uses full cuts of fabric (rather than piecing) with cute fussy cuts! On the right, there is a little mix of both. I substituted my Love Story pattern block for the butterfly and then used solid fabric cuts for the other pockets with some added lace trim details.
First I’m going to share some tutorials and tips on creating the accent pocket panels which are the paper pieced butterfly and the selvedge pockets, then I’ll cover a bit more details on piecing the panels and trim options.
All the information you need to create the accent pocket pieces is included in the pattern (including a link to a tutorial on making the butterfly for beginner paper piecers), but I will go into a bit more detail here and include some additional tips and photos, as well as design variation ideas.
• • • • • • • • • • • • • • • •
PAPER PIECING TIPS
You can find the pattern for my Butterfly Charm Blocks here. All three butterfly designs are the same size and any can be used. The foundation paper piecing tutorial link included in the pattern is from Cassandra Madge and you can find it here. It was so sweet of her to use my pattern as the example for her tutorial!
Our methods of paper piecing are very similar, with just a few differences. I like to use the Add-A-Quarter Ruler, rather than a standard quilting ruler. It does the same job, but is just one of those tools that takes away some room for error. Another paper piecing tutorial I often direct people to is this video from Connecting Threads. You can see the Add-A-Quarter ruler being used.

When I paper piece, especially small blocks, I like to use Foundation Paper. You can buy one from Carol Doaks or you can use any thin newsprint. Someone recently mentioned they found this pack from Dick Blick, and you can’t beat the price! I also apologize that I don’t remember who tagged me on that, please let me know if it was you! It is essentially just a thinner paper that creates less bulk and allows for easier removal. You can use any paper for paper piecing, but the thinner you can find, the easier it will make the process.
Another thing I ALWAYS do is to trace the pattern onto the back of the sheet. It does not have to be perfect because you will only be using it for reference, but it helps in a multitude of ways. I use a lightbox, but you can also use a window. Since this is the side where you will place your fabric, you can use these lines as a guide for cutting your fabric pieces. You can still use the printed side, but you have to work with your fabric upside down at that point, and I like to see the prints and placement.
After tracing and selecting fabrics, I also note my fabric selections or color accordingly on this side. Then I always know I’m placing the correct piece. These lines also help you as you sew to make sure a fabric cut will cover a segment. Place the fabric where you would for your next seam, but before sewing, hold the fabric approximately where your seam will be and fold the fabric over as you would when pressing it after sewing. You can then see if your piece is large enough to cover everything it needs to. You can then sew your seam with confidence, because unpicking a paper pieced seam is NO FUN!
Lastly, I find having these lines helps prevent you from missing a segment, which is something I see a lot in paper piecing. When you have the pattern lines on the side where you are placing fabric, you will notice if you’ve missed a piece. You still have to pay attention, but it’s definitely better than flying blind!

In Cassandra’s tutorial, you will see her talking about adding some basting stitches to you sections to help when piecing them together. This is important and something I always do as well, however, I put my stitches in the seam allowance as you can see above in the left photo.
Another tip is that when trimming sections to the seam allowance after piecing, do not trim any sides that are on an outer edge (above right). This way you can trim your final block to size after it is completely pieced. It is not uncommon to lose a little bit in each seam, so this ensures you can have the correct sized block in the end, and also lets you trim the block to a slighty larger size, if desired.
After piecing sections, I always remove the paper from the seam allowance only before sewing sections together. This just helps with bulk and allows you to press a flatter seam before adding the next section. You can also see this in the above right photo.
• • • • • • • • • • • • • • • •
SELVEDGE POCKETS
For those who are new to sewing or do not know what a selvedge is, it is the finished edge on a bolt of fabric. There are finished edges on both sides along the width of the fabric, but only one will contain printing and this is the side I use on this project. I cut my selvedges off with about one half inch to one inch or so of the fabric print included, just to make sure I always have enough extra to work with them. The directions on how to work with the selvedges to create the pockets are included in the pattern.

• • • • • • • • • • • • • • • •
VARIATIONS
Below are more variations from makes on Instagram to help inspire you!

• • • • • • • • • • • • • • • •
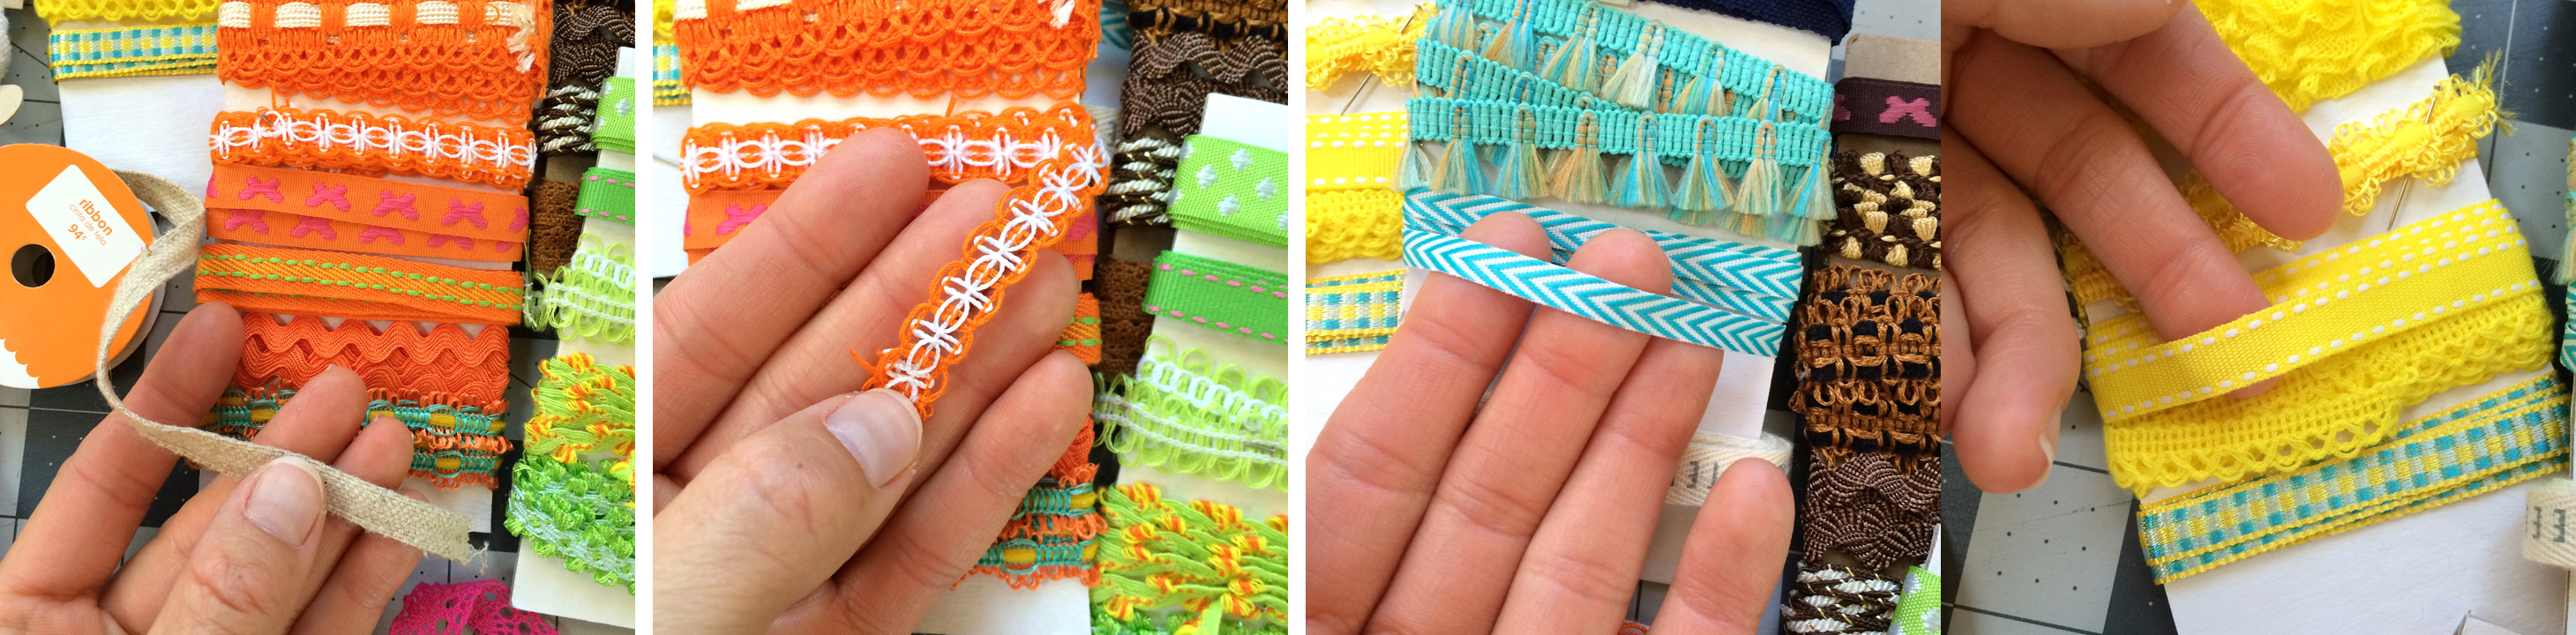
TRIM
This pattern uses trims or ribbons for securing the secondary pockets and hiding the raw edges, and also for creating the side ties when using it as a machine cover. Below are some trims from my collection that I’ve found at Joanns, Hobby Lobby and even Walmart. Anything between 1/4″ to 3/8″ width is best. If it is too small then you will have trouble enclosing the raw edge of the pocket, any thicker and you cut into your pocket space. Trims that are more solid are best to hide the raw edges, but some lacier style trims can work ok, too.

If you don’t have any trims on hand, you can also use a thin bias binding strip instead. Start with a 1″ or 1.25″ cut strip, fold the raw edges into the center, then fold in half and press and use this as you would a piece of ribbon. You can also you another selvedge with the cut side pressed under. Lots of possibilities!

• • • • • • • • • • • • • • • •

POCKET BINDING
I like the look of the binding on the pocket because I think it balances the piece nicely, but if you prefer, you can eliminate this step and instead attach the lining to the pocket panel just as you did on the small secondary pockets. Just lay your lining piece, RST, on top of your finished main pocket panel and sew across the top with a 1/4″ seam. Flip the lining to the back, press, and top stitch along the top edge. You can include the fusible fleece when you do this, add it after tucked up to the seam, or skip it all together and use some lightweight interfacing on one or both pieces instead.

Above are a couple examples I saw on the #undercovermakermat hashtag on instagram that demonstrate this variation. If you have any questions about doing this instead of the binding, just let me know and I’m happy to help!
• • • • • • • • • • • • • • • •
Once your full pocket panel is complete, you will baste it to your mat body and bind the entire piece as covered in the pattern. BE SURE TO ADD YOUR SIDE TIES BEFORE BINDING! If you do not plan to use your mat as a cover, you can leave them off. I did forget to add them once and just had to unpick a little bit of my binding and tuck them in, which was not hard to do, so it’s not the end of the world if you forget, or even decide to add them later!
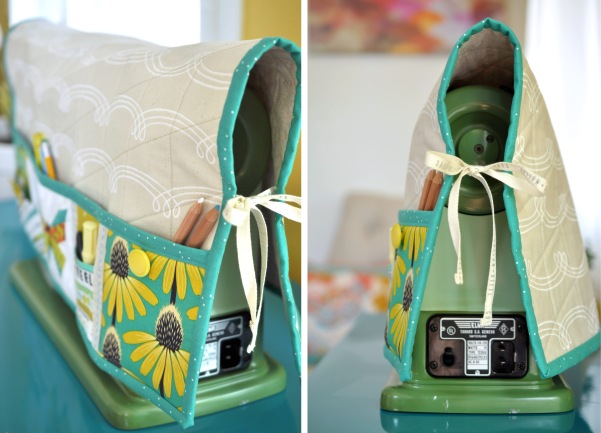
Just as with trim used to secure the secondary pockets, you can instead use a binding strip for your side ties, or even additional selvedges. If using a binding strip, simply top stitch along the folded edge to close it up. You can tie knots on the ends or stitch them closed.


Stay tuned next week for one more post talking about the thread catcher before we wrap things up on October 28!
ADDITIONAL POSTS:
Undercover Maker Mat Sew-a-long: All the details
PART ONE: Kickoff! Sizing your mat and tutorials for beginners
Sponsors and Prizes!
PART TWO: Adding a machine handle opening